Putting Together the Members Mark 6 Shelf Storage Rack
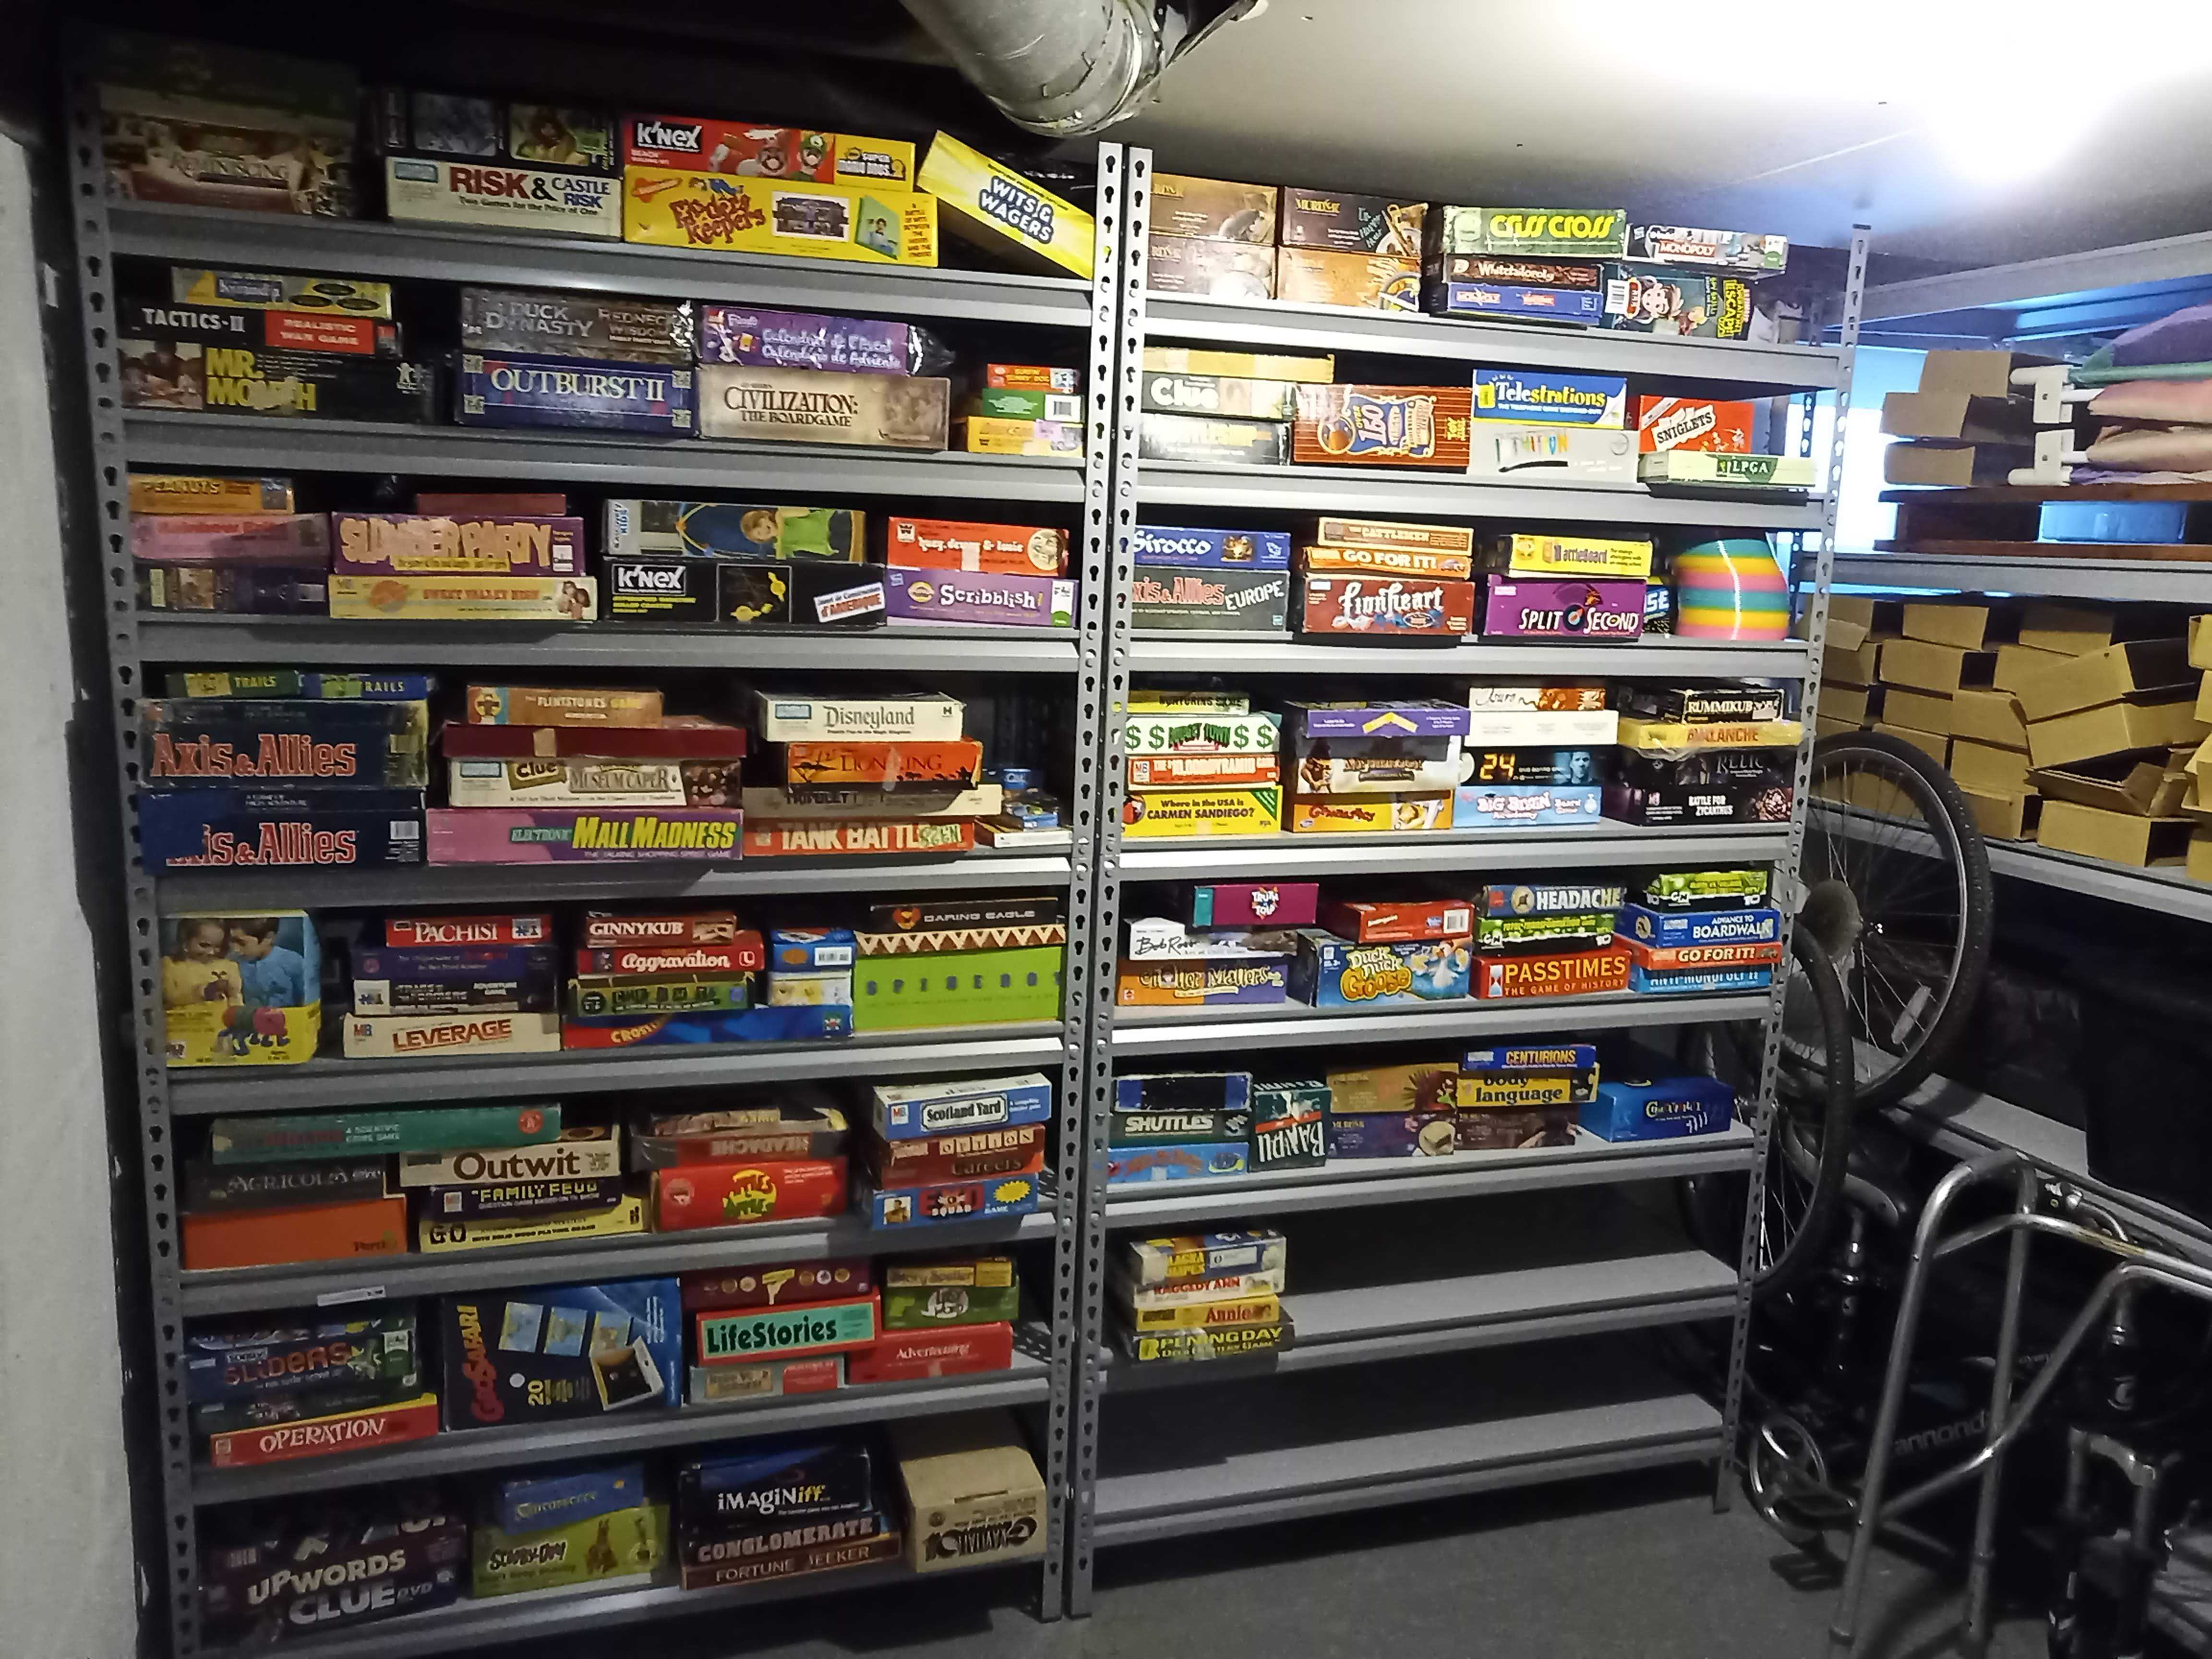
This post is meant to be a handy helper from our experience upon ordering twenty-five of these shelves and putting them together. By the end of this, you should have some insights to parts that may be bothering you while assembling this product.
Quick Disclaimer
Author is in no way to be held liable for any mistakes or injuries incurred while using these tips - use at your own risk. While this assembly method was greatly helpful to me, it may not fit your circumstances. We assembled them with what we specifically needed - which was mostly as a five shelf unit for putting storage bins on, then a many shelved unit for some board games with the extra shelves. As always - when assembling something, please look at the included guide and if possible have someone else around in case of emergency.
Time Taken - First Shelf to Last
When assembling the first of the twenty-five shelves, it took nearly two hours with two of us, by the end, we had it down to about twenty minutes per shelf.
The Process
Preparation
Tools and Materials
- Rubber Mallet - for final joining if not on a level surface
- Scissors (or Utility Knife) - To cut plastic straps and cardboard while unpacking
- Garbage and Recycling Cans - For disposal of box and materials if needed
- Knee Pads - If you find kneeling more comfortable, wearing knee pads can be super helpful for some parts
Assembly Area
- Level Floor - On a non-level floor, the shelf wants to come apart when assembling the main two parts.
- Wall - Leaning parts against the wall helps to assemble things much more quickly and evenly
- Corner Near Wall - This helps when assembling some specific chunks
- Shelf or Bench - Put tools and parts here for easy access
Assembly
Unboxing
Unbox the shelving unit (cutting straps with the scissors lets the top of the box lift right off), being careful to not damage the parts as you pull them out. You will find there are layers - for our process, we removed all of the metal brackets by size, leaning the longer ones with holes against the wall upside-down (fat side of hole down), and the remaining metal pieces onto an easy to access shelf or bench, with packaging materials being properly disposed of along the way.
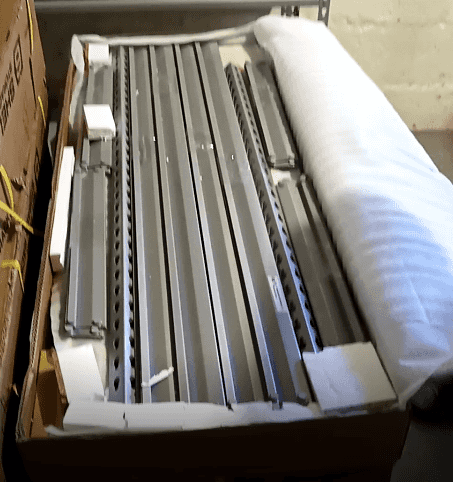
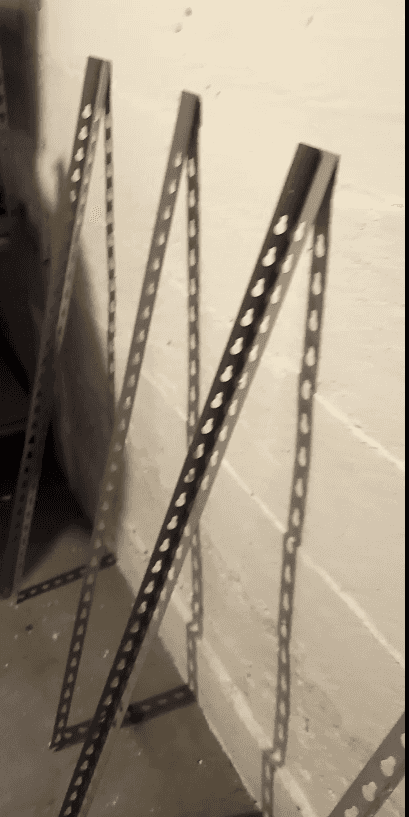
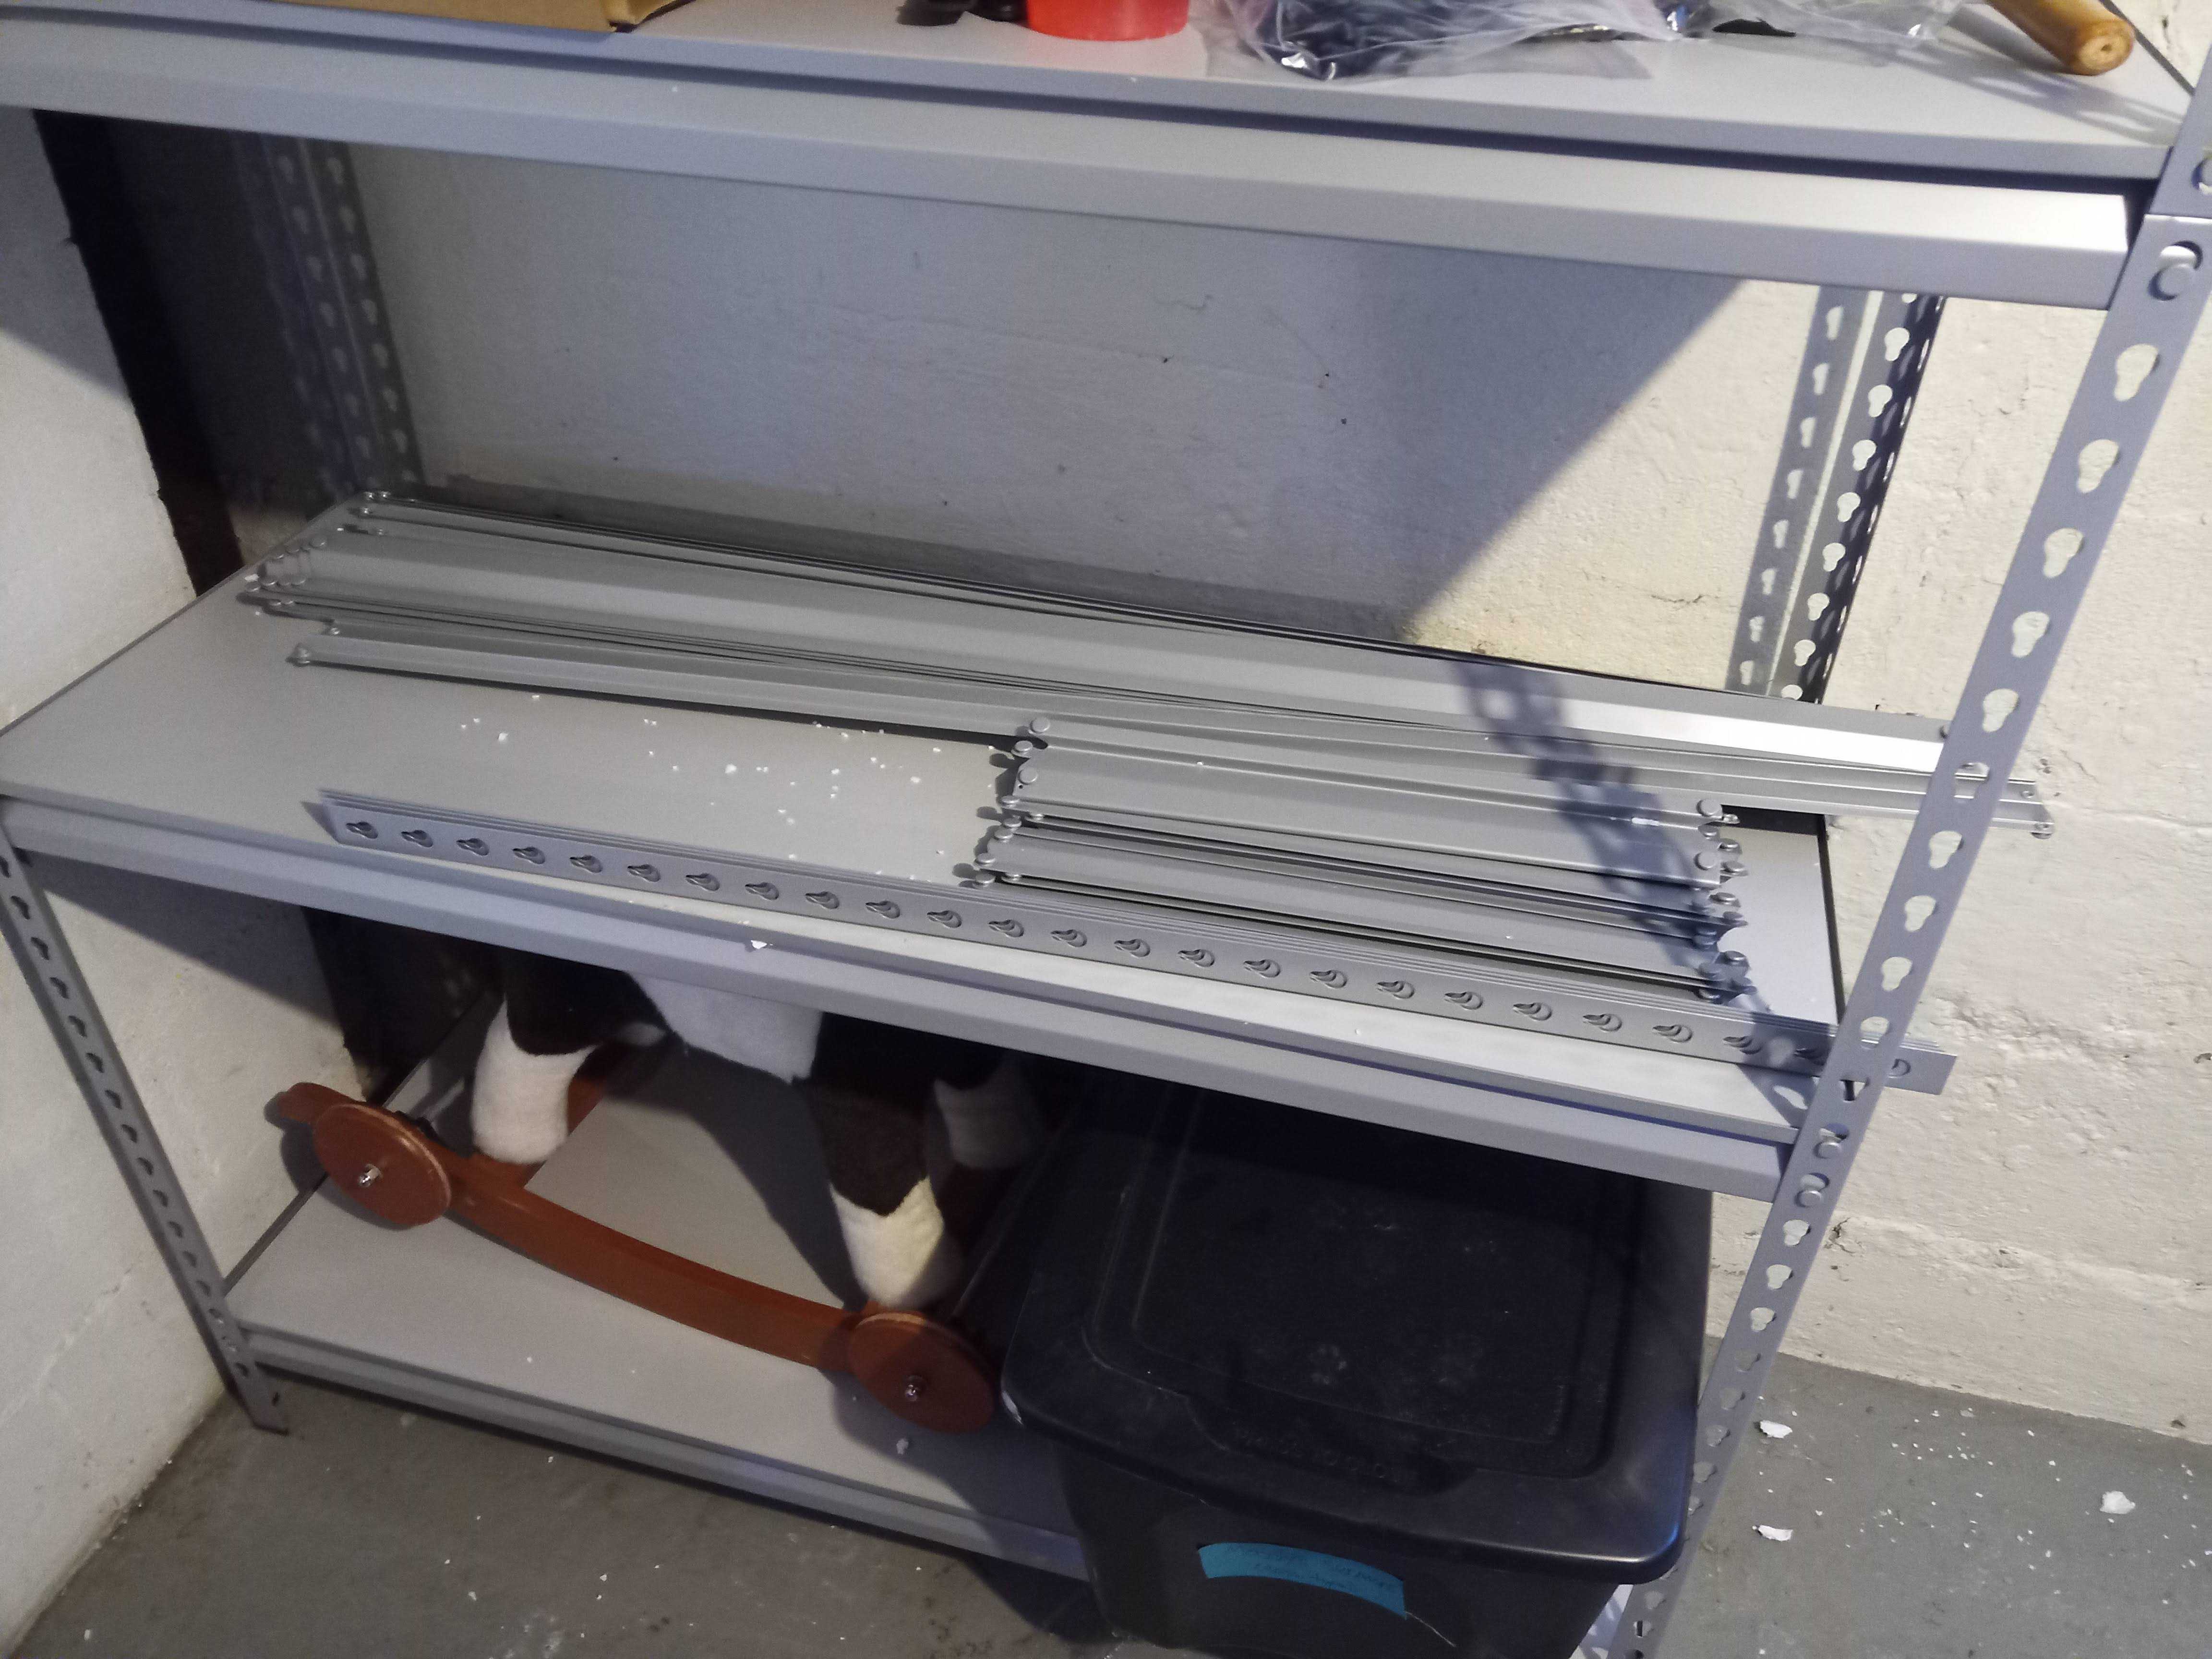
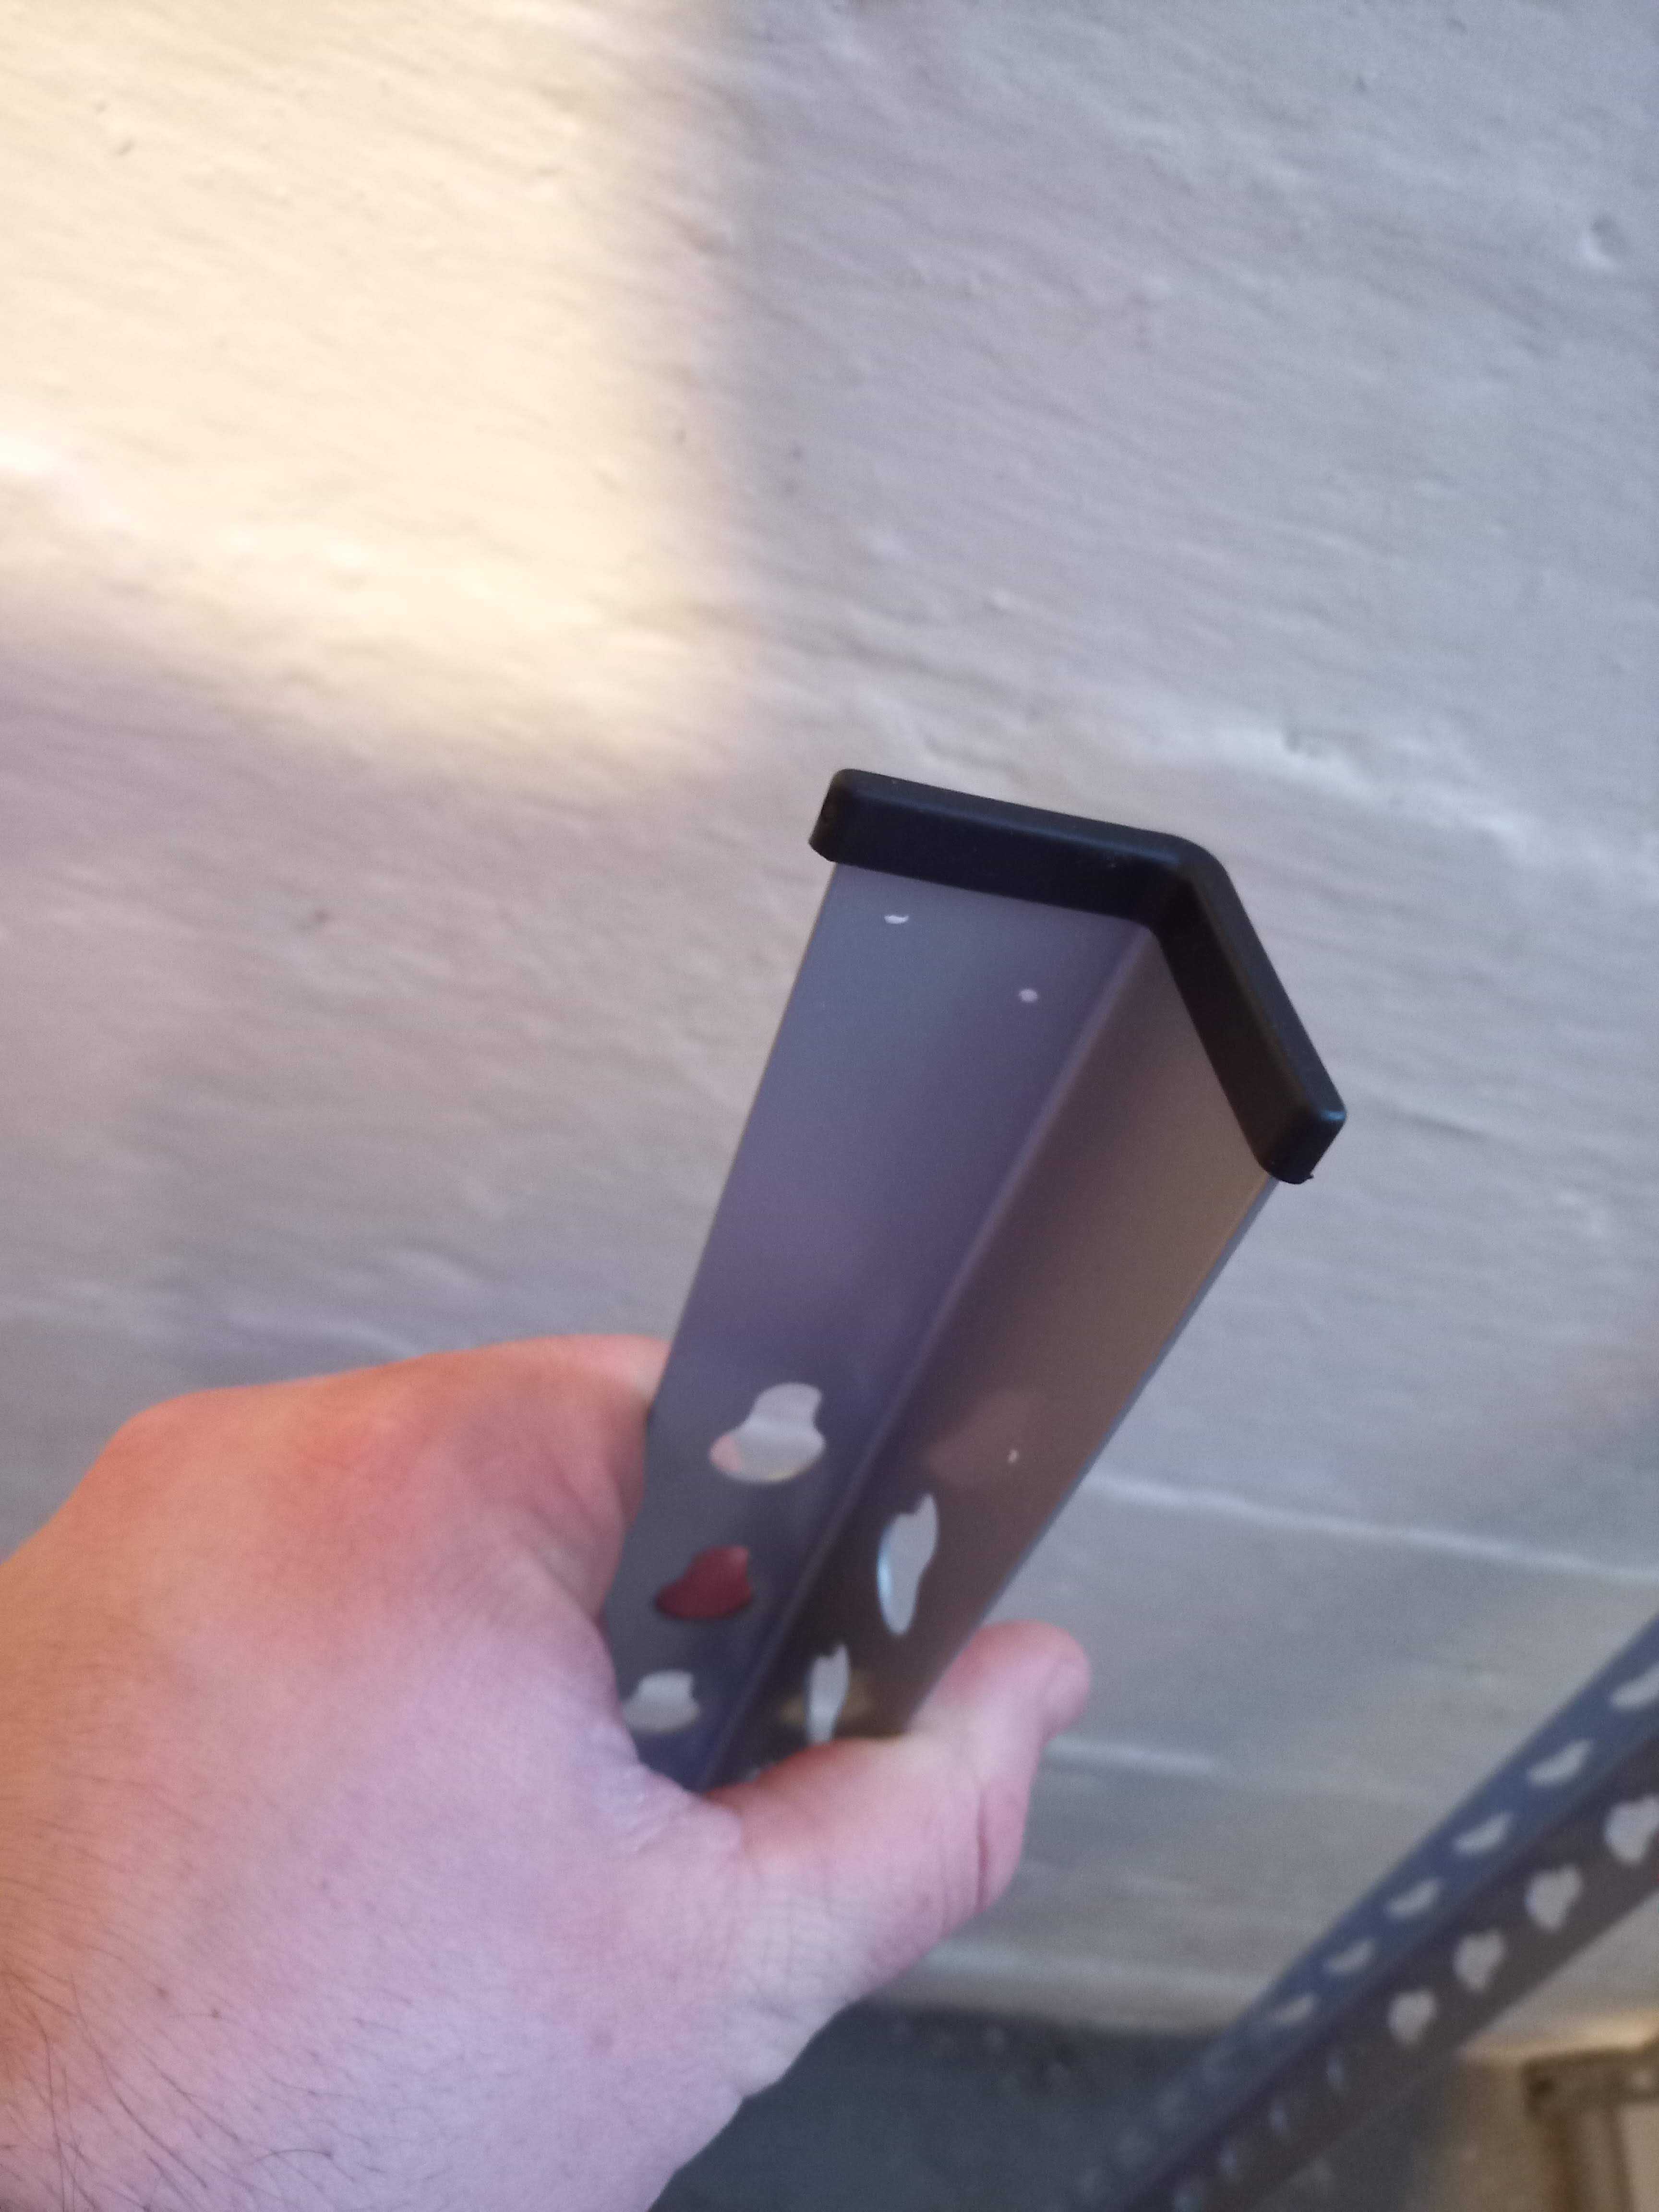
Somewhere in the layer, you will find a small bag with rubber L shaped boots that can be placed upon your upside-down brackets. These can either be attached while unboxing or attached later, by simply pressing on. If there is trouble getting them all the way down, you may press them against the ground easily when putting the brackets upright later.
This should leave you with the actual shelves left inside of the box still.
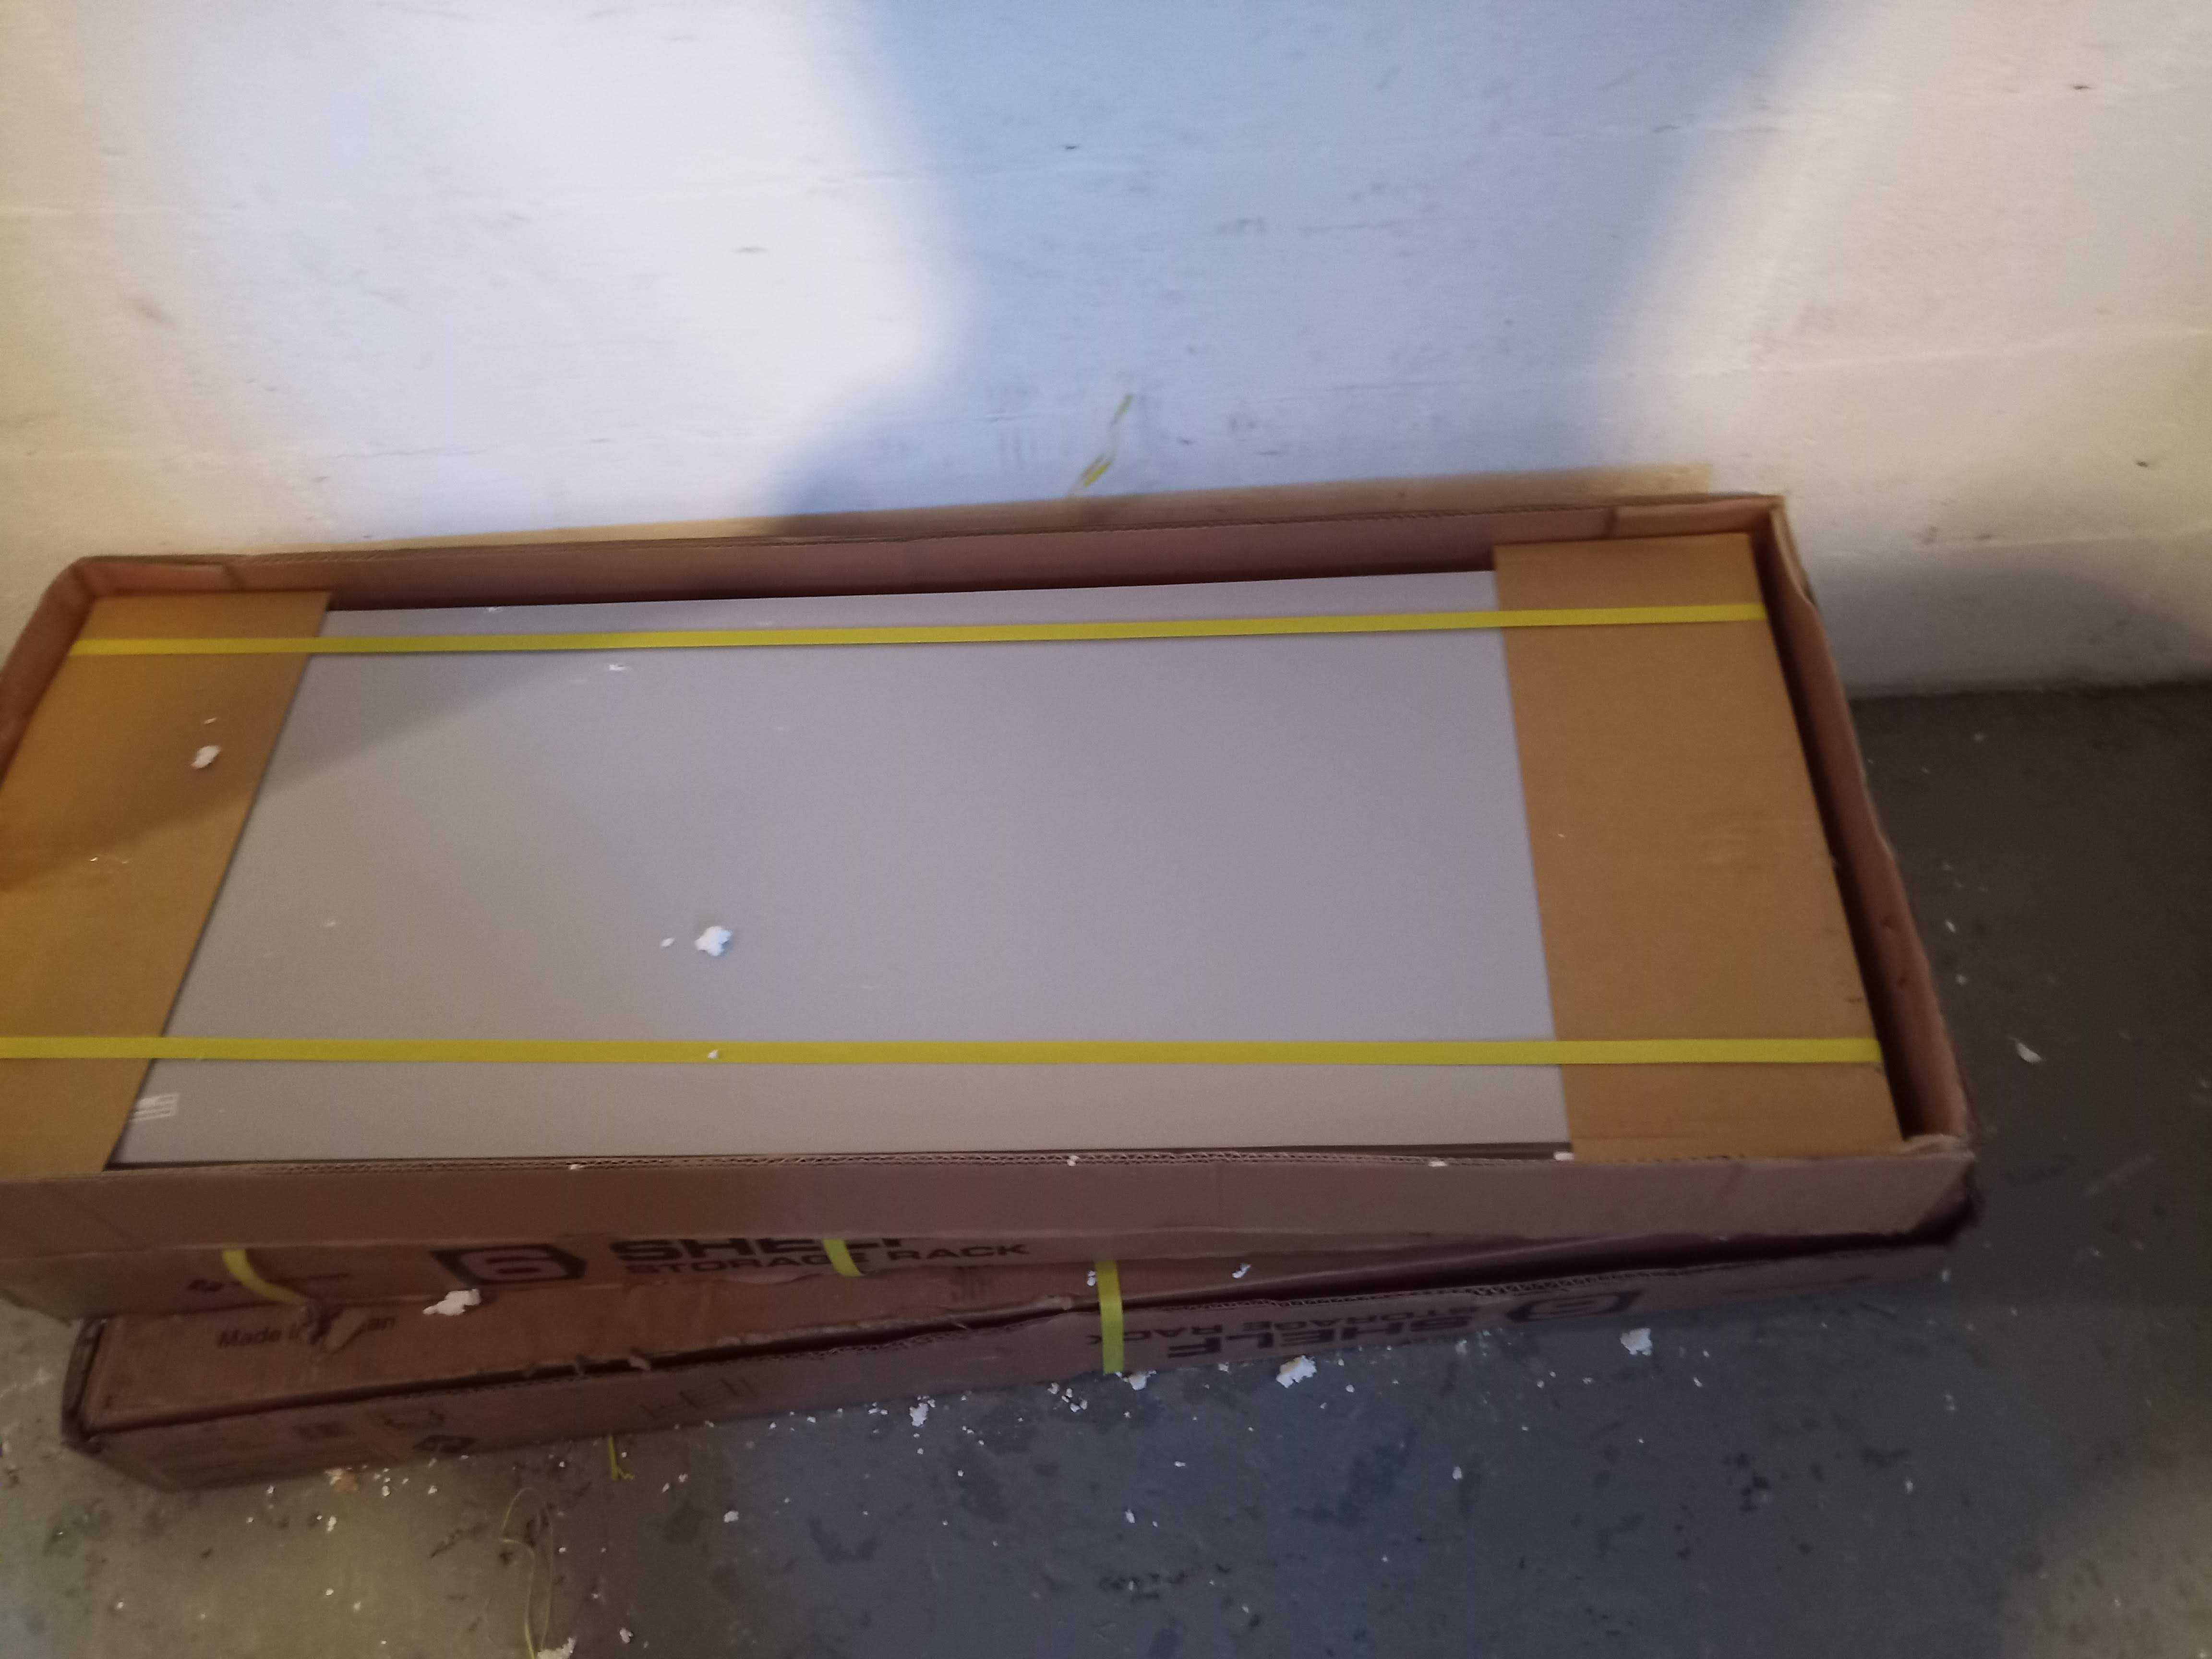
You can cut the straps and gently flip them now if you like, lifting the cardboard off. Or, you may simply prep for later by cutting the straps and ripping (or cutting) the top of the cardboard holders so that you do not have to worry about damaging the shelves (the edges can catch easily causing cosmetic damage if you are not careful)
Actual Assembly
Put rubber boots on each of the corner brackets, then flip them over (again, you may tap the boots against the ground flatly to get them on all the way if need be), leaning them about the distance of the smaller solid metal pieces apart.
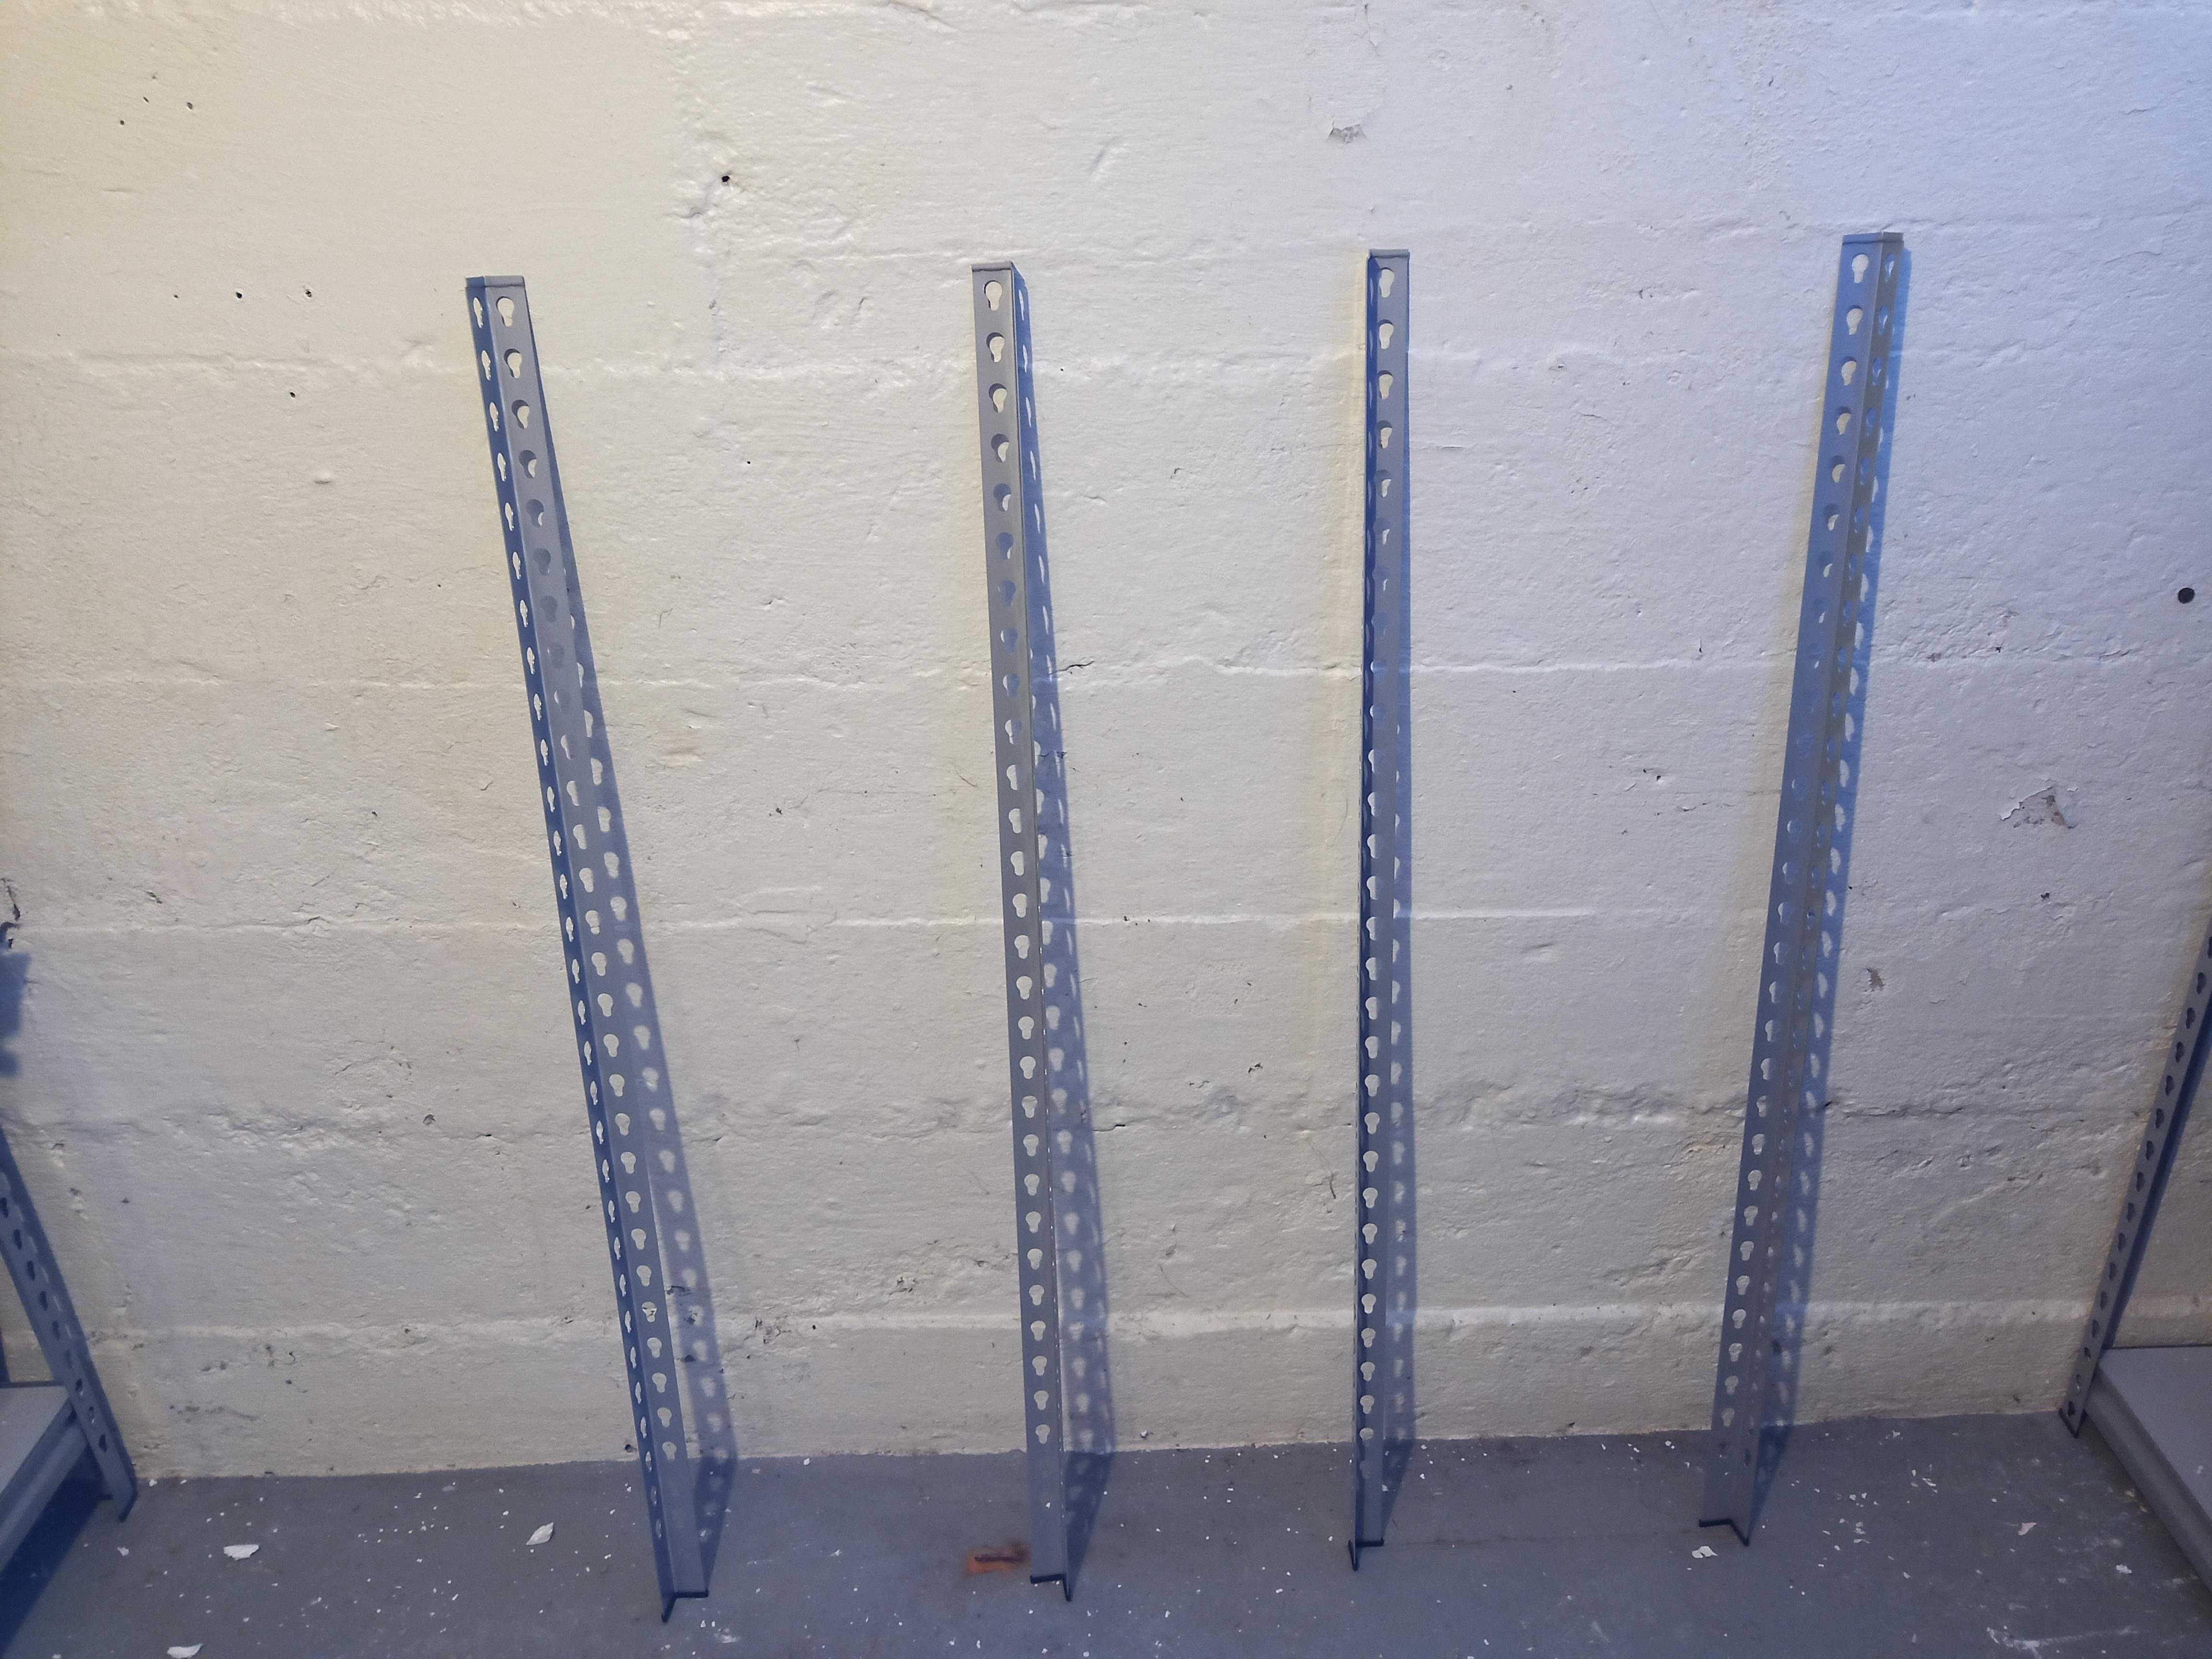
Now, you will want to attach those shorter solid pieces, at least top and (your bottom), with a third in between somewhere for stability. The top one should catch over the top of the corner bracket. It is much easier, at this point, to check that they are aligned without needing to count holes if you have all brackets leaning against the wall at the same angle. None should want to slip out - if they are, double-check your hole count.
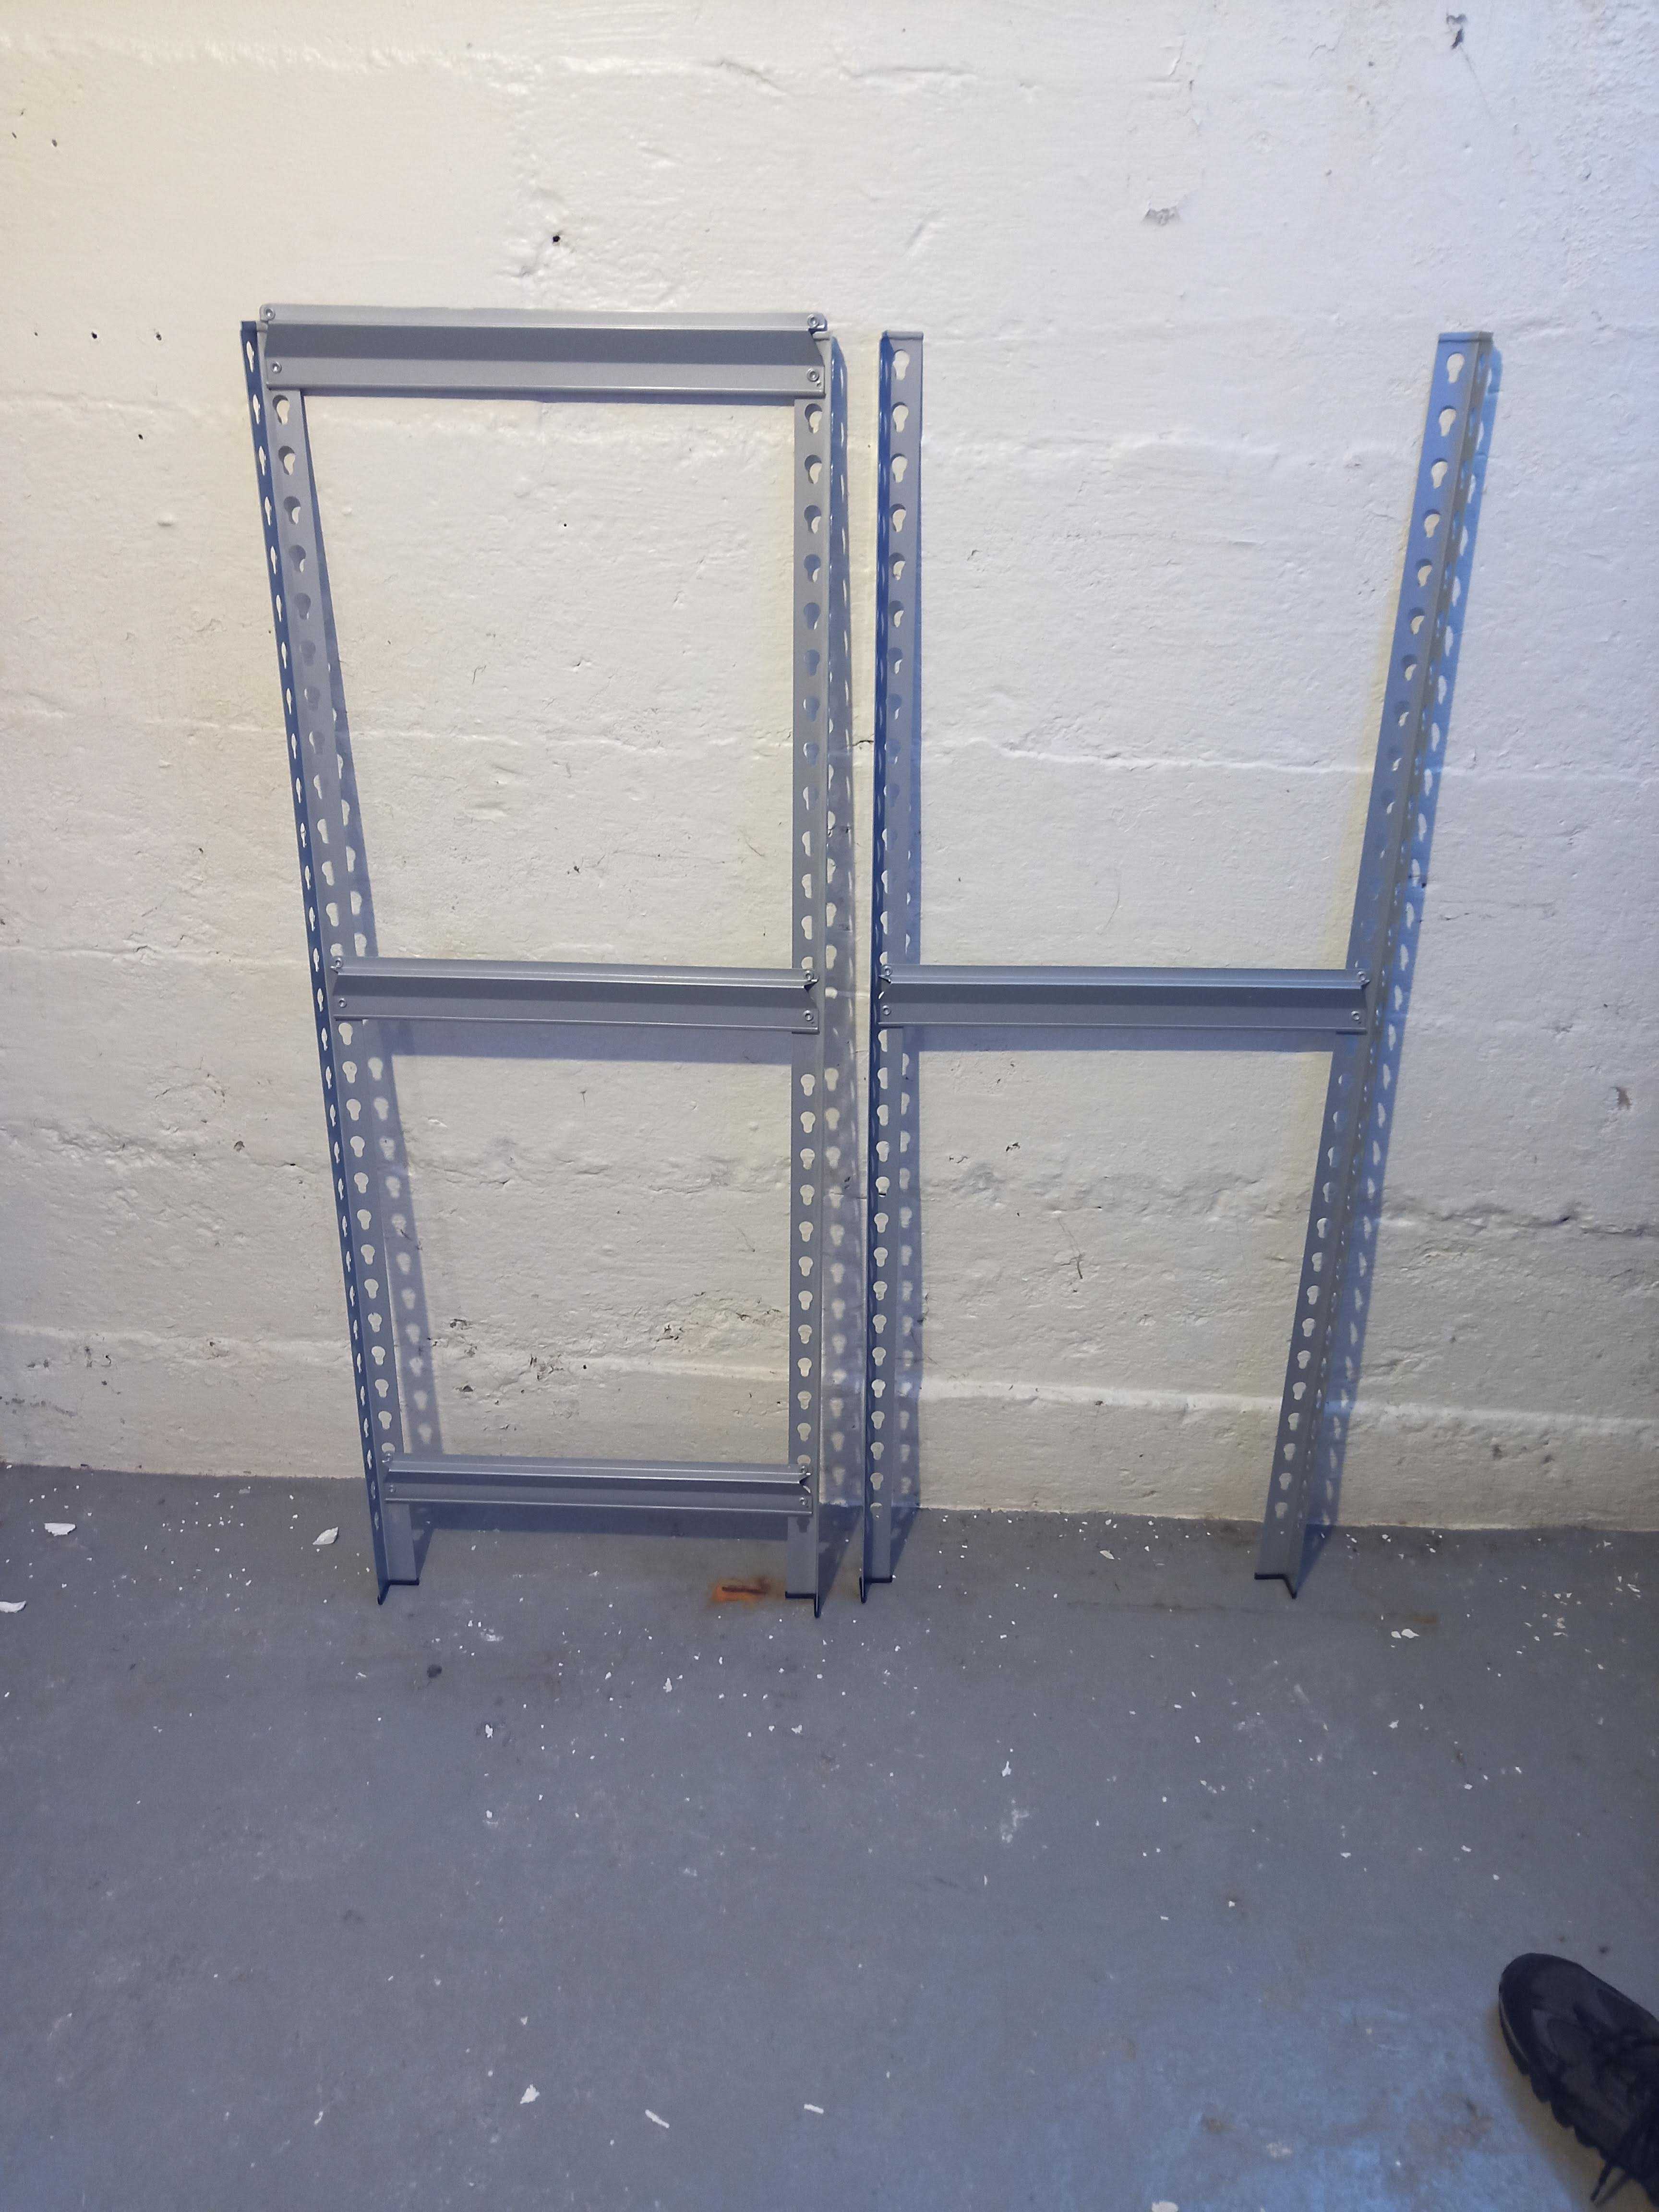
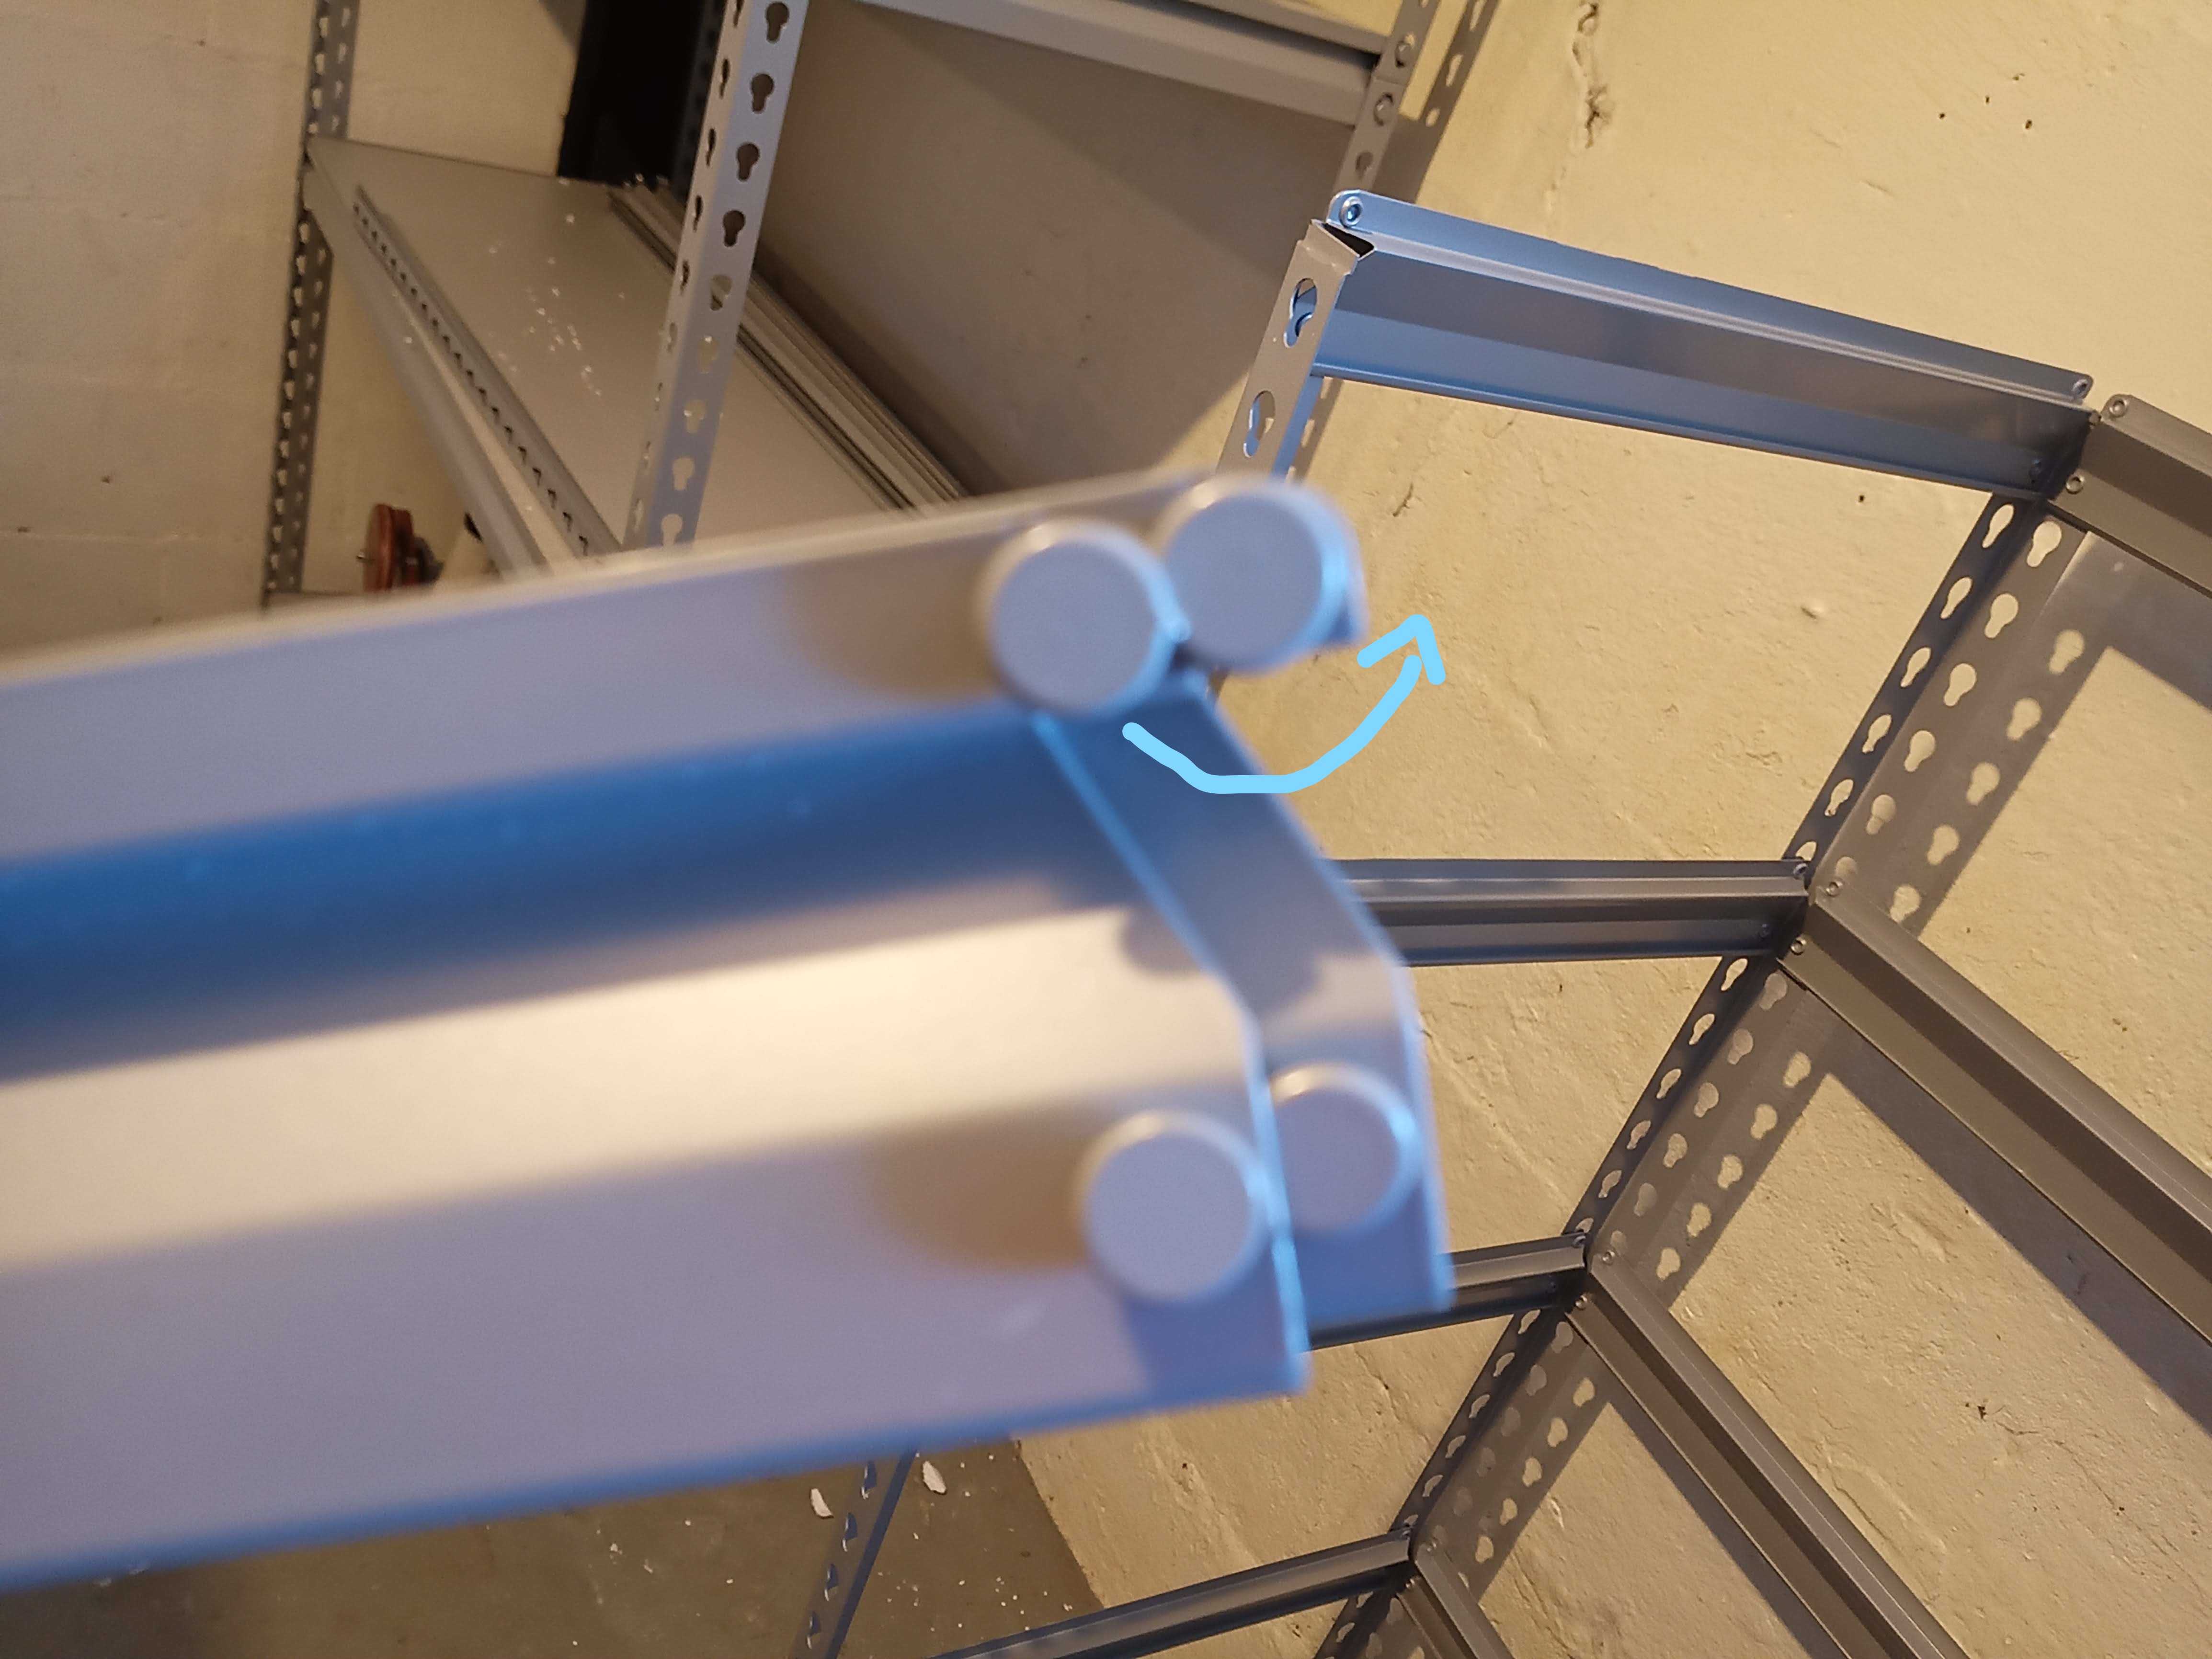
Sometimes the shelf holding pieces will get stuck in each other - DO NOT PULL DIRECTLY APART (lifting one bracket against the other)! Look at it carefully, and gently slide out or rotate away from the jam. If you accidentally use one bracket to pry against the other, it can create a slight bend that is hard to detect and makes putting together the rest incredibly frustrating.
Next, lean one of the assembled pieces against your corner, or something to support it. ONLY LIFT BY THE CORNER BRACKETS, SO AS NOT TO DISASSEMBLE WHAT YOU ALREADY PUT TOGETHER. Lifting from the corner bracket, you can use just one holding at a slight angle, and the weight should keep the other one in place properly.
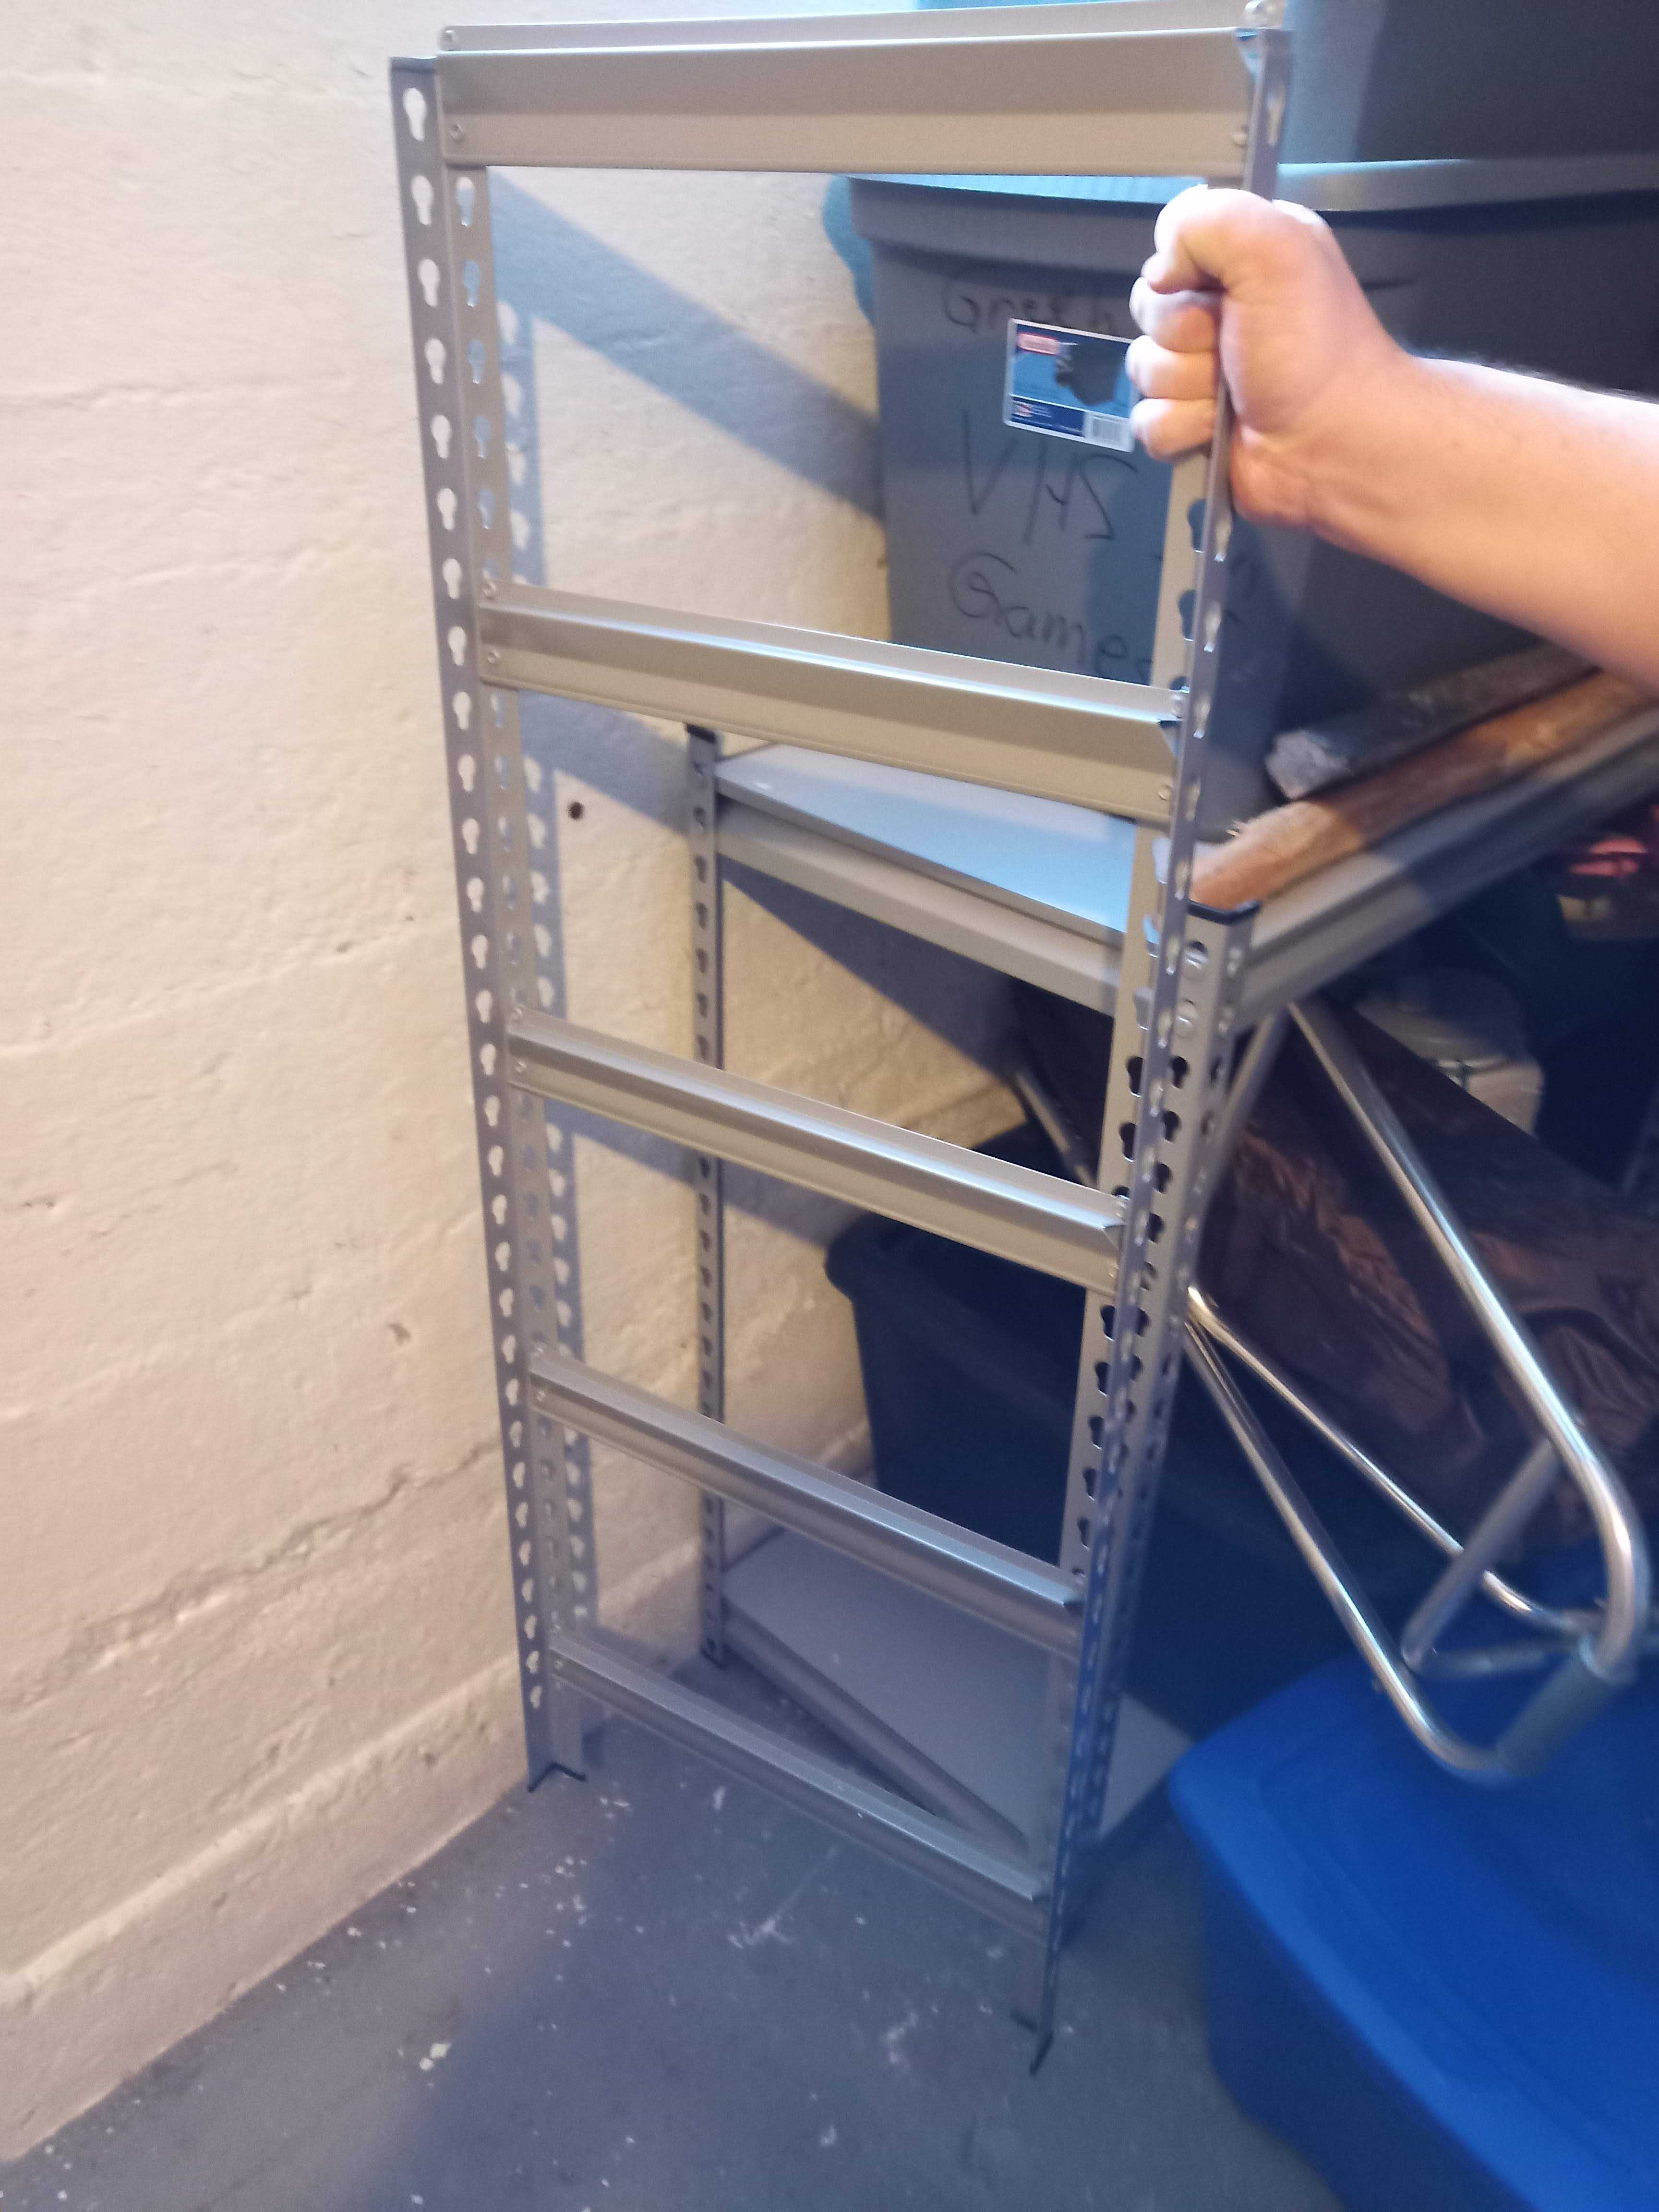
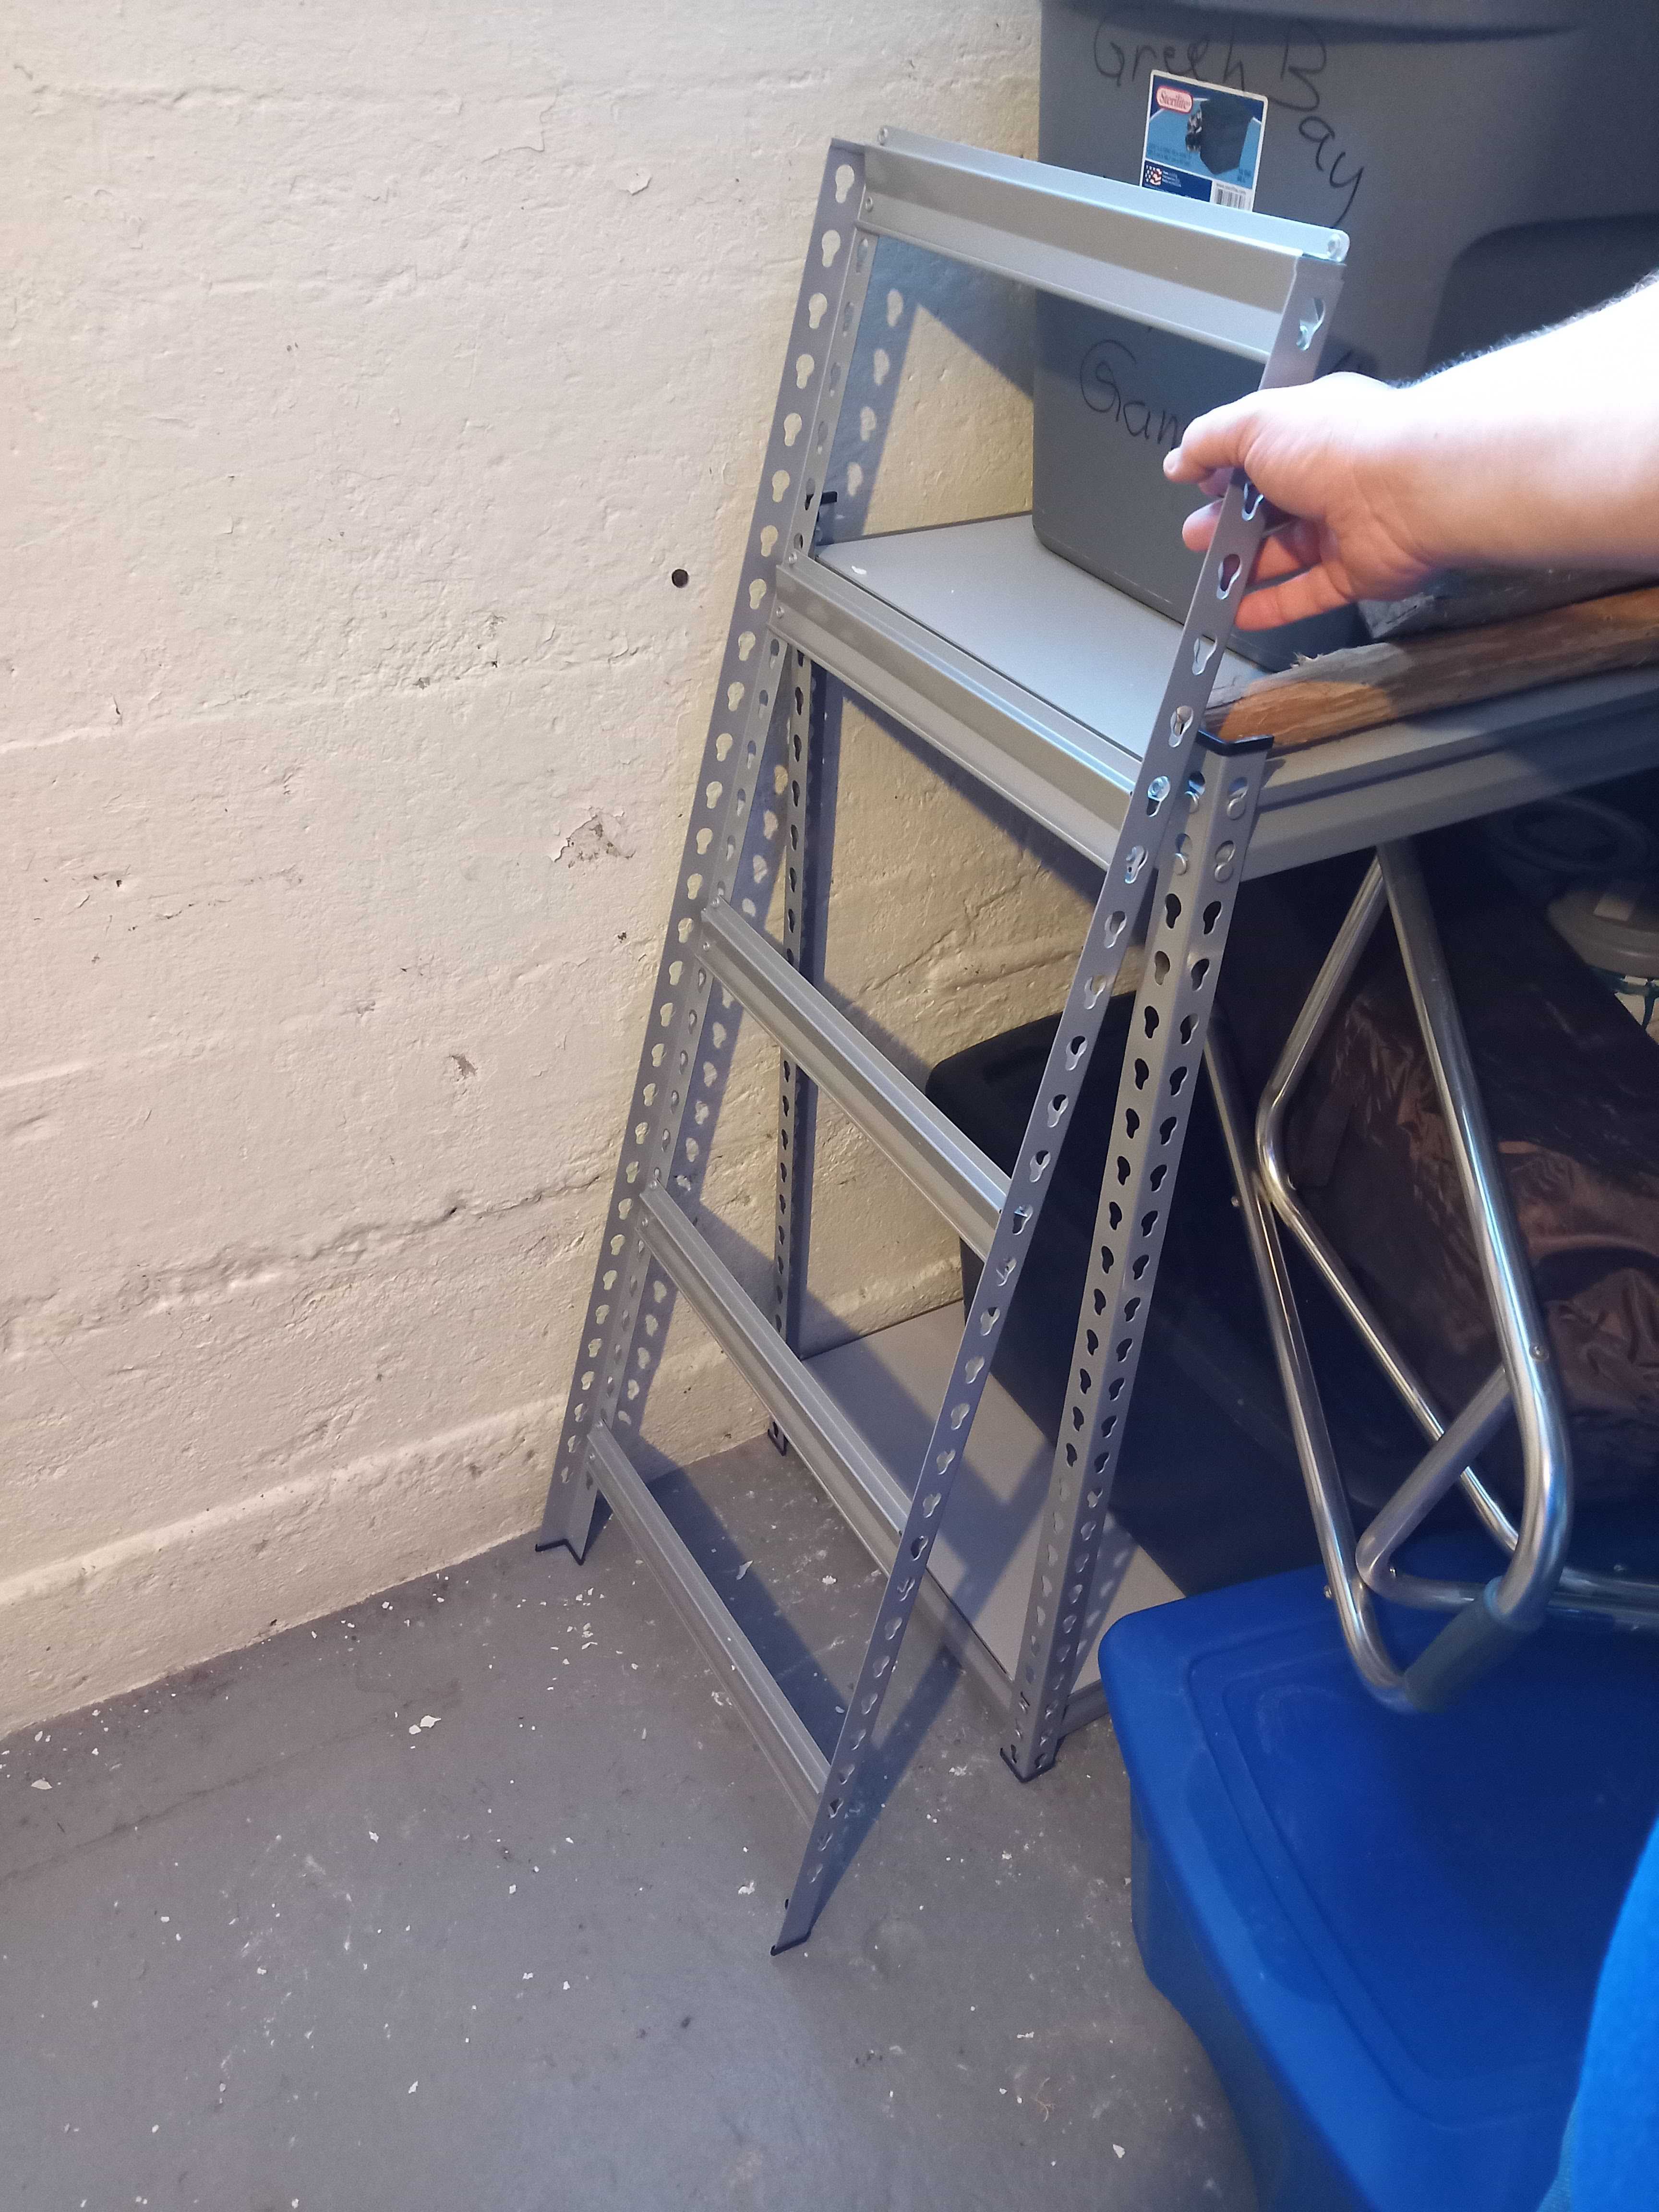
Now, you should be able to grab one of the long solid shelf brackets in one hand, rotate the other narrow shelf bottom, and attach next to one of the middle shelf brackets. You can then gently slide along the bracket, allowing it to continue to hold the rest up, until you reach the other, adjusting it with one hand to match before attaching both together.
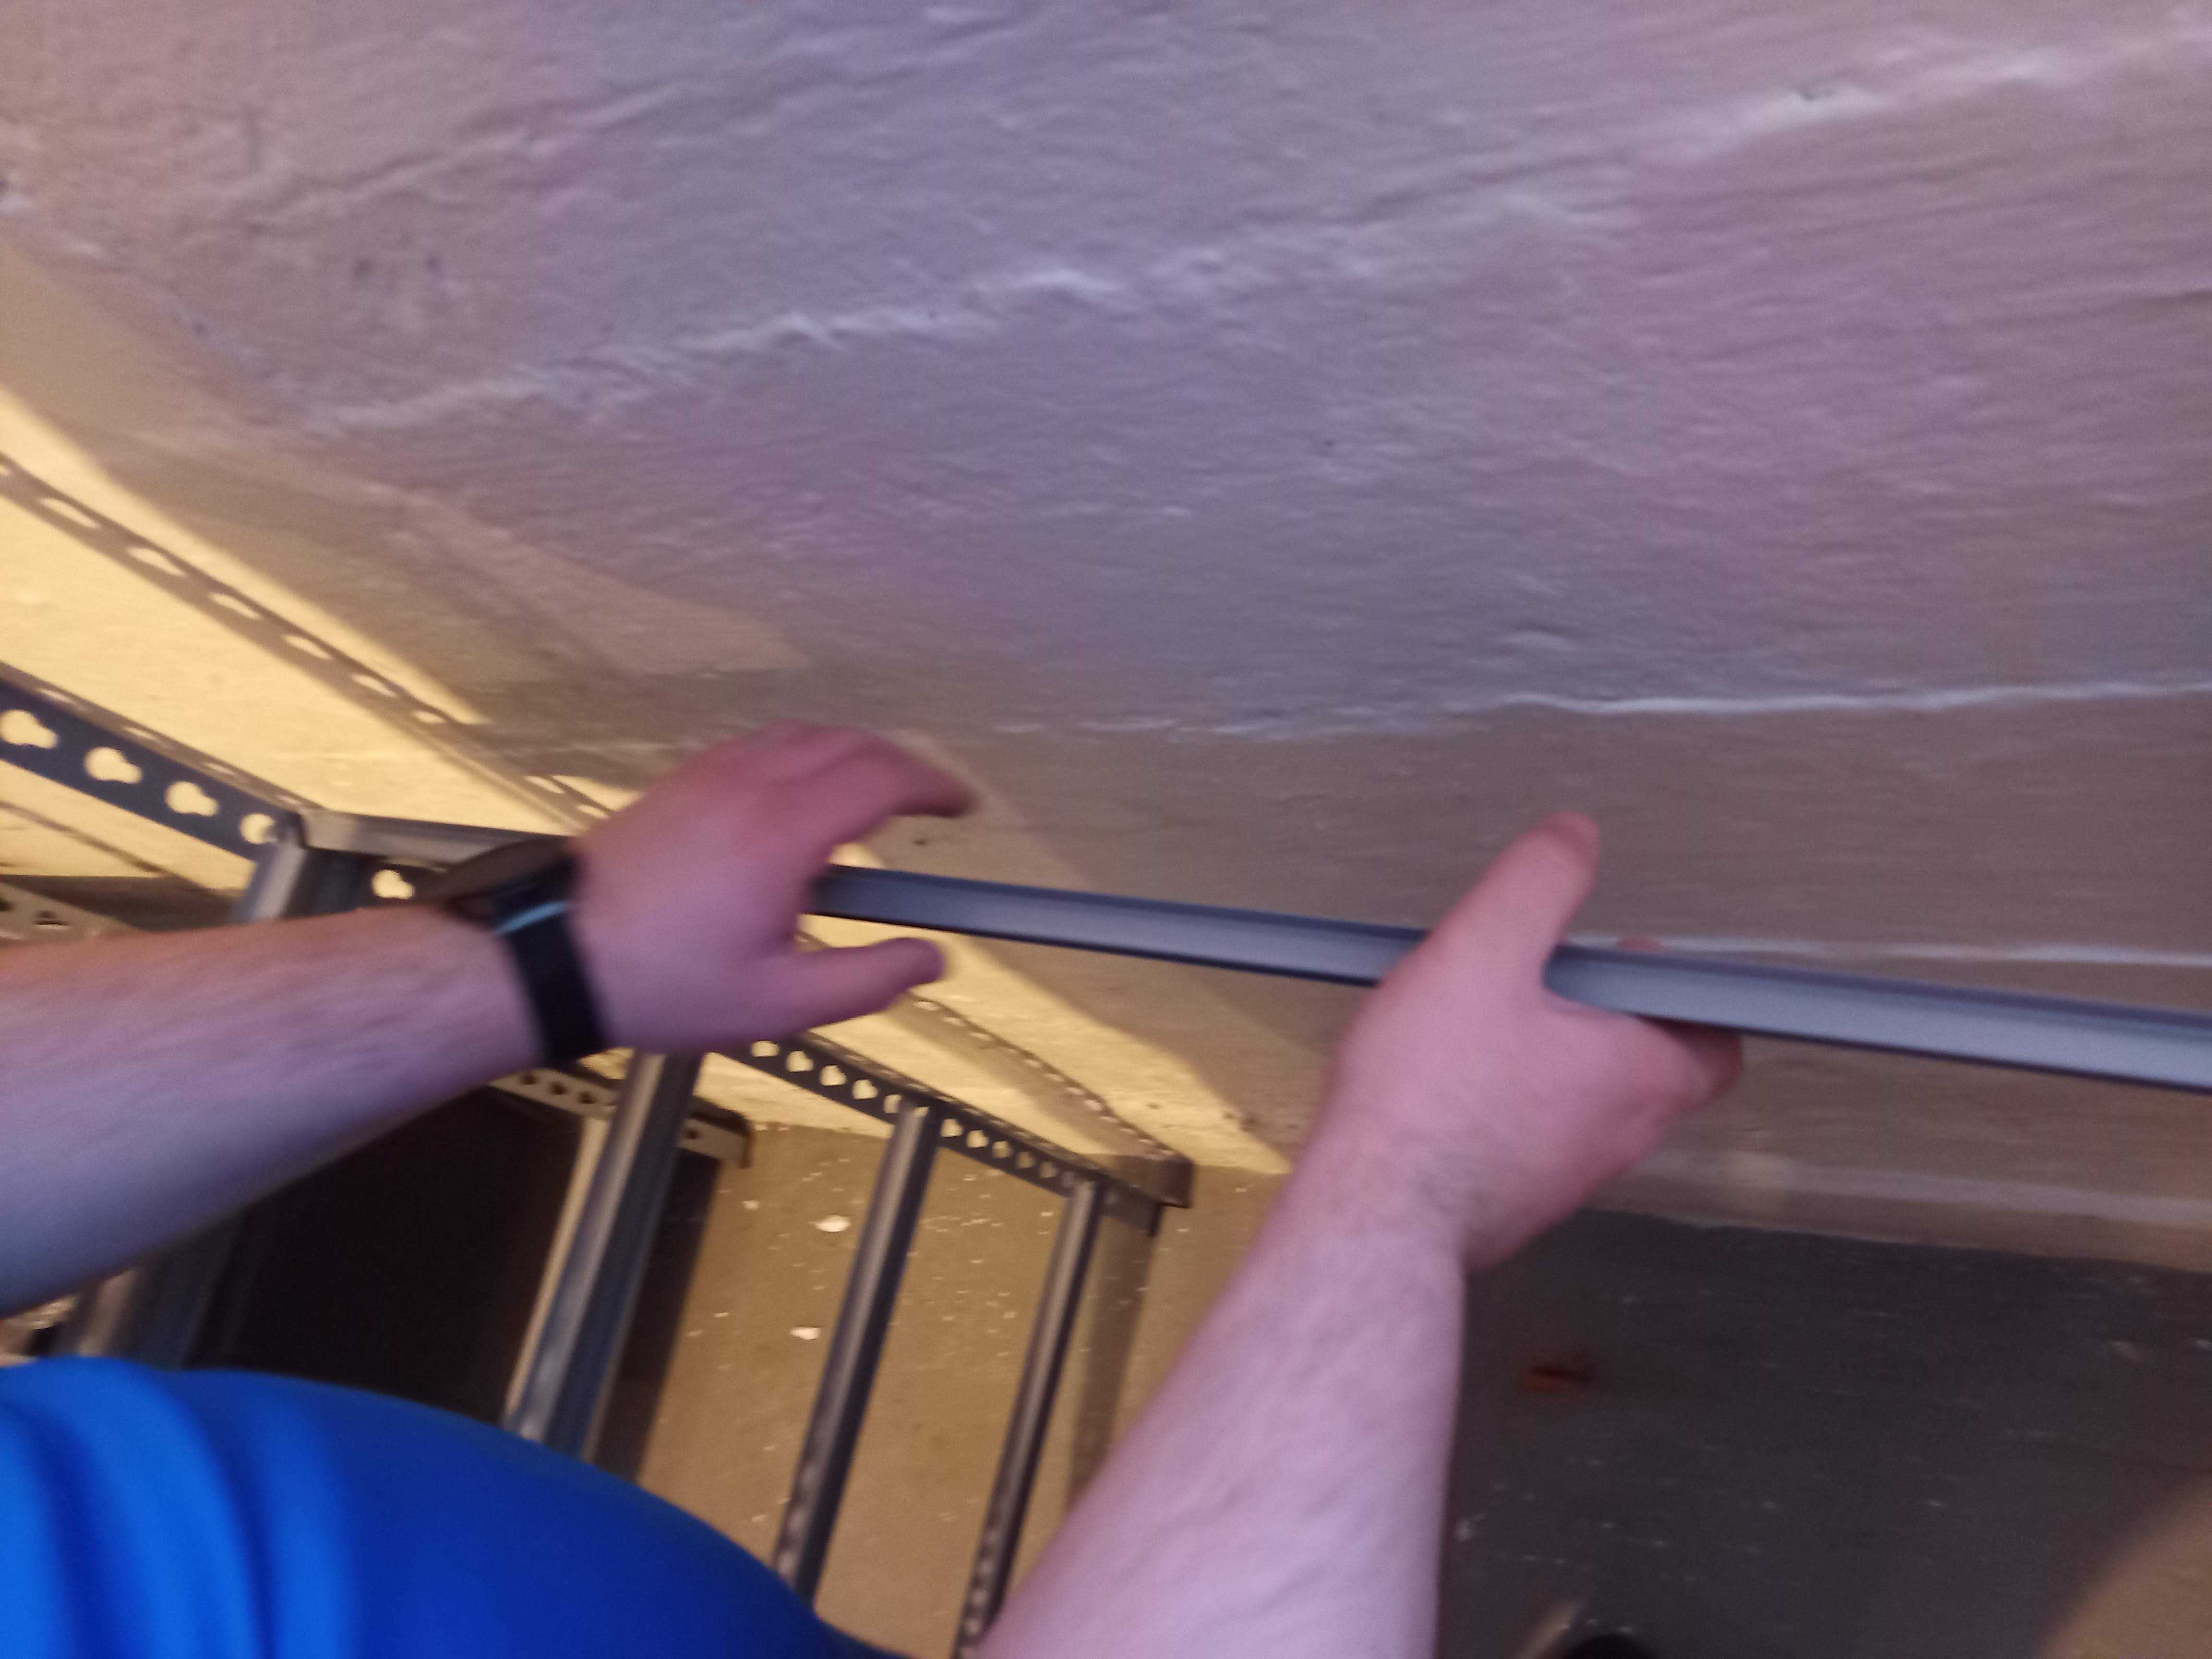
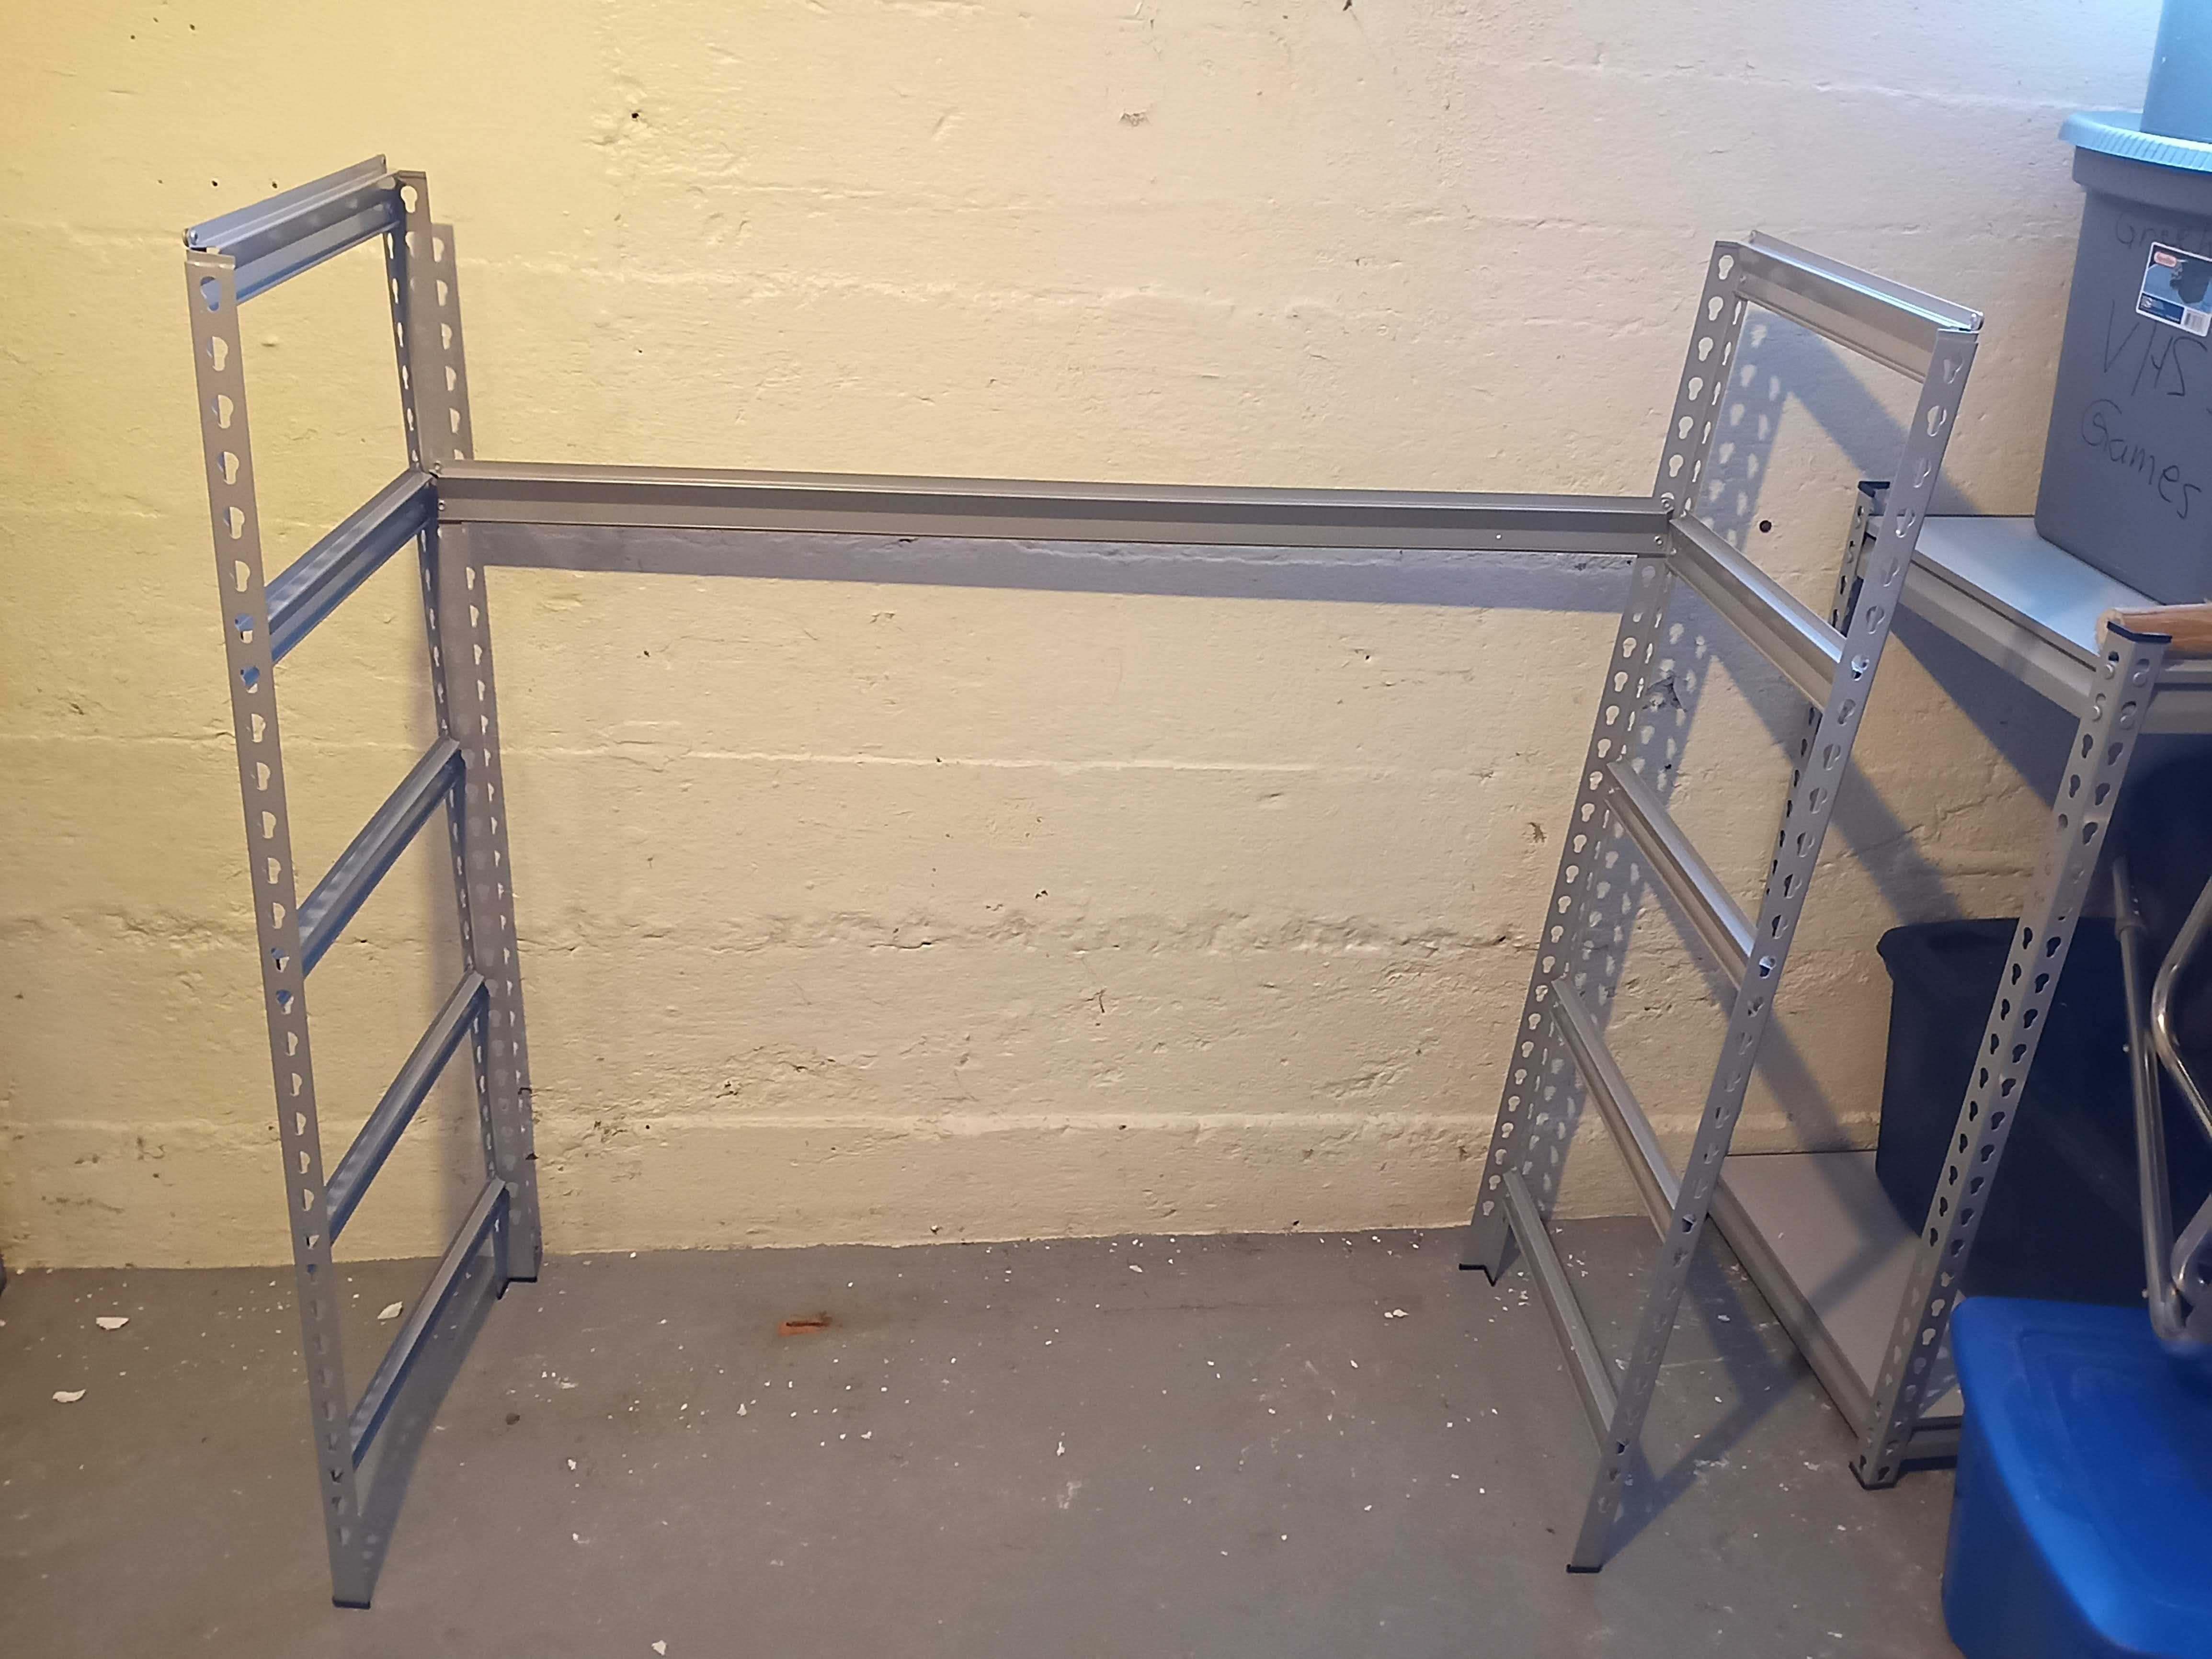
Now, start slotting in the rest of the holders - if you angle by accident, remain calm, finish the one you are on, and reattach any of the pieces that came out. You may need to double-check your count of holes between the brackets, as it should all go together reasonably easily on a level surface.
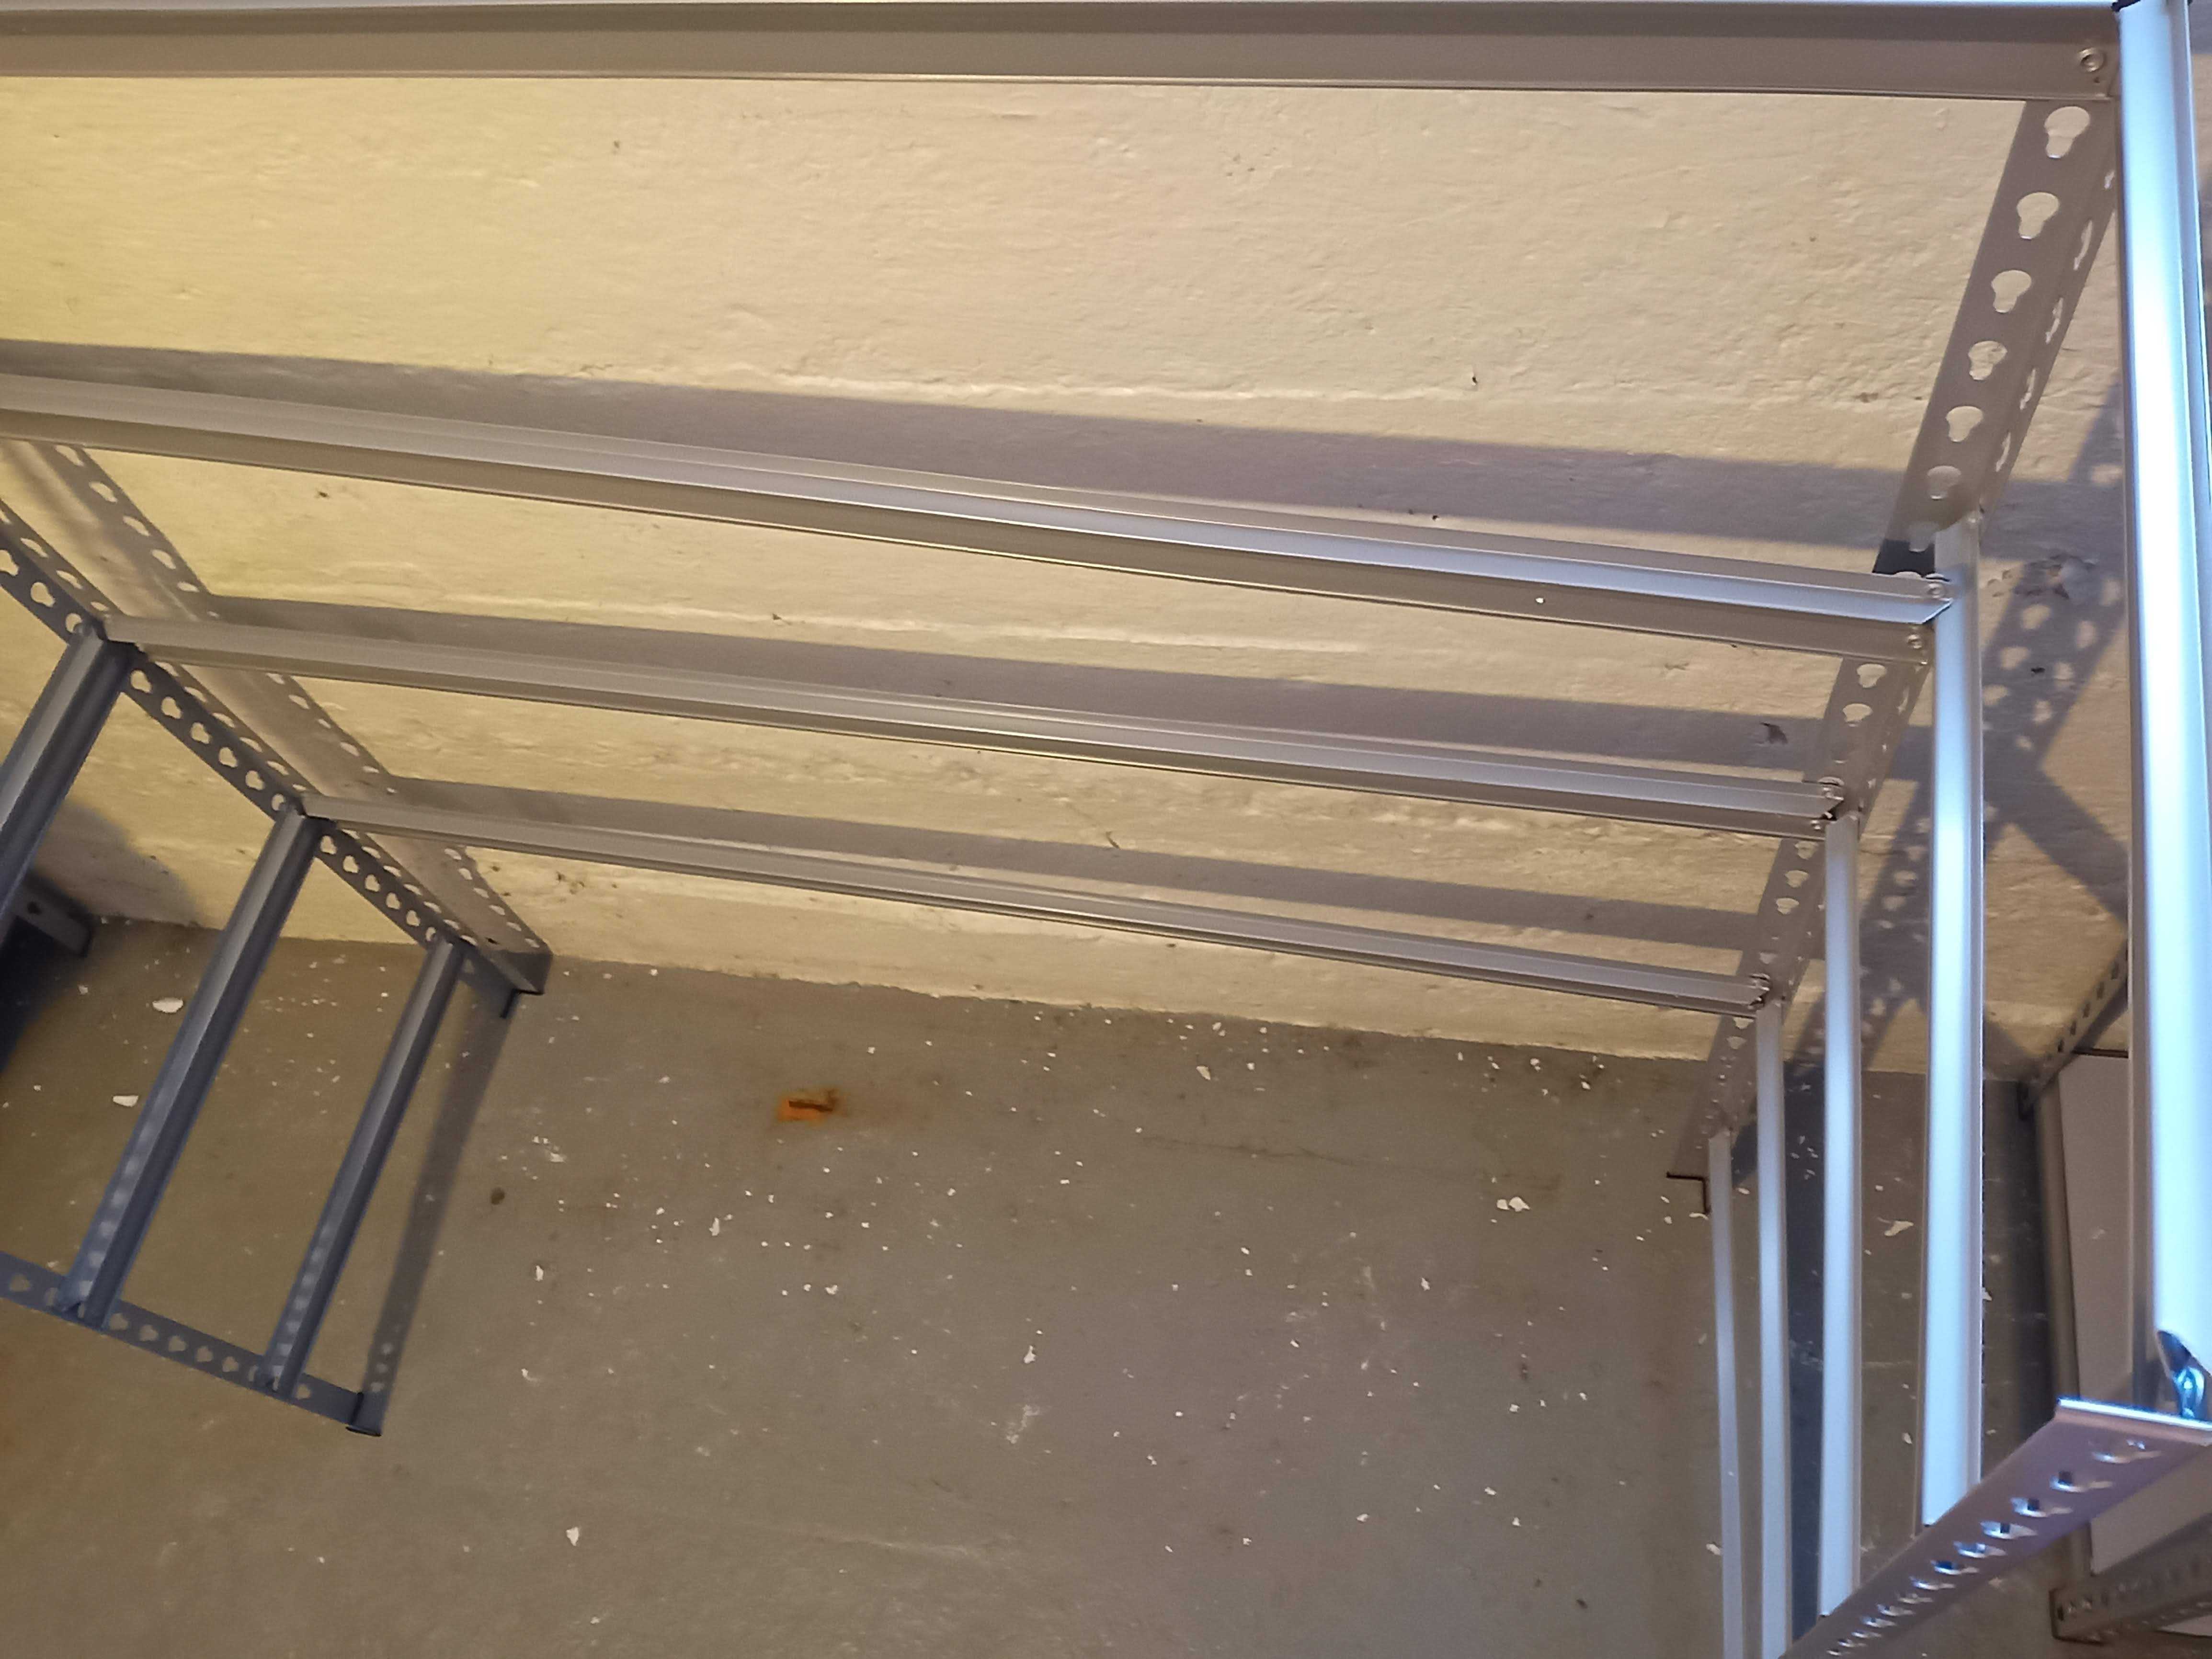
After you have completed the back shelving brackets, I recommend putting just the bottom front shelving bracket, and then the bottom shelf. This weight will hold the rest of the unit level for easy transport and make it harder to twist things apart by accident while moving the shelf to its final resting place.
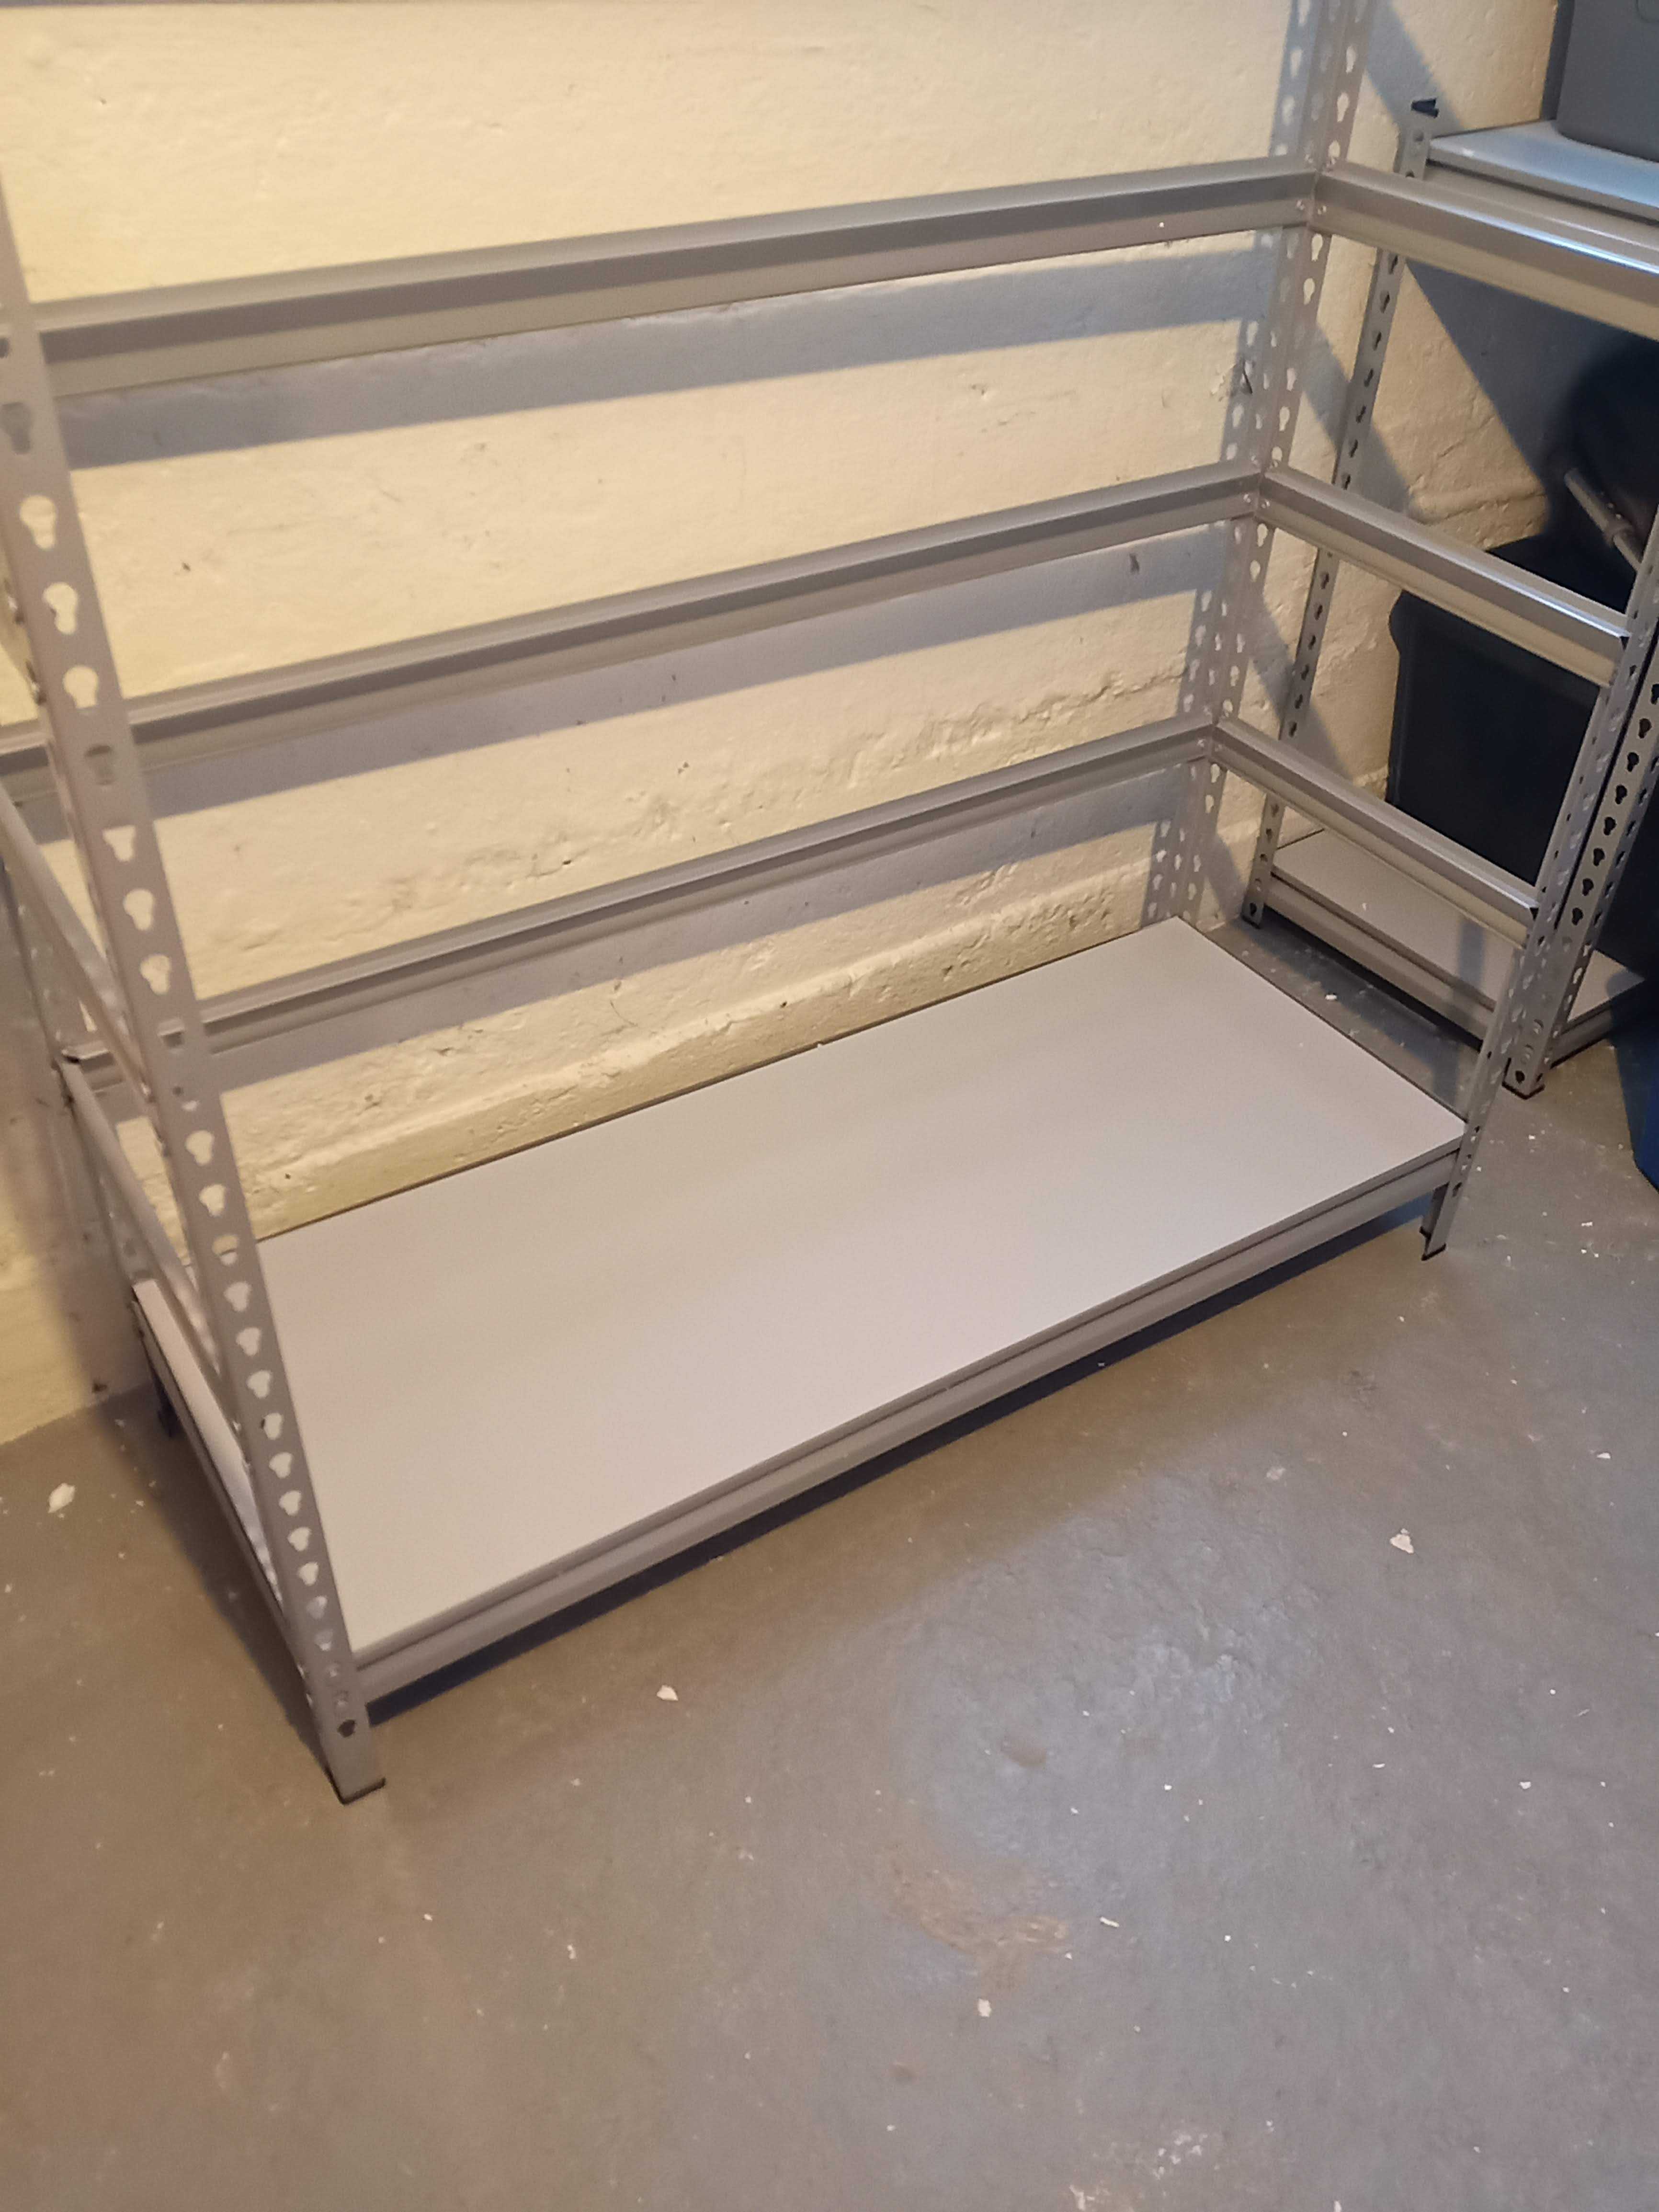
If you have a partner, you may put the rest of the shelves on one at a time, and move it together. If you are by yourself, I recommend putting on the top bracket and at least one more for further stability, then lifting at opposite corners to move it prior to finishing putting on the shelves. Once it is at its final spot, you may then put it together one shelf at a time. Starting with the bottom shelf is far easier.
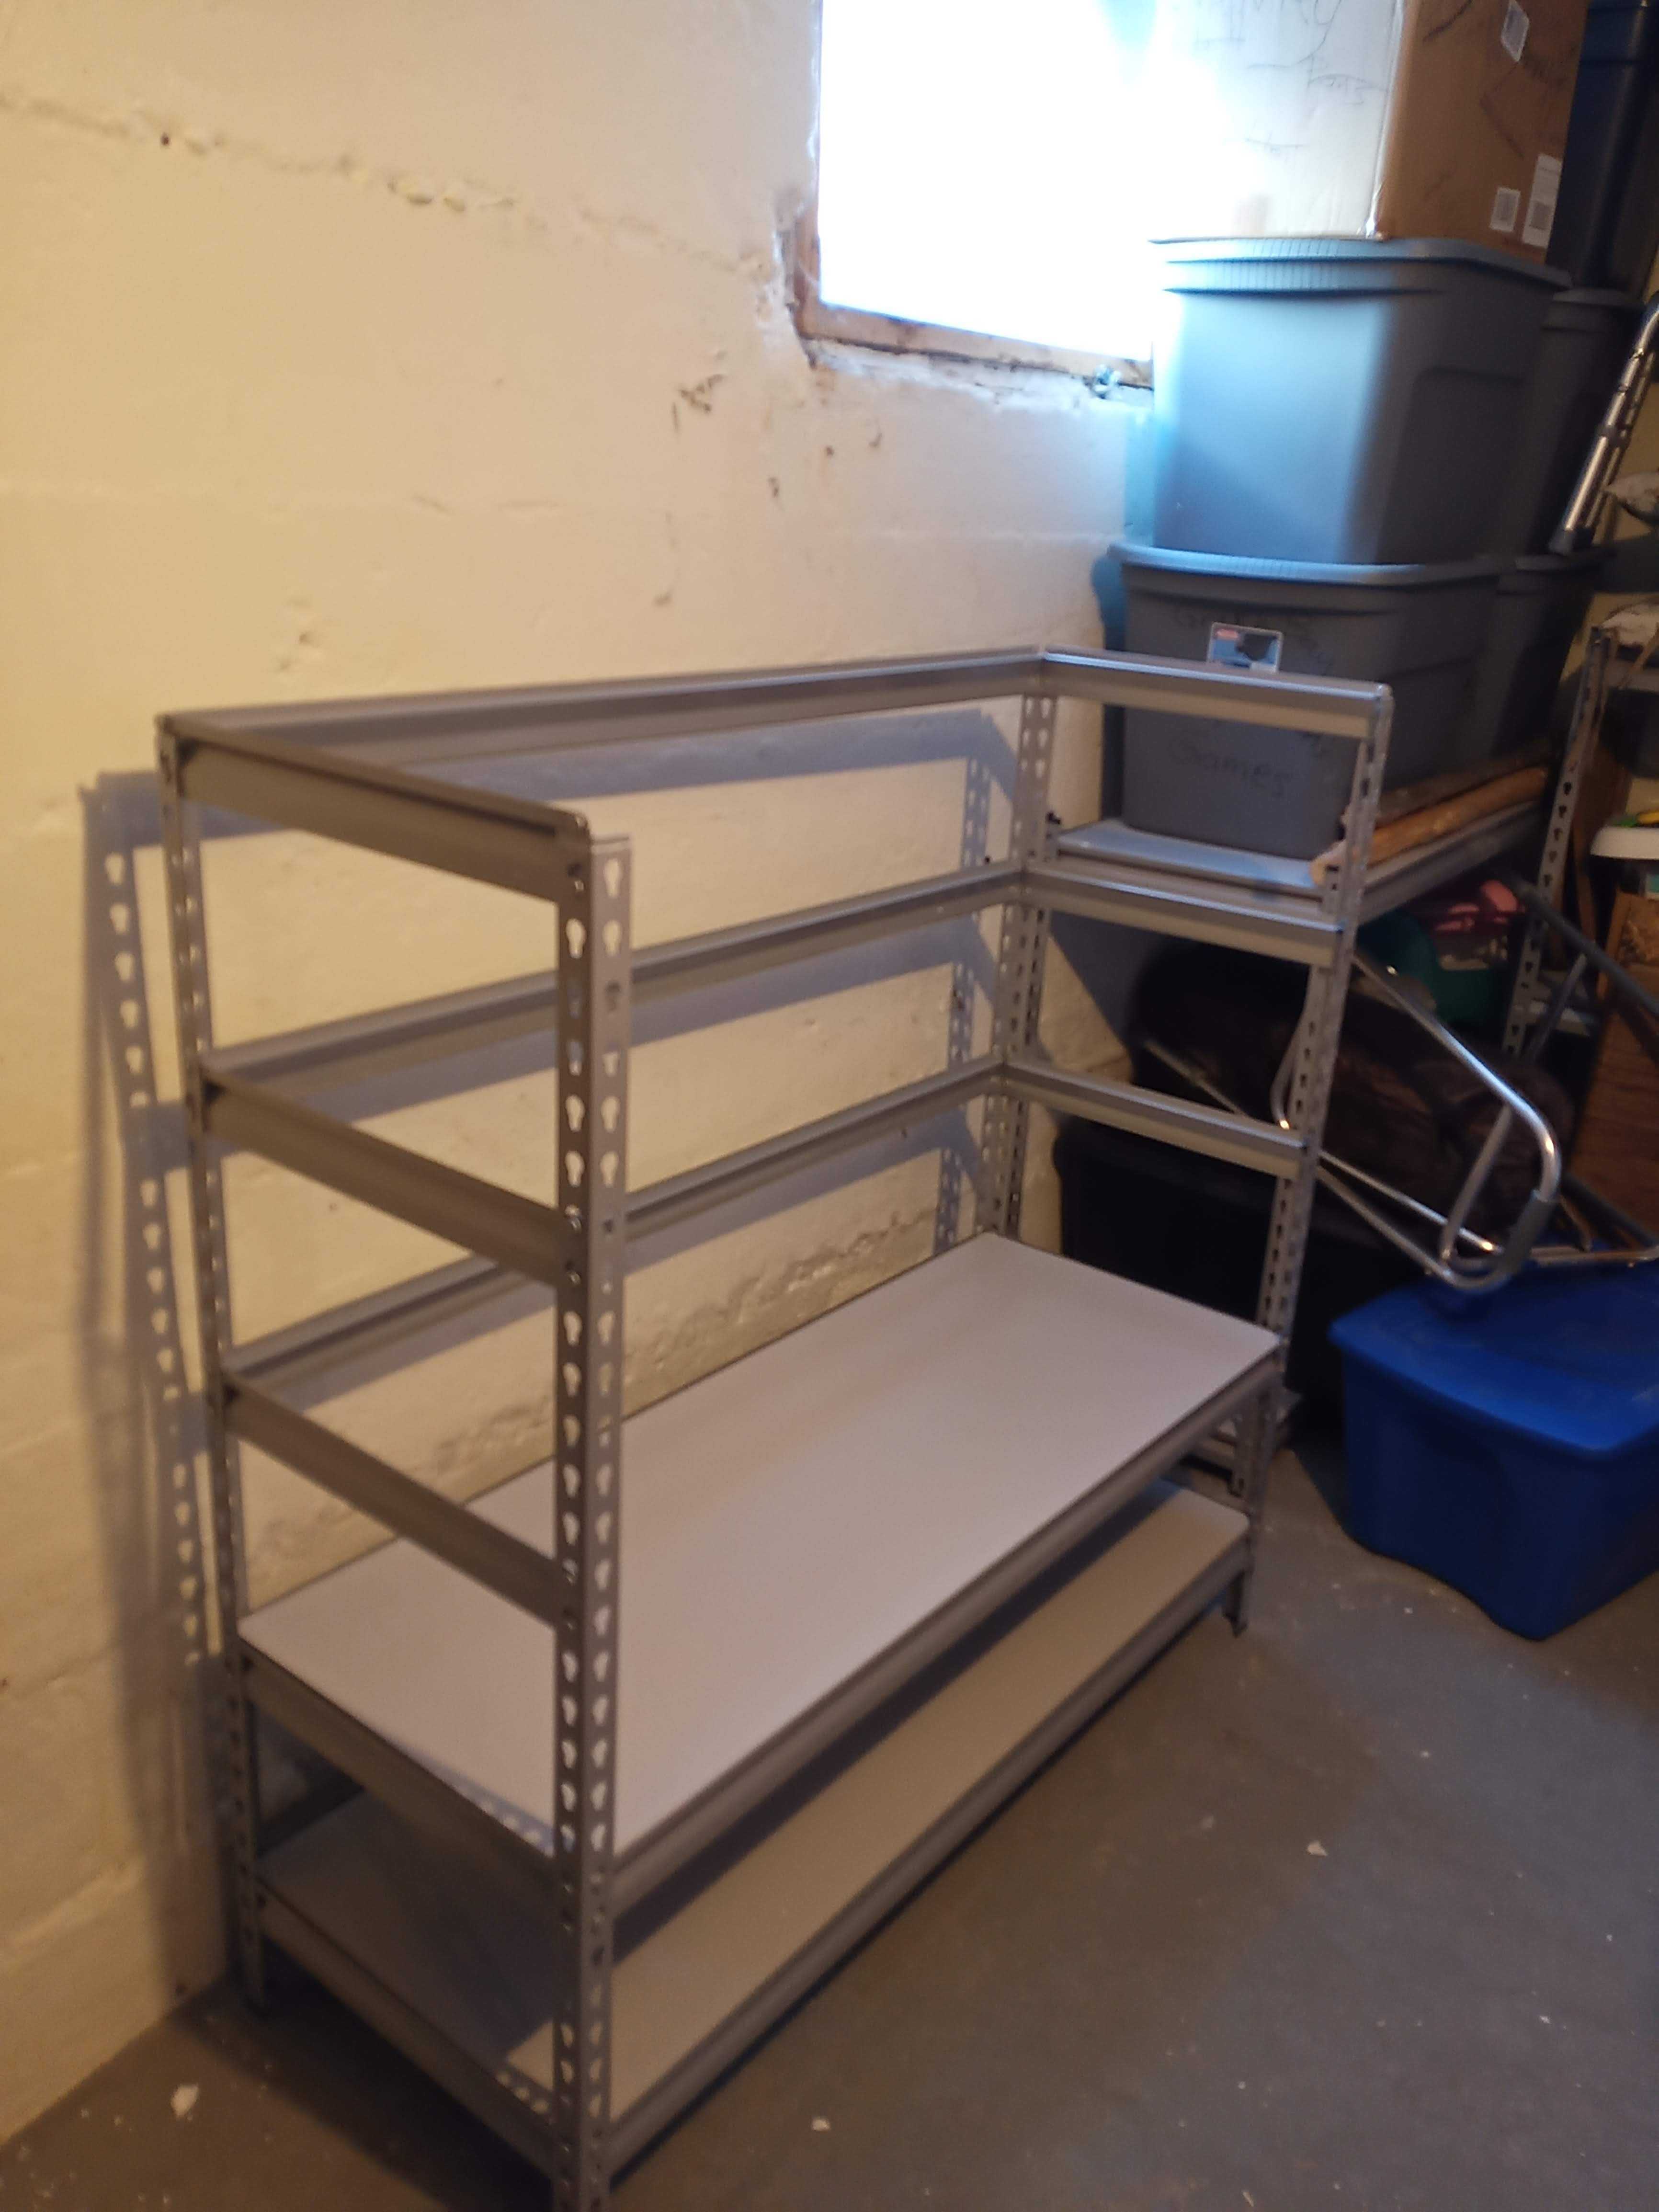
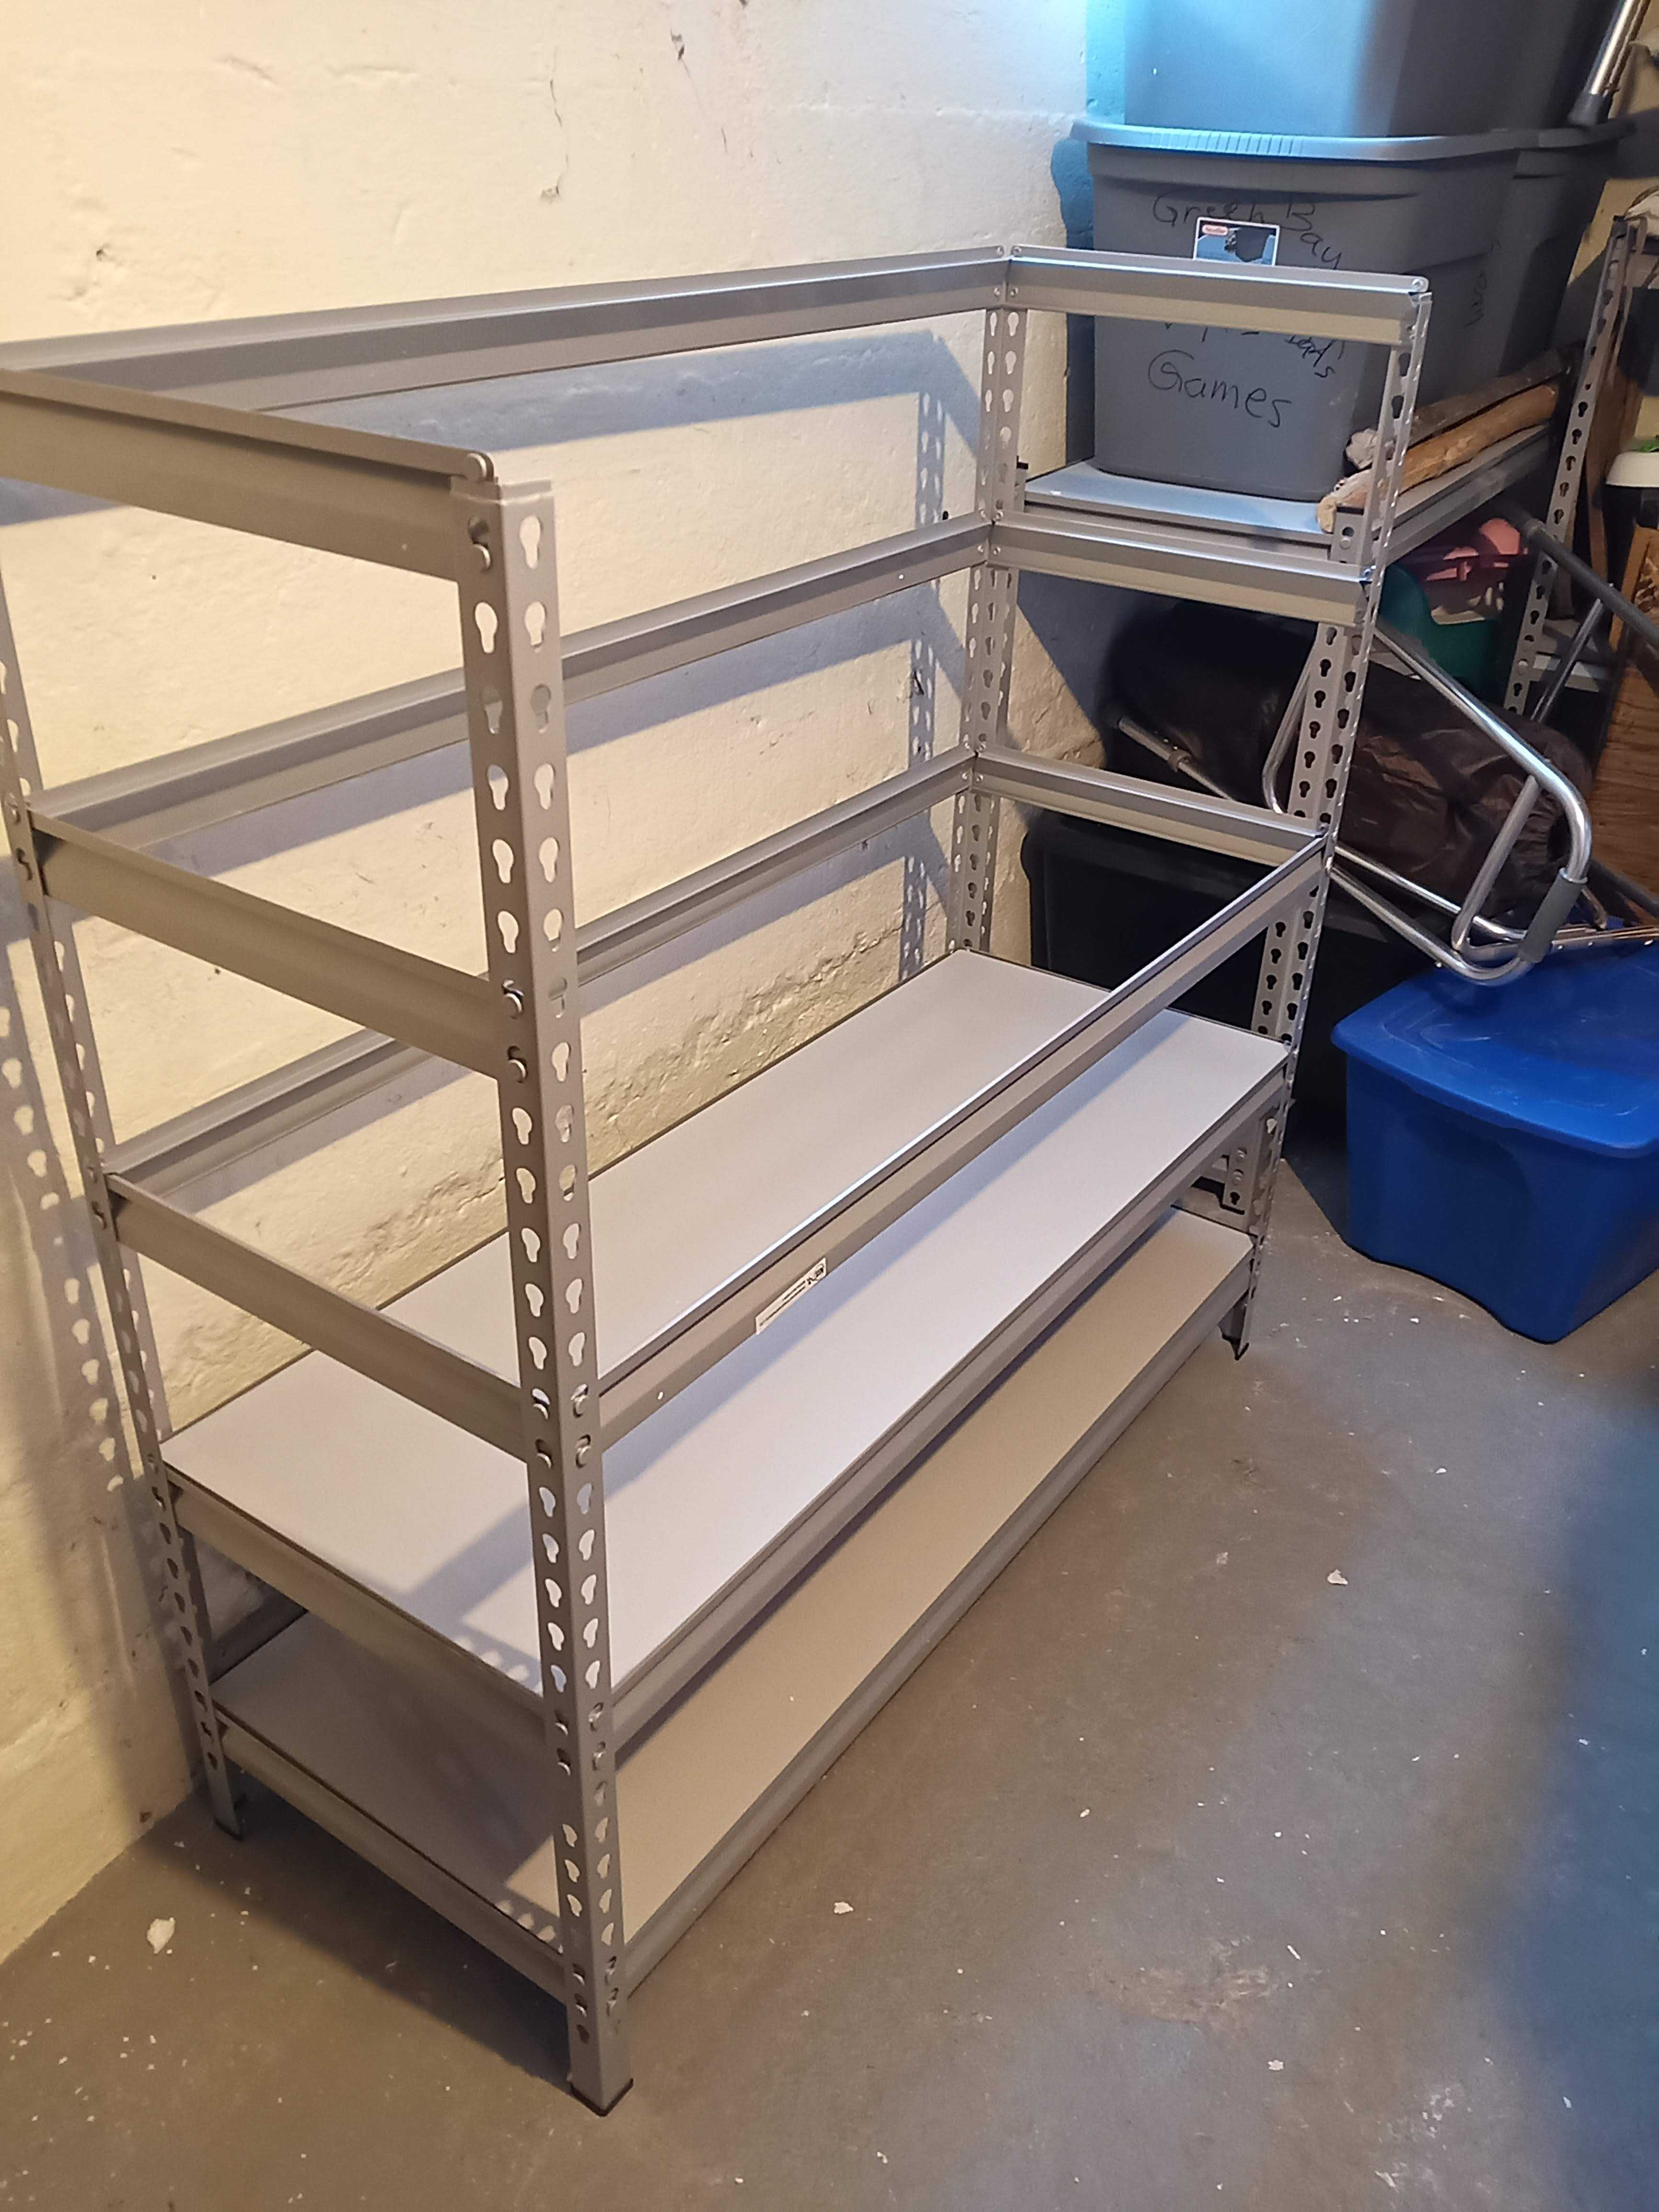
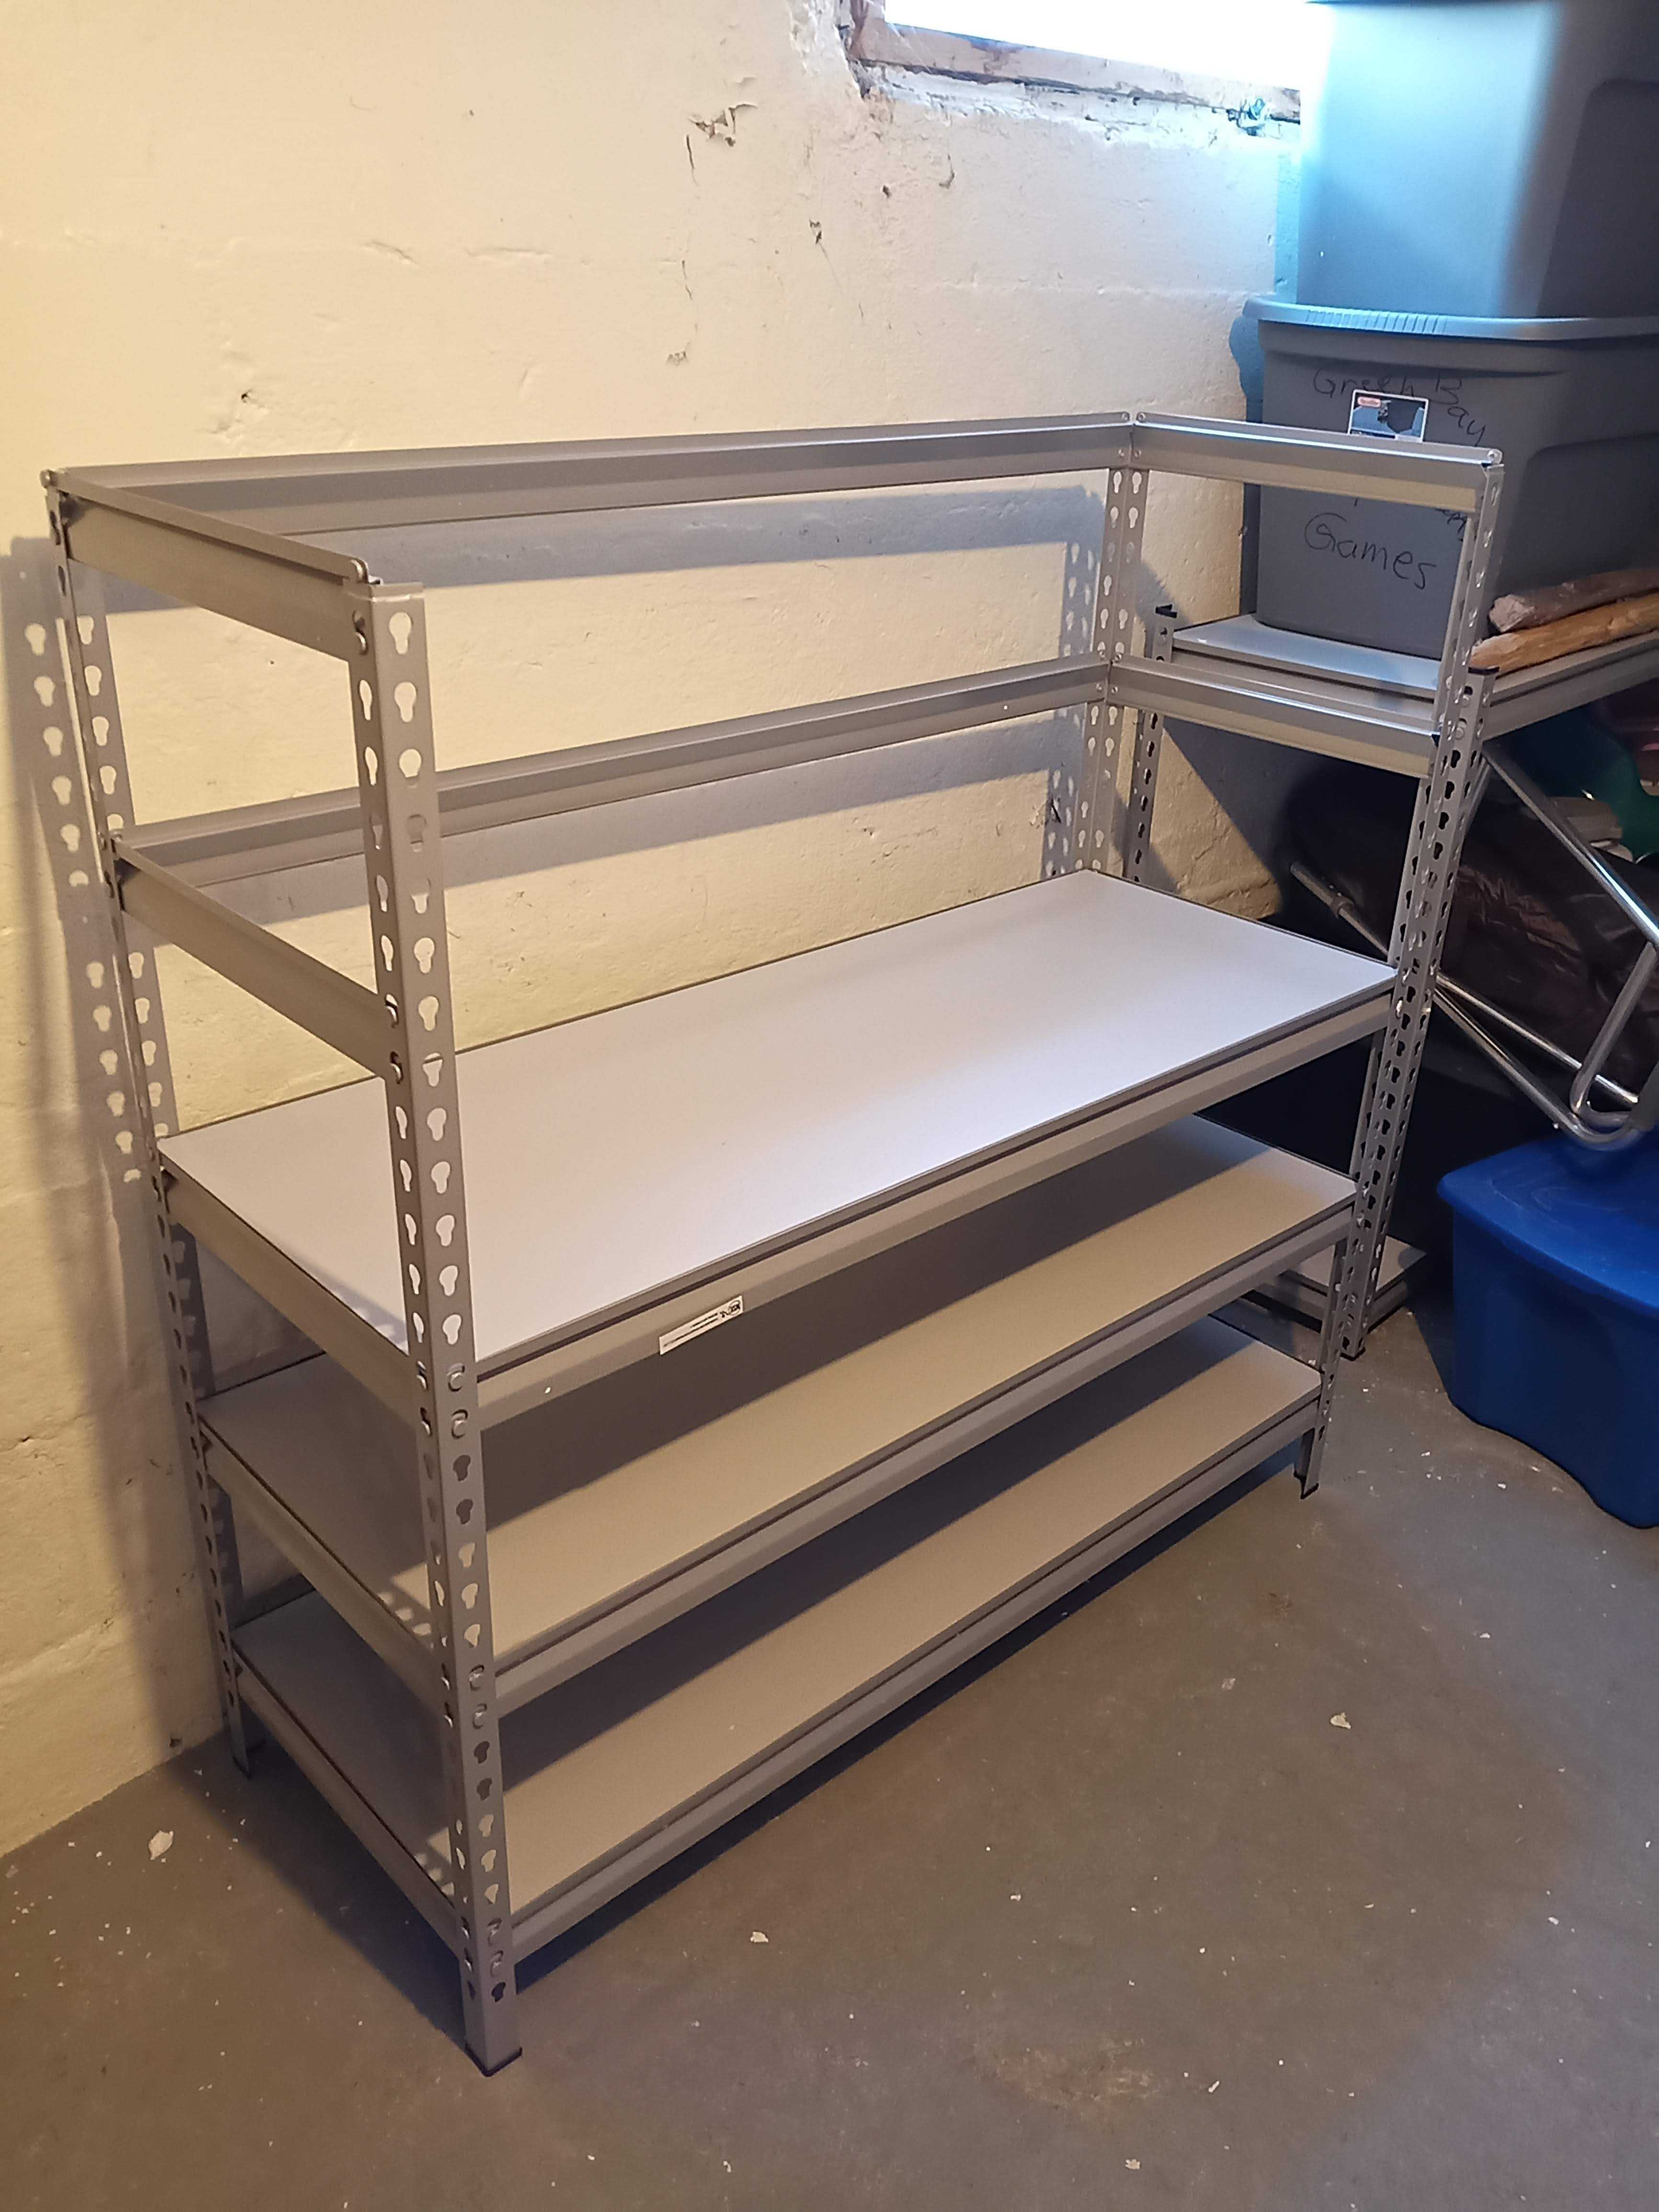
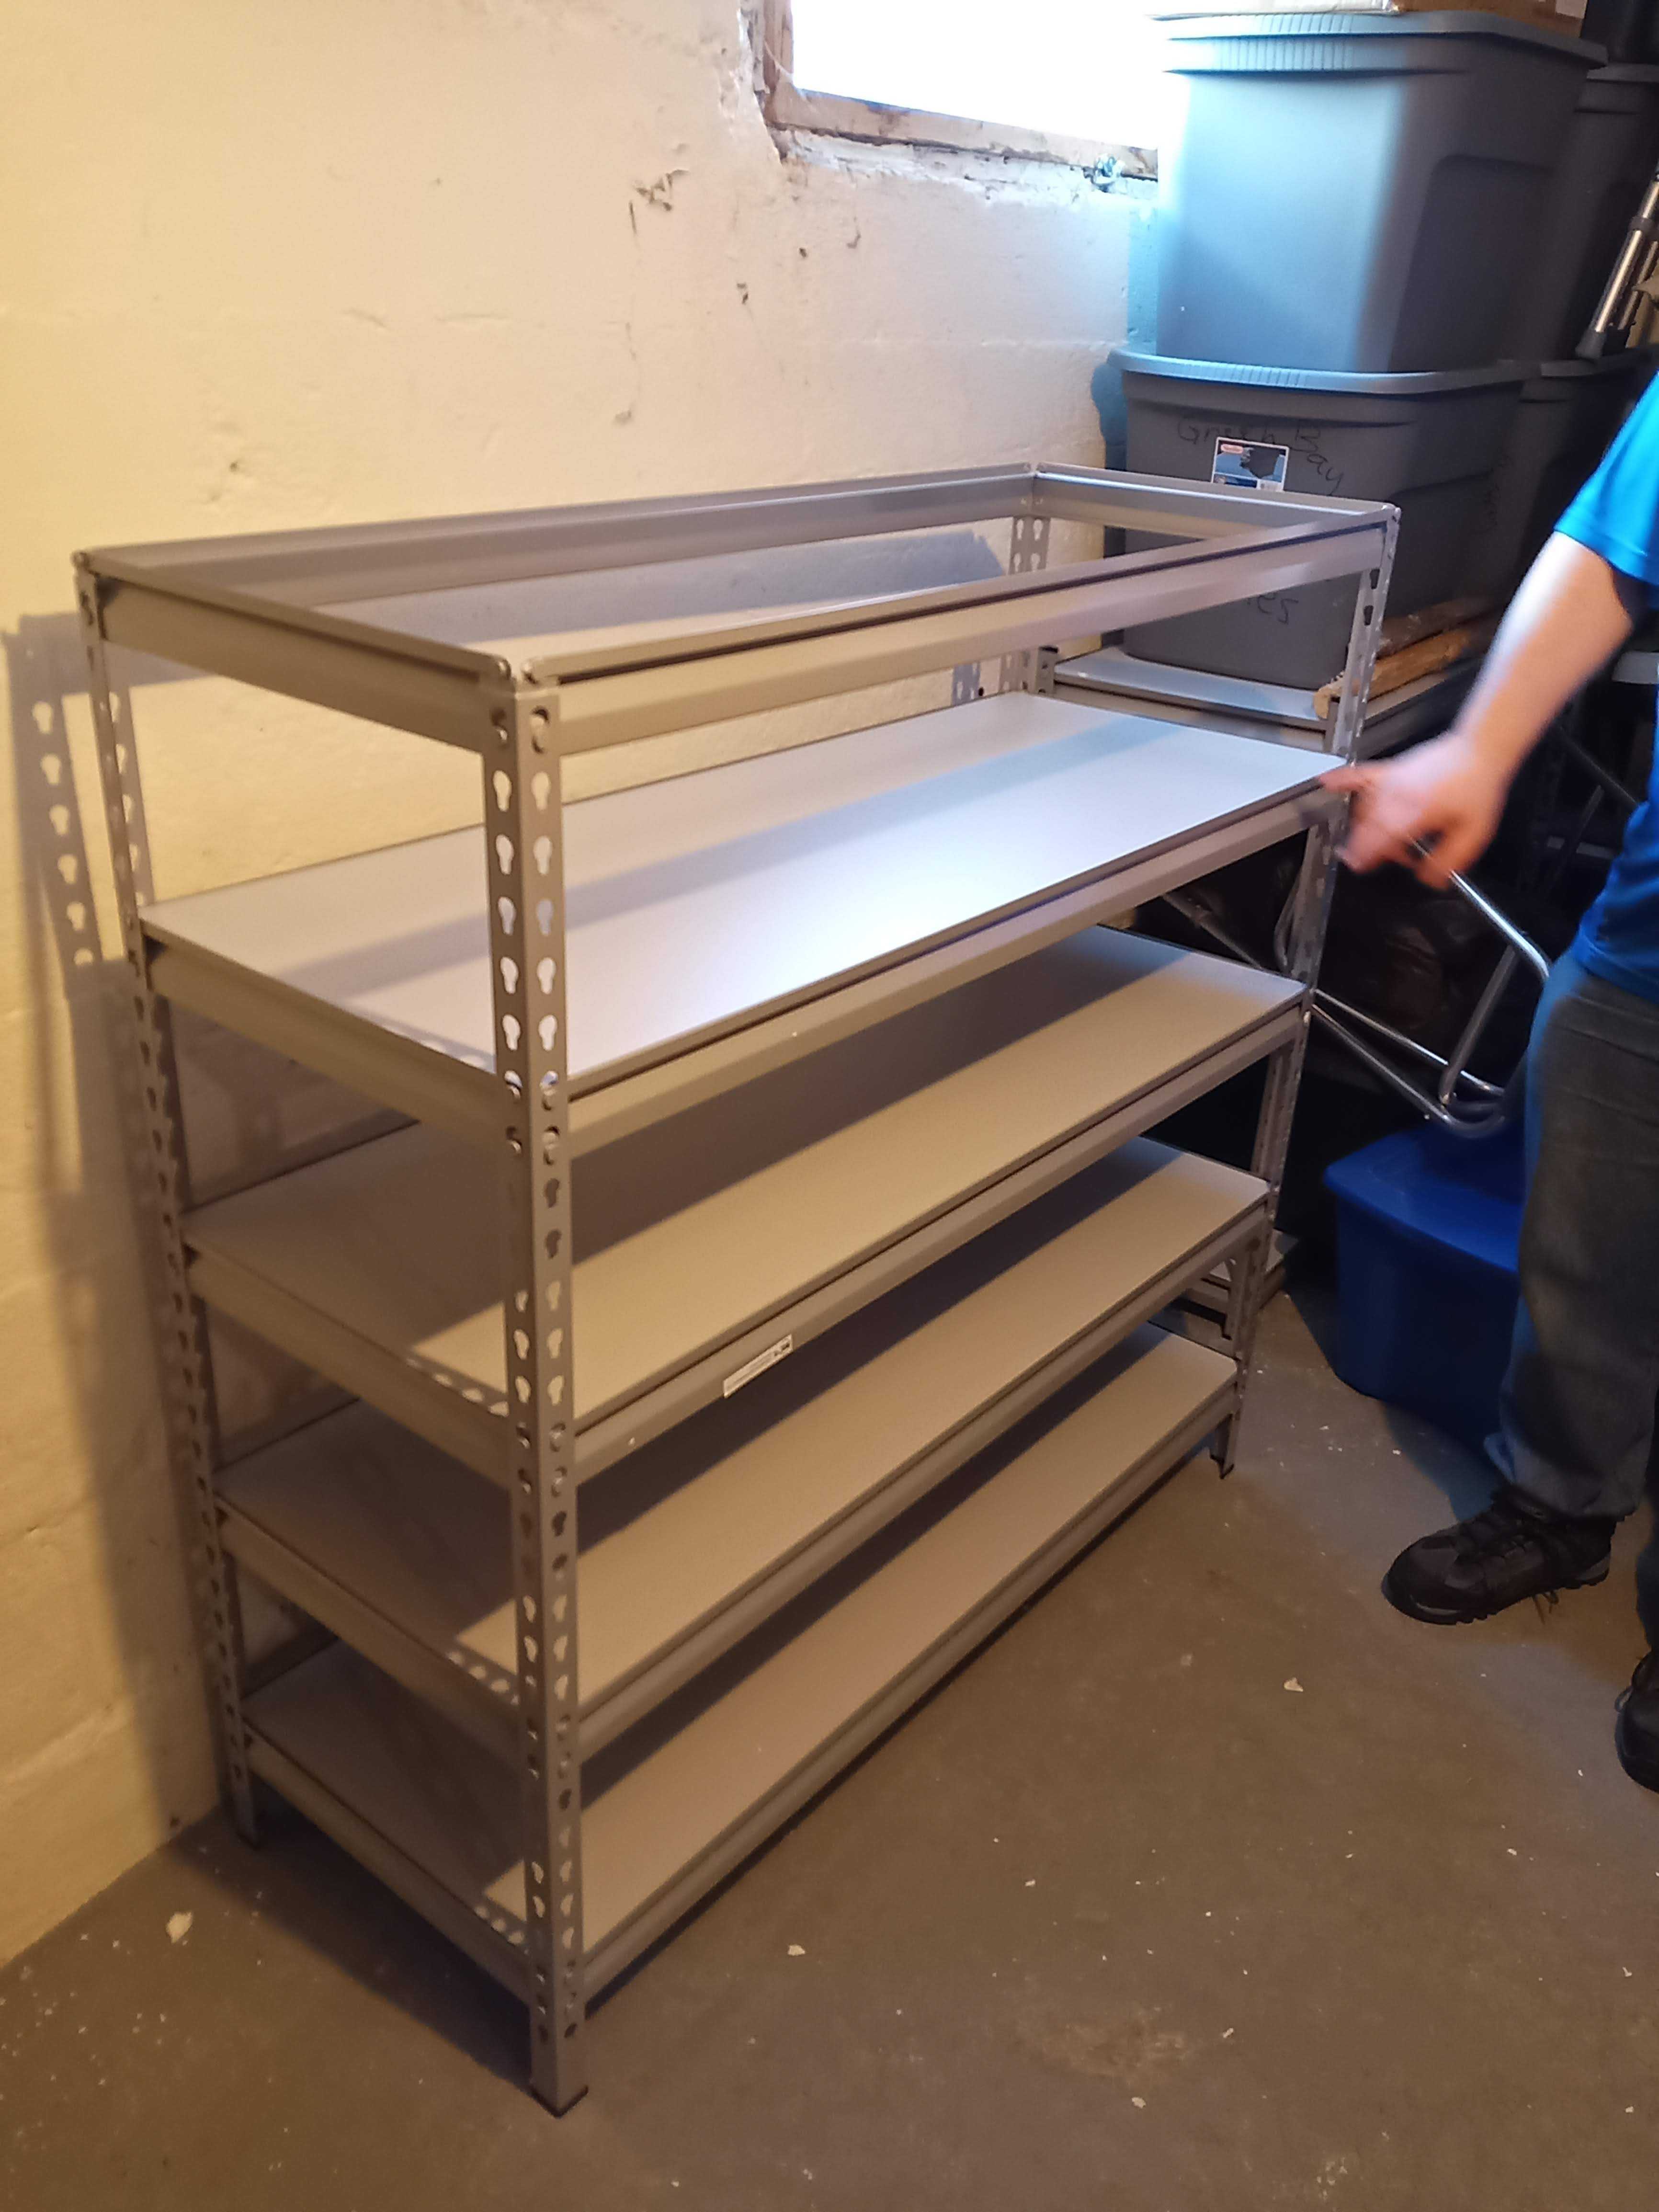
Now that you have completed and positioned the bottom to your satisfaction, you may follow the same steps but with the shorter corner brackets, and putting the rubber L pieces on the top. However, if you attach a shelf, bear in mind that while it helps with the stability while moving the unit, it will become top-heavy - BE SURE NOT TO DROP IT ON YOURSELF. Depending upon how you have to navigate it, it can also get in the way (we had some rafters to deal with where we were installing). It can help to pull off some side shelf brackets from the bottom and attach them to the top temporarily so as to increase stability without much weight added.
Once you have the top half ready to attach, you will want to lift it as evenly as possible, and place it on top of the bottom with the top brackets on the bottom tucking it in so that it is free-standing. We did find it easier to lift evenly with a single person when it was not loaded down with the shelves yet, though that may not be the case for everyone.
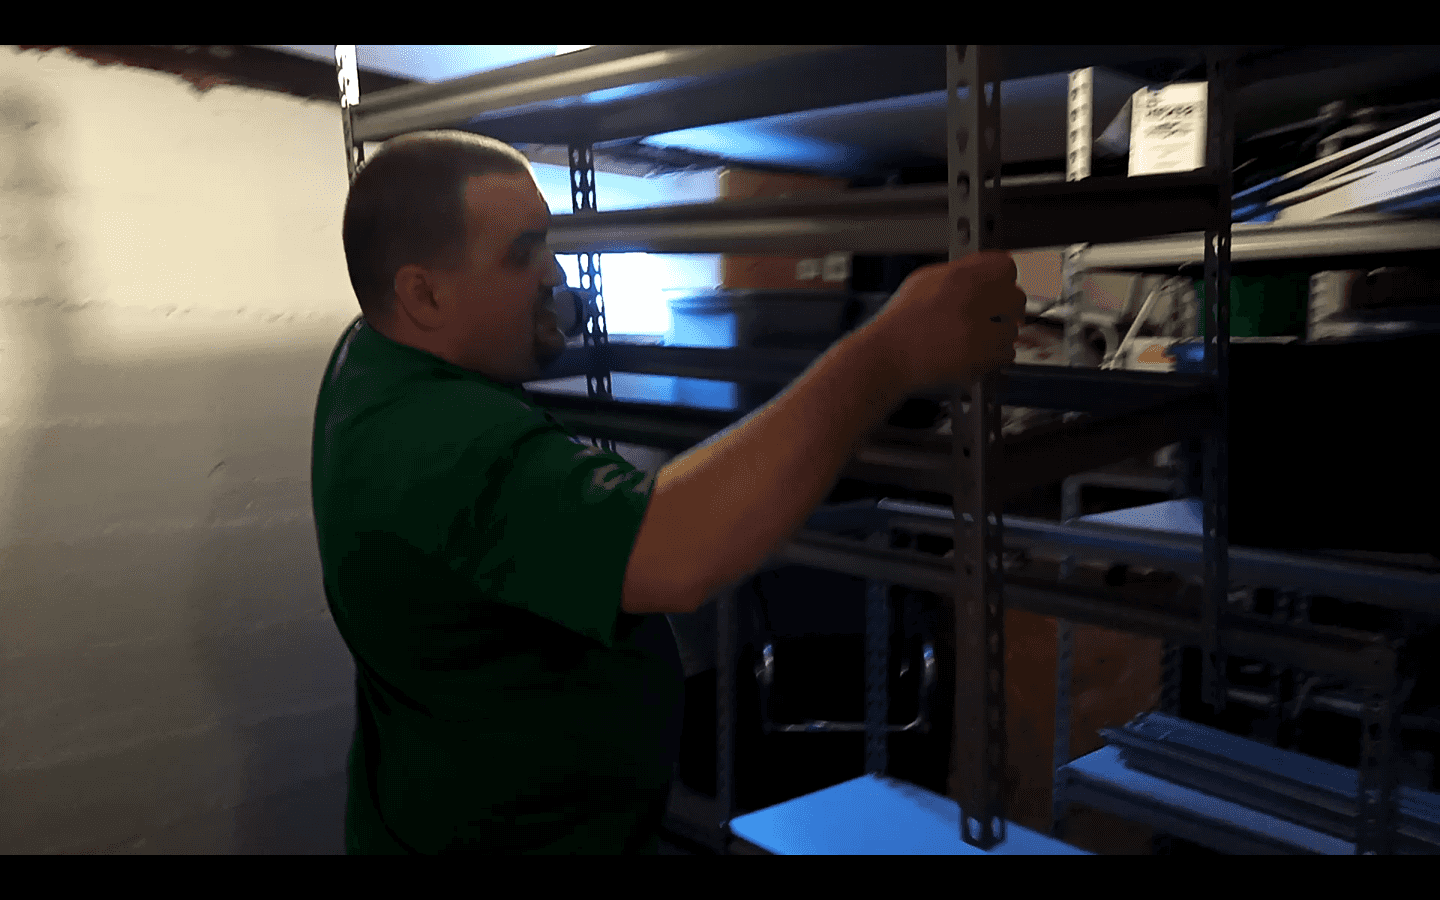
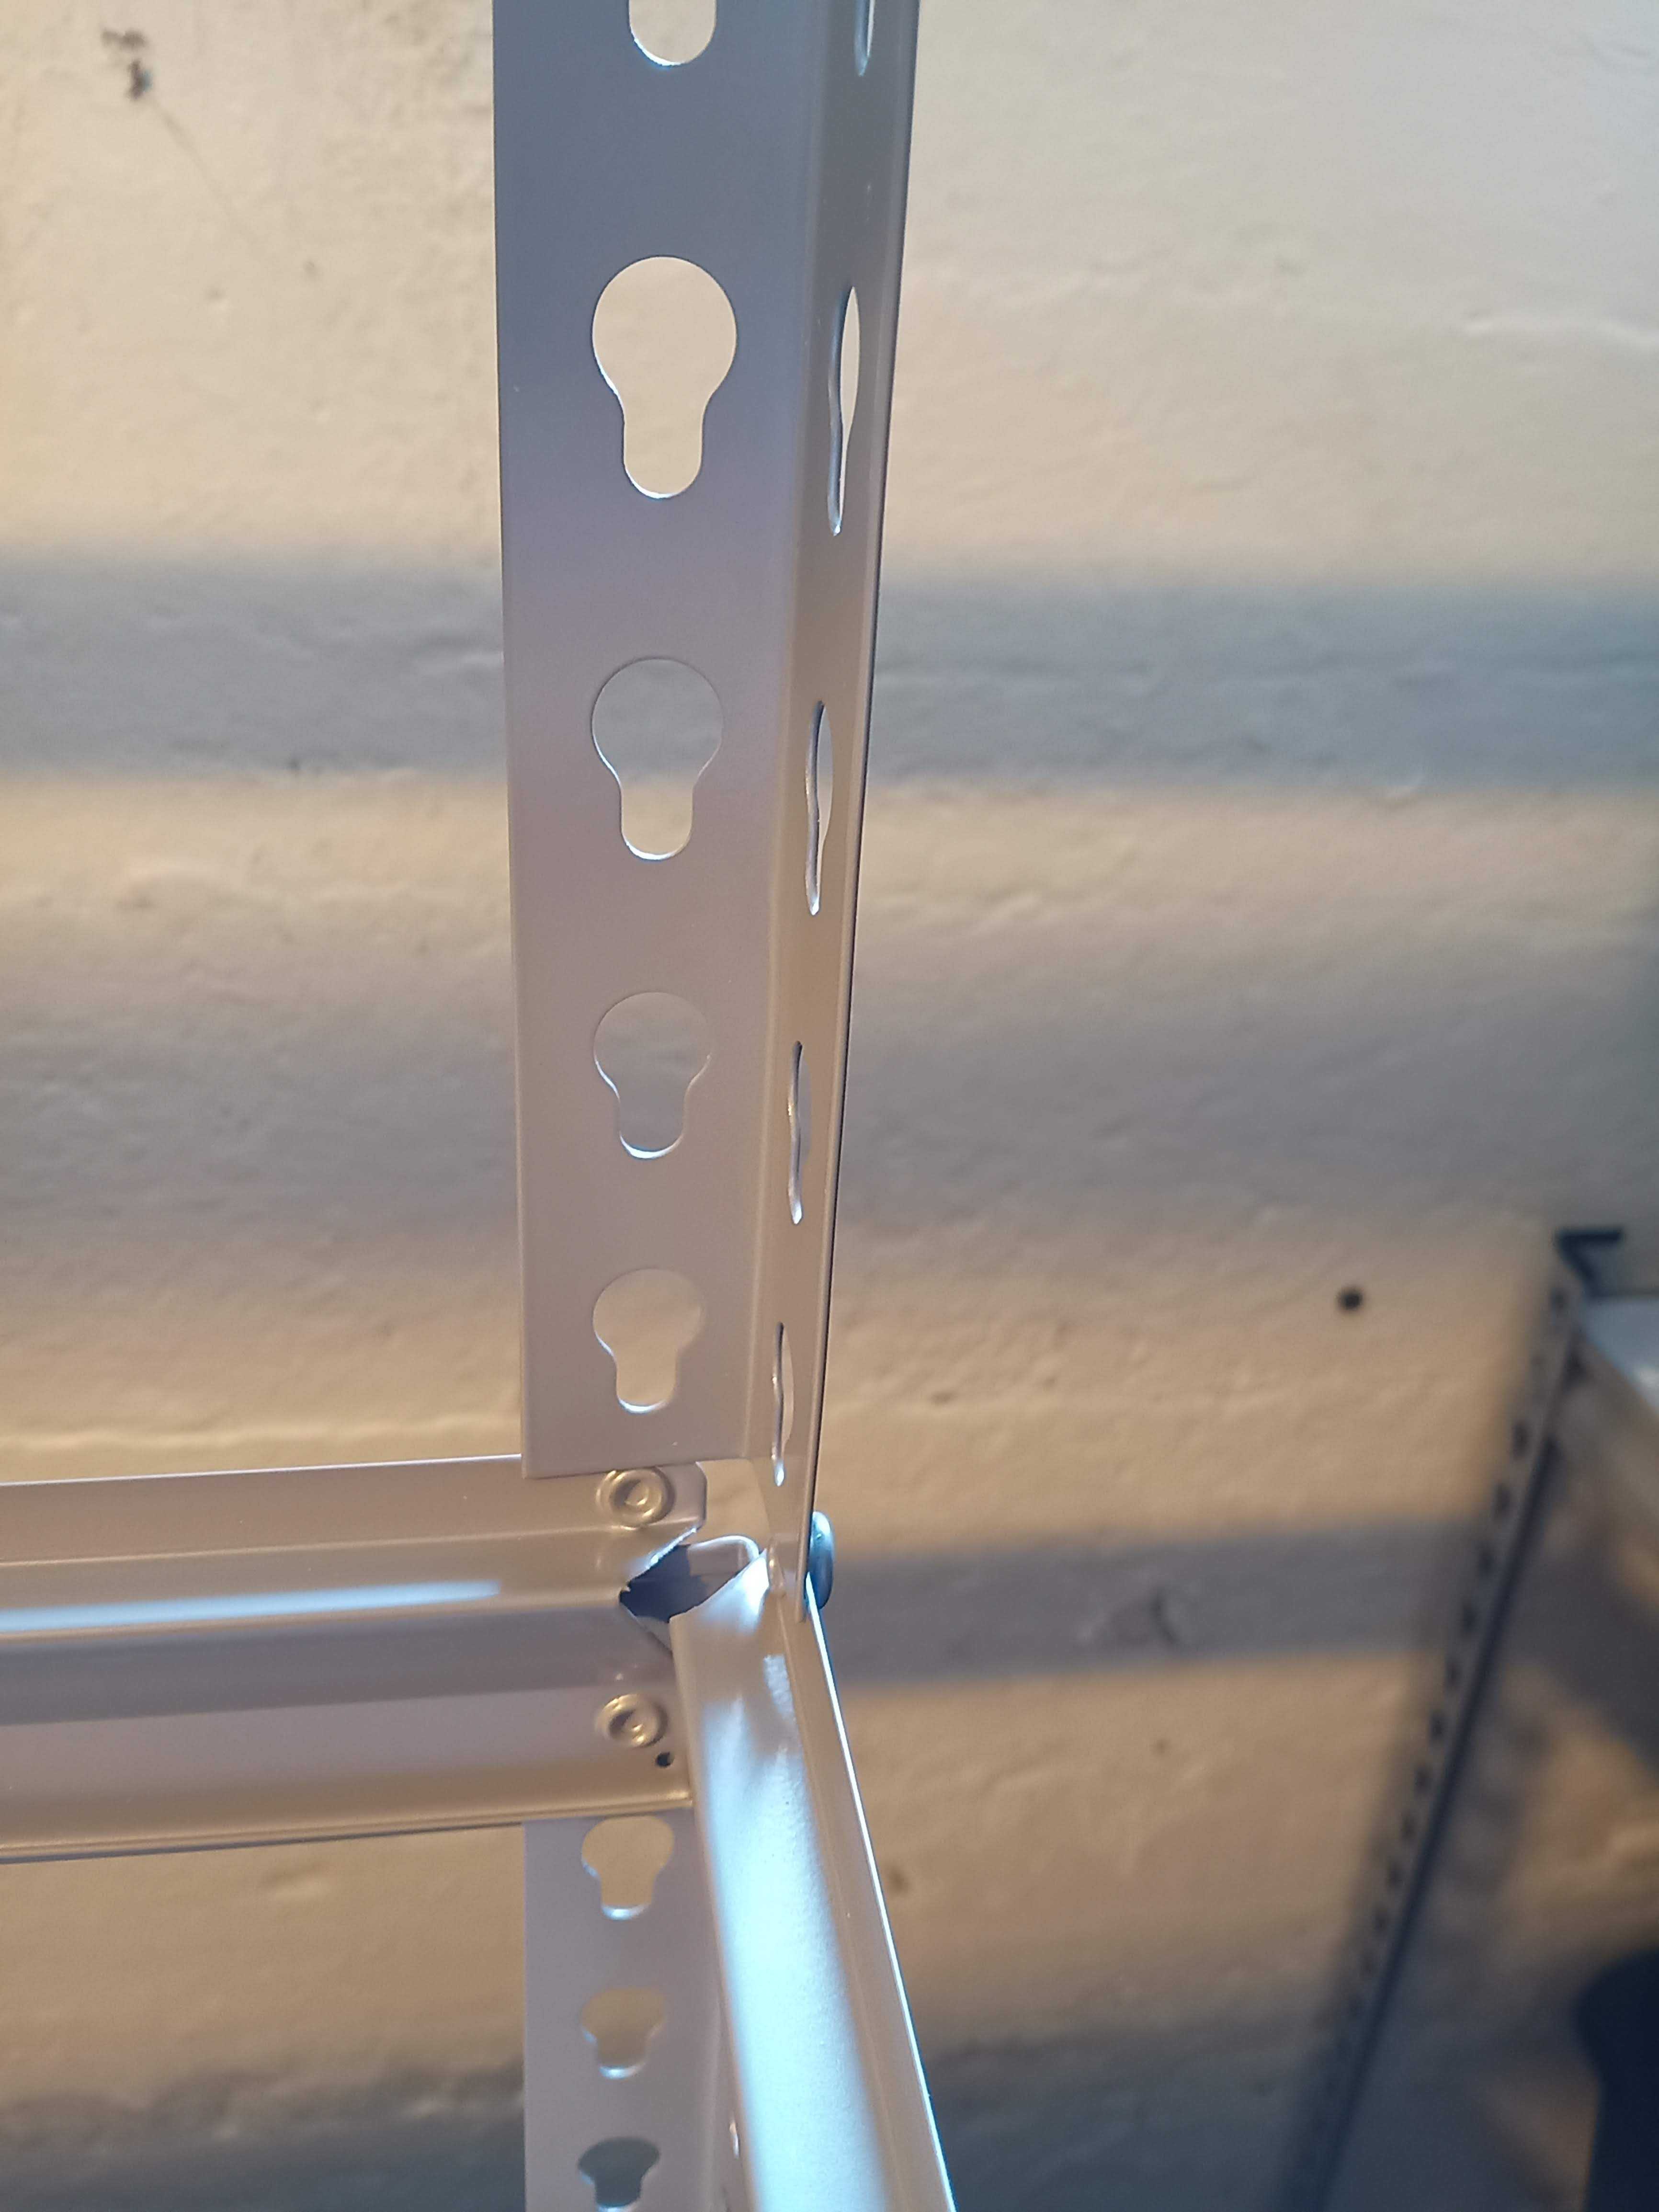
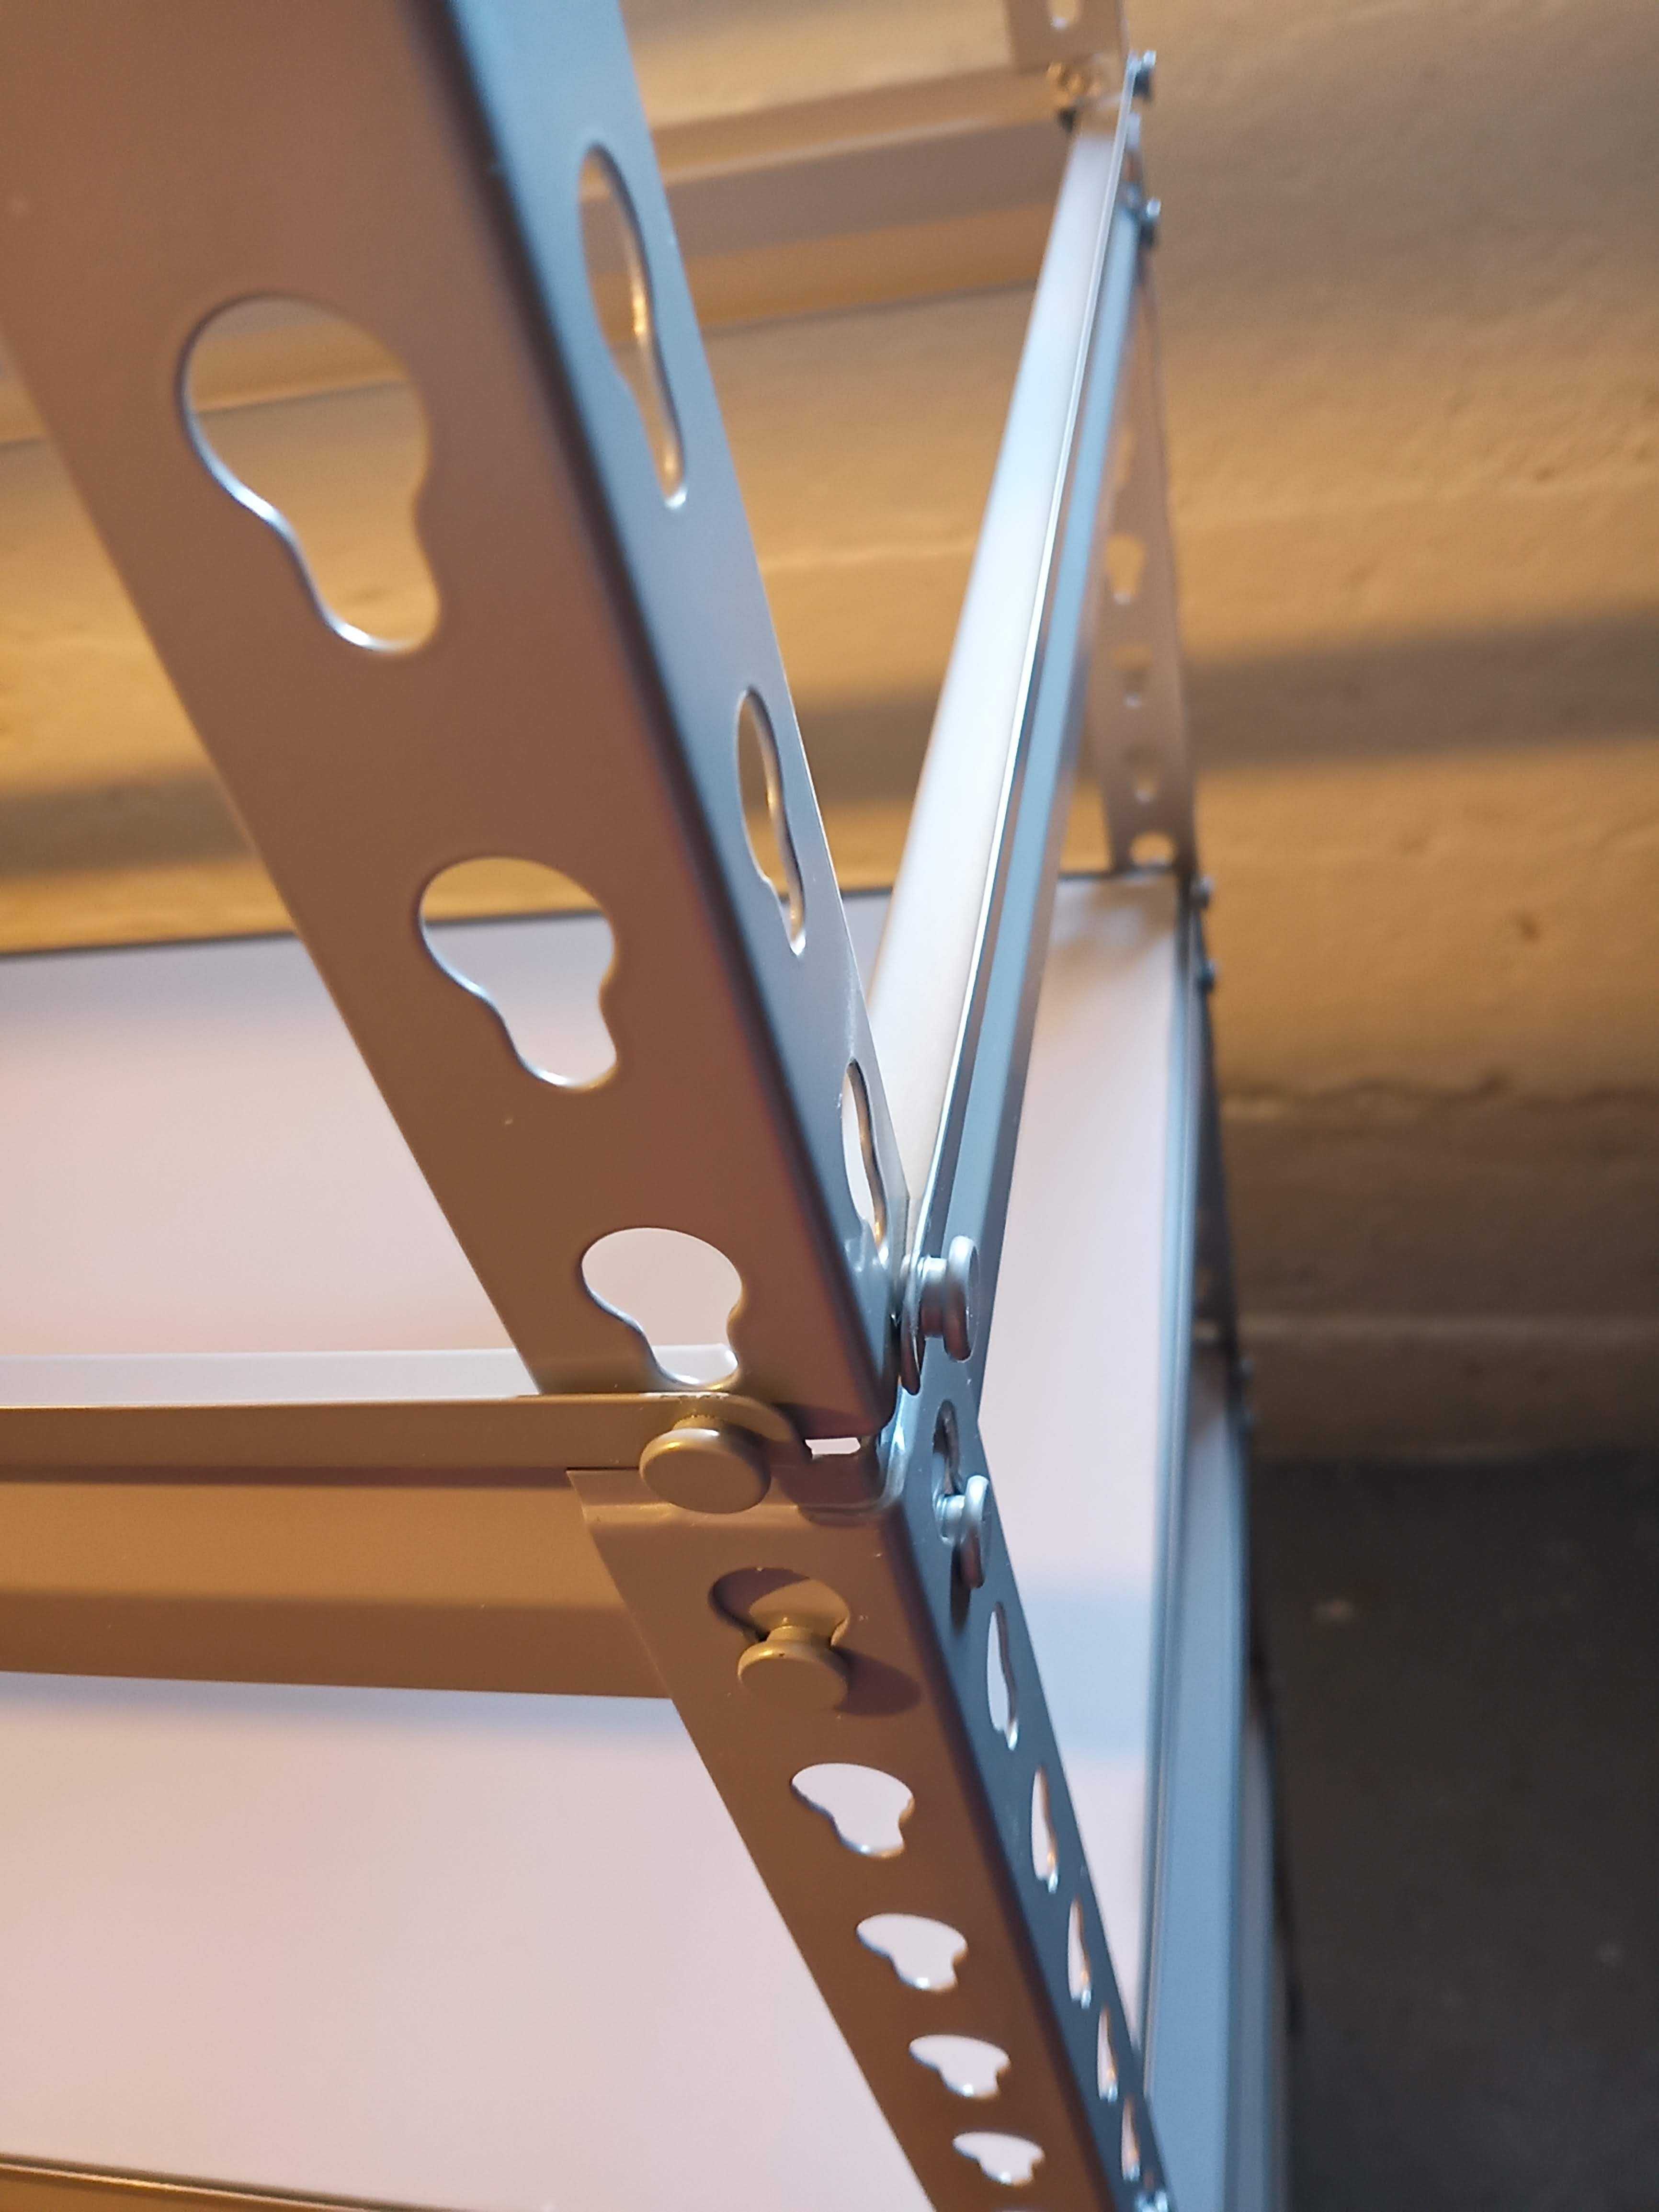
Now that they are resting, it is possible, one corner at a time, to lift the top shelf corner and then each of the brackets to slide onto the inside of the top shelves bottom holes. As long as you are gentle, it is ok for them to initially be slightly popped up - if you push down before all of the holes are lined up difficulties may occur later.
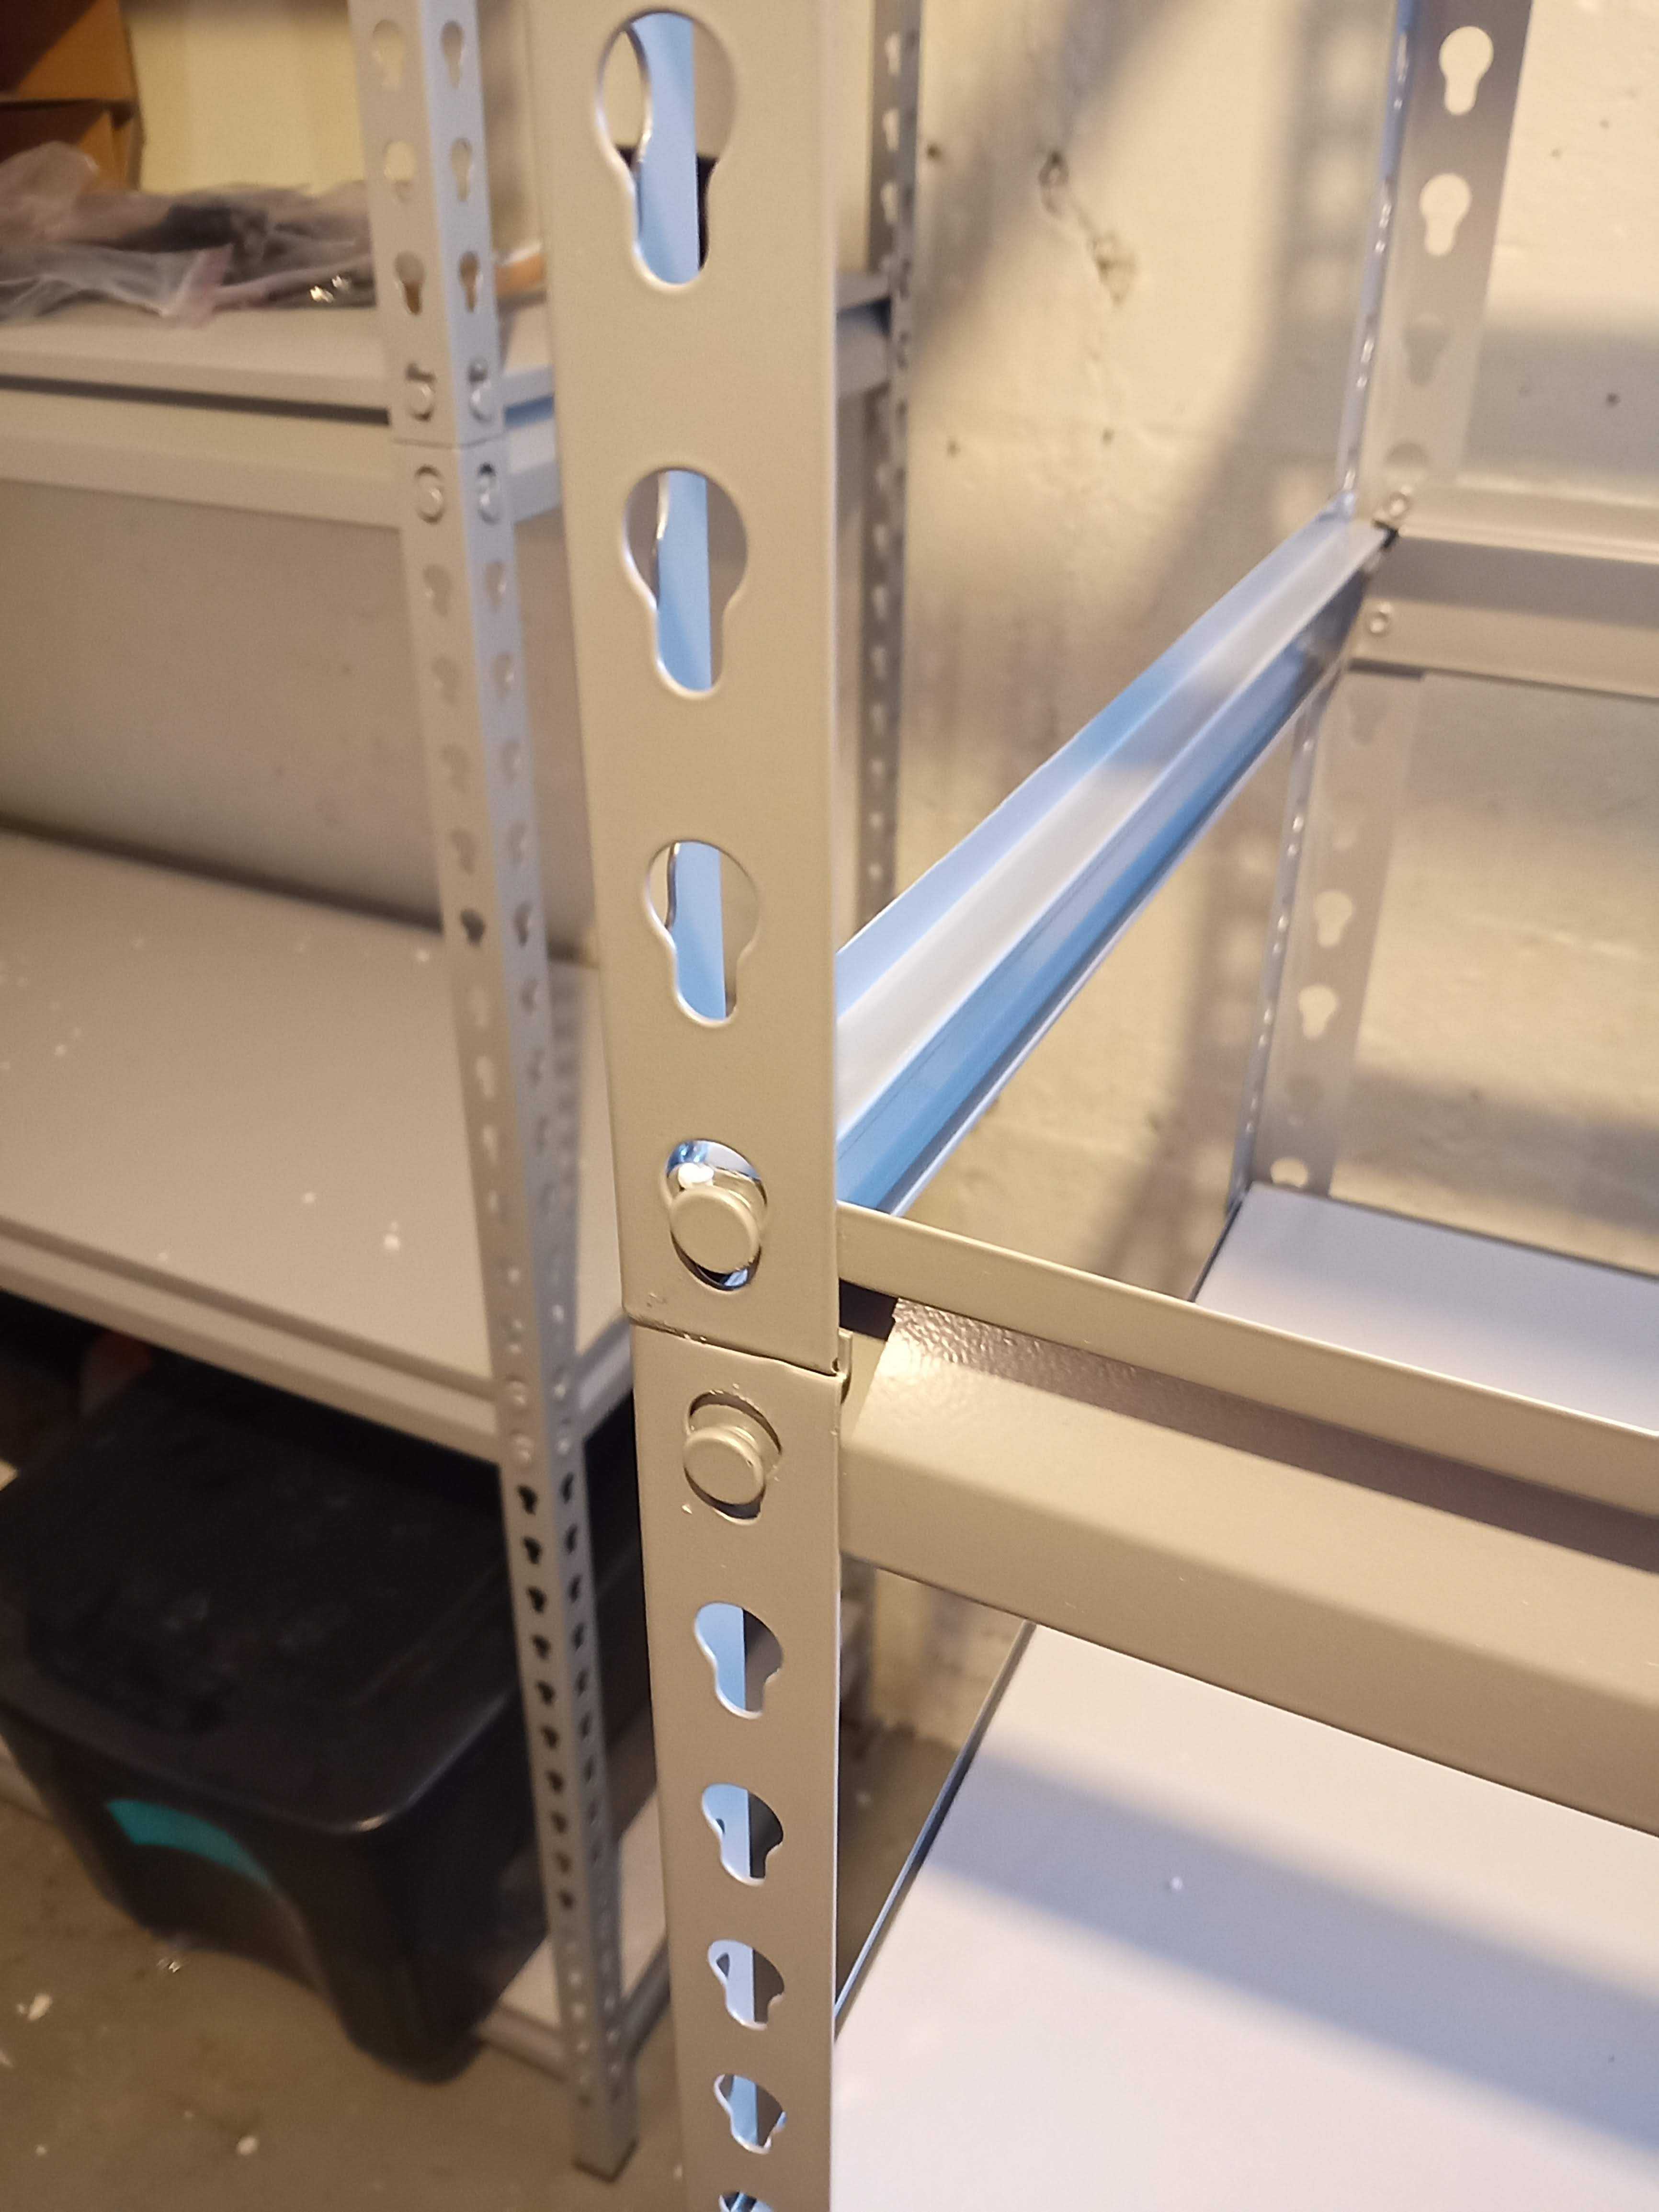
After you have joined all of the corners together, you will want to put the shelf into position, then push on each corner so that they pop all the way down. If they refuse to go all of the way down, tap gently with the rubber mallet to apply pressure to both parts of each corner at the same time.
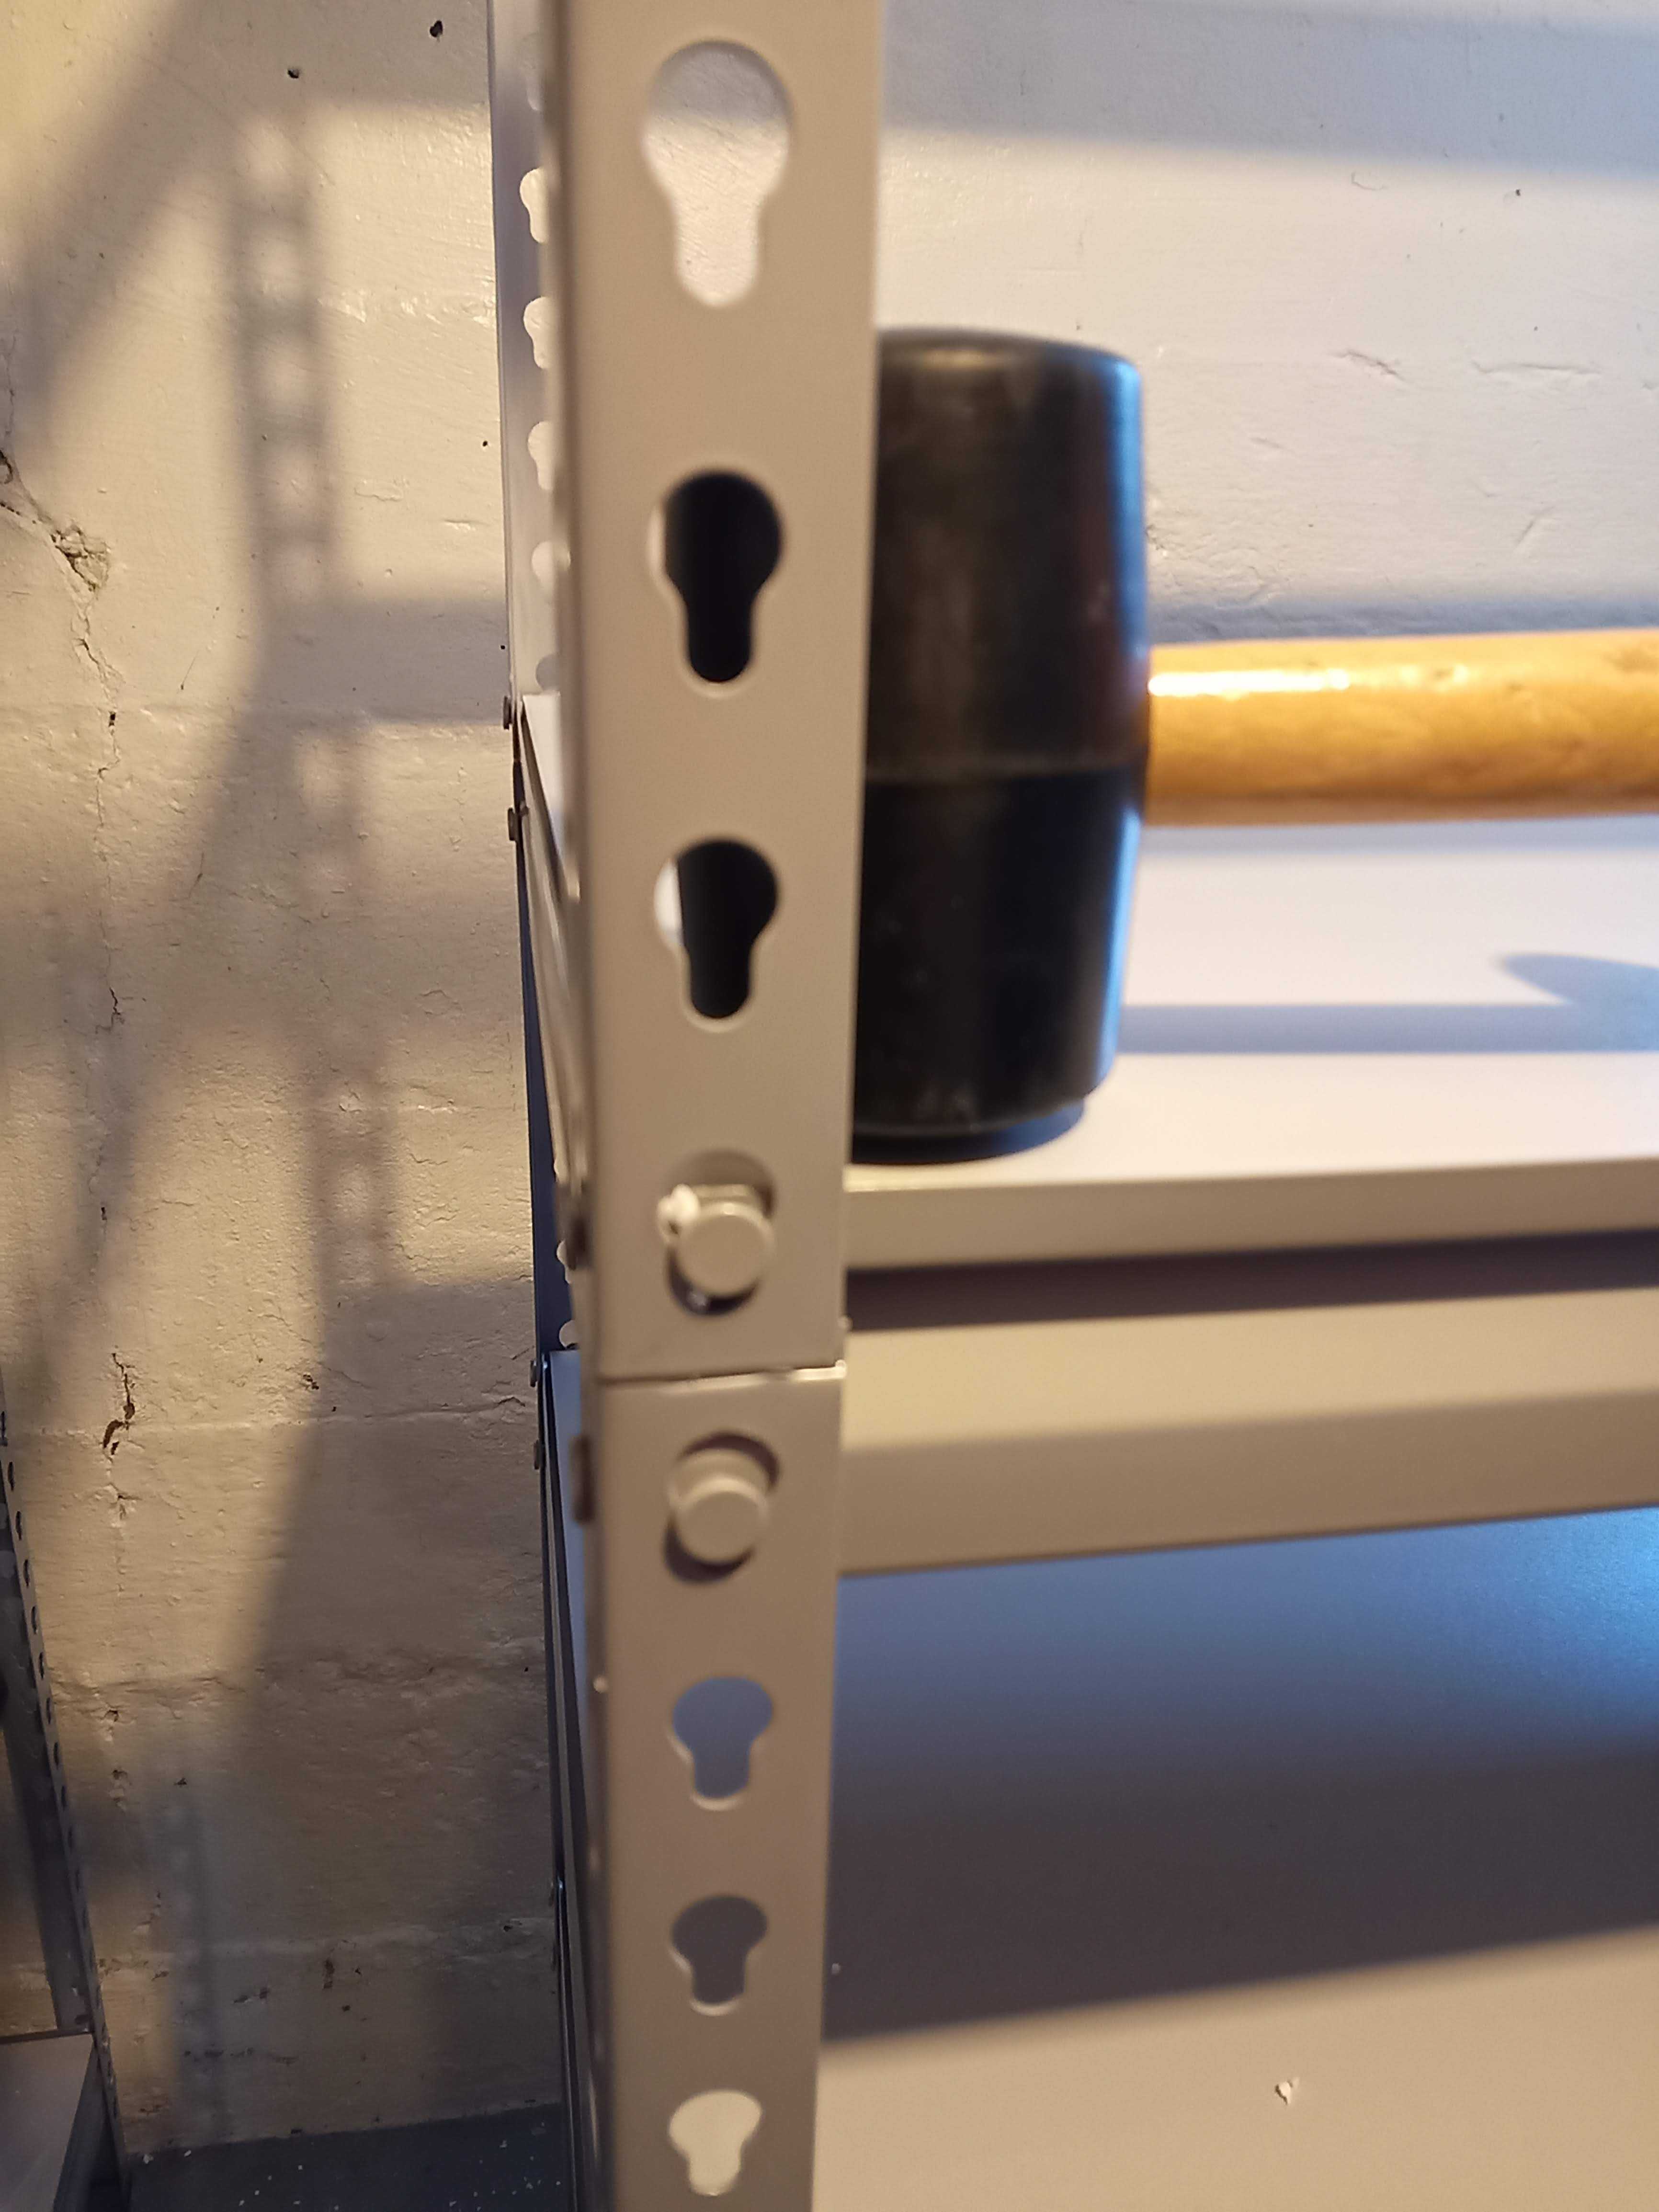
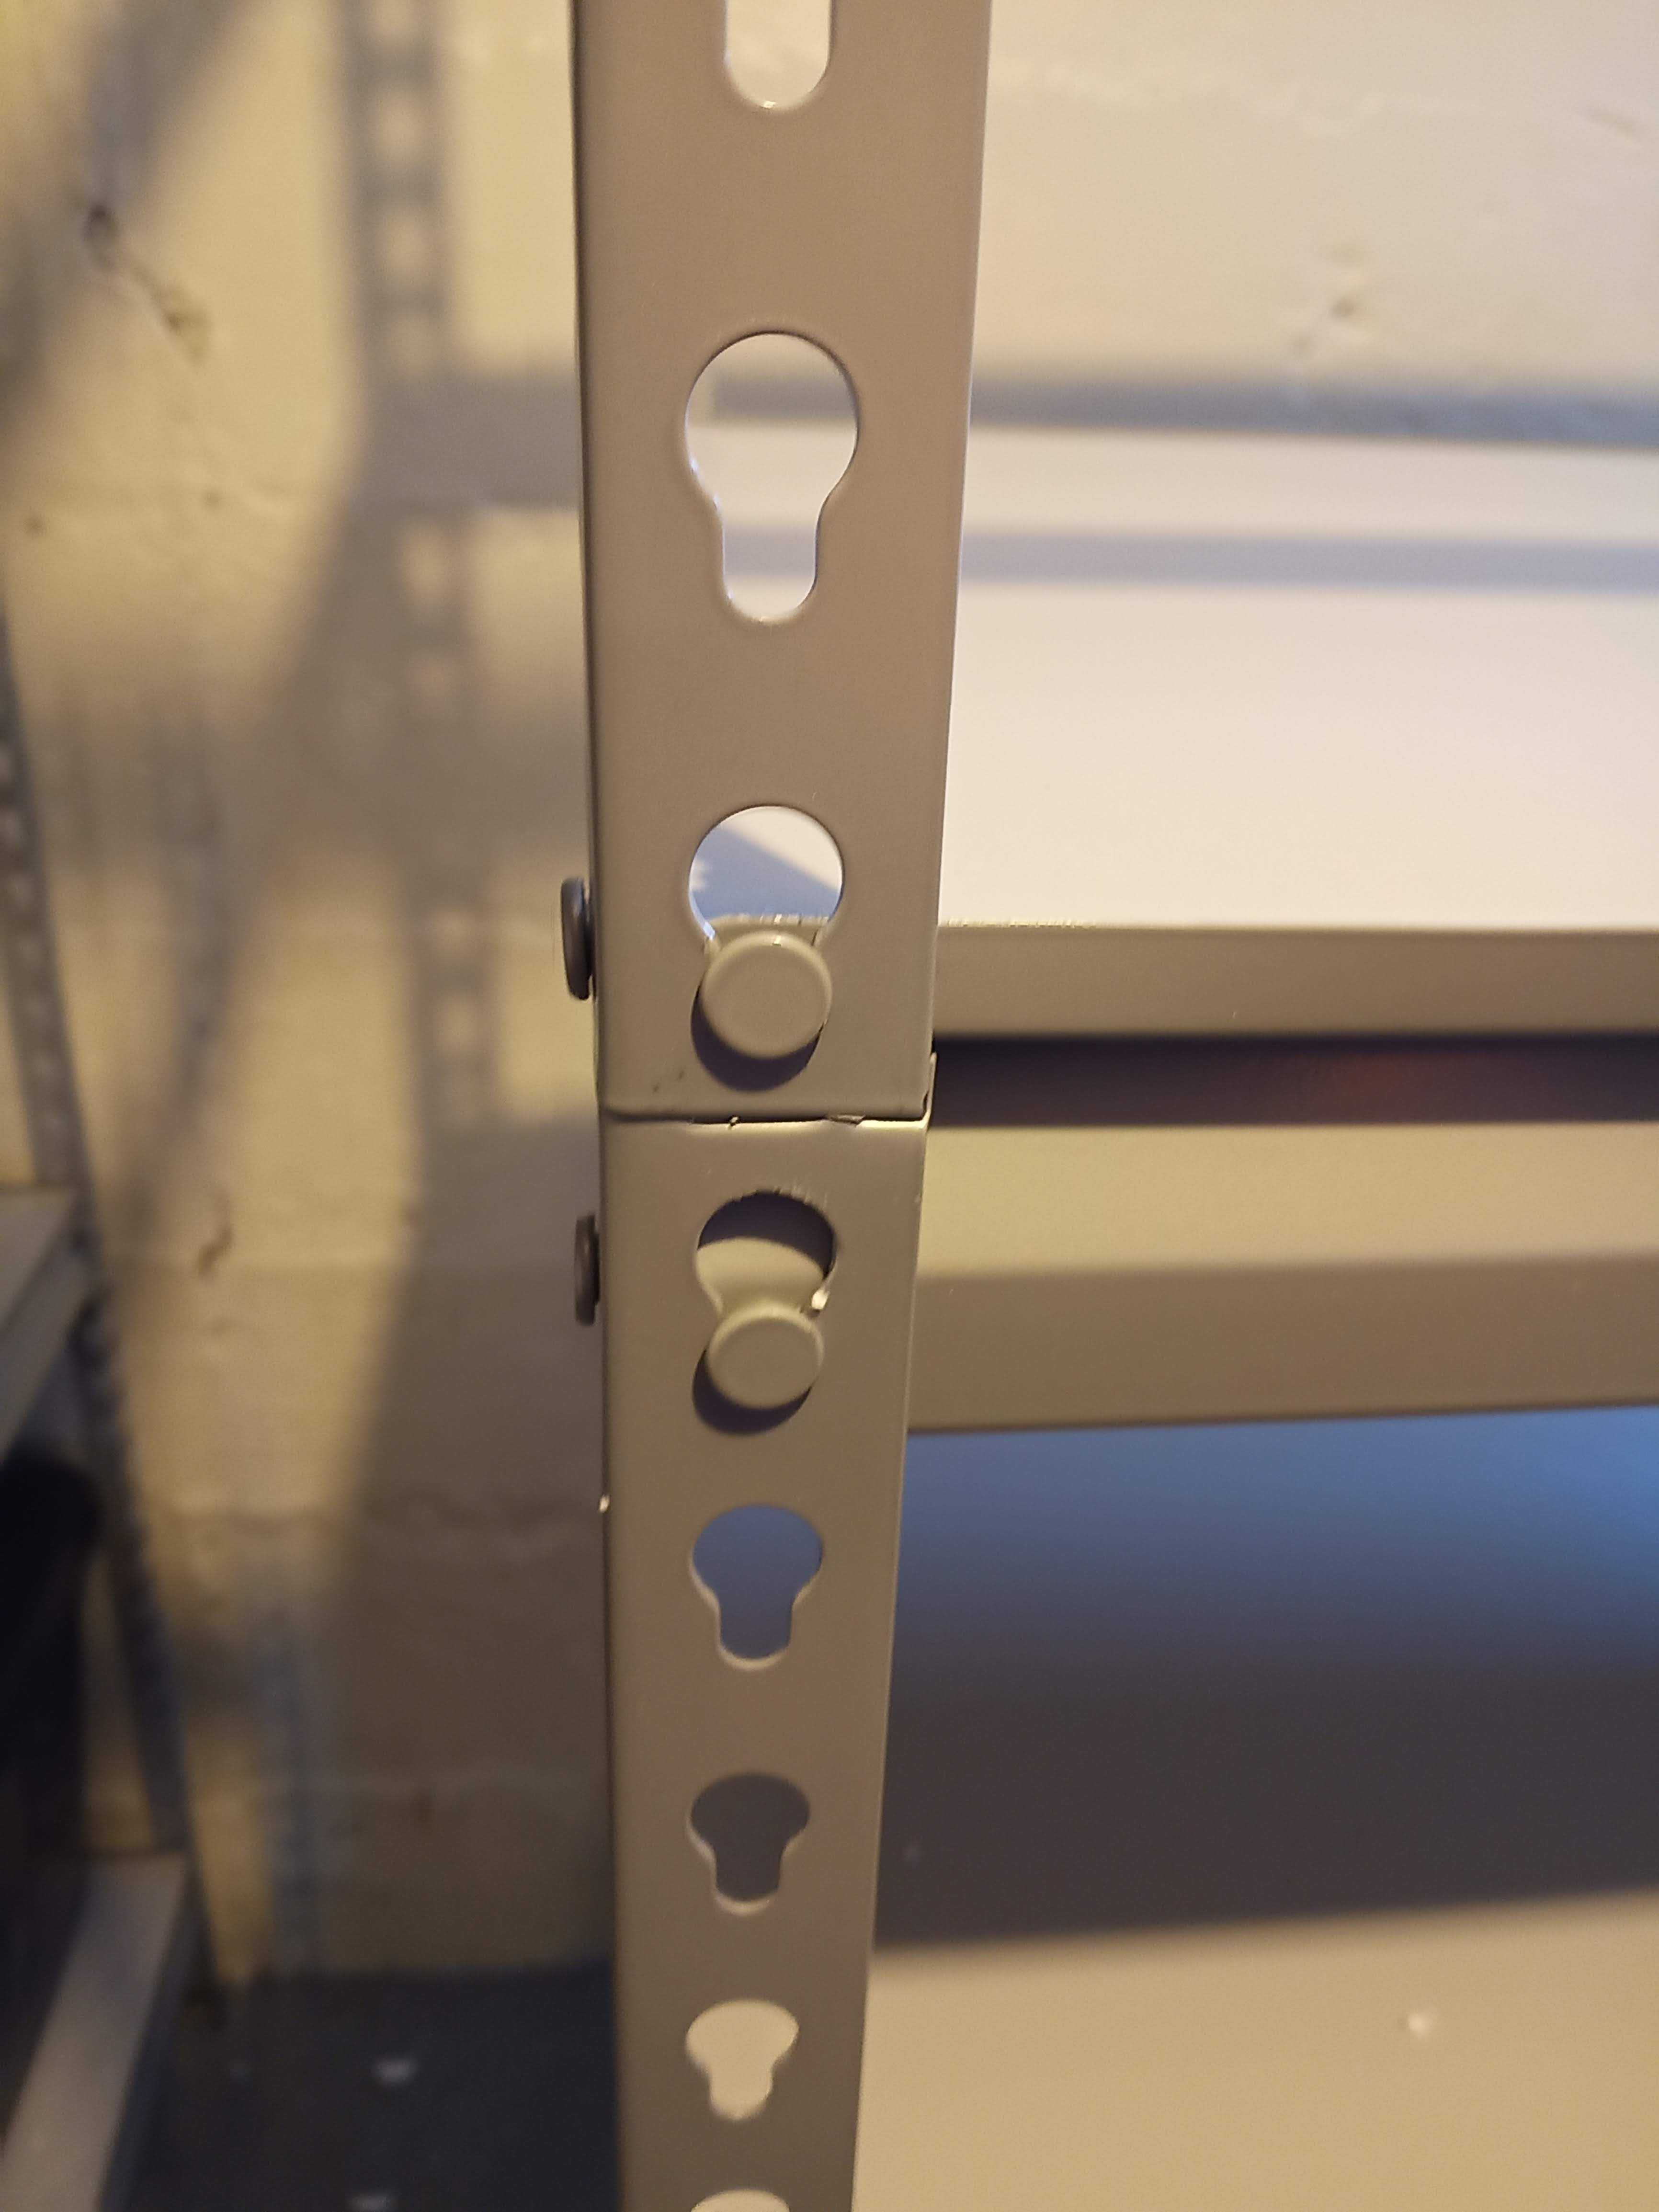
If you find yourself having problems where one side goes down thus forcing the other to come up, you may place a heavy object on one side to keep pressure while you work on the other.
Now simply put the rest of the shelves on (you may need to remove brackets from the front to make it easier depending upon your spacing) and your shelf is complete.
Tags: Instructional, Assemble, Put Together, Members Mark 6 Shelf Storage Rack